


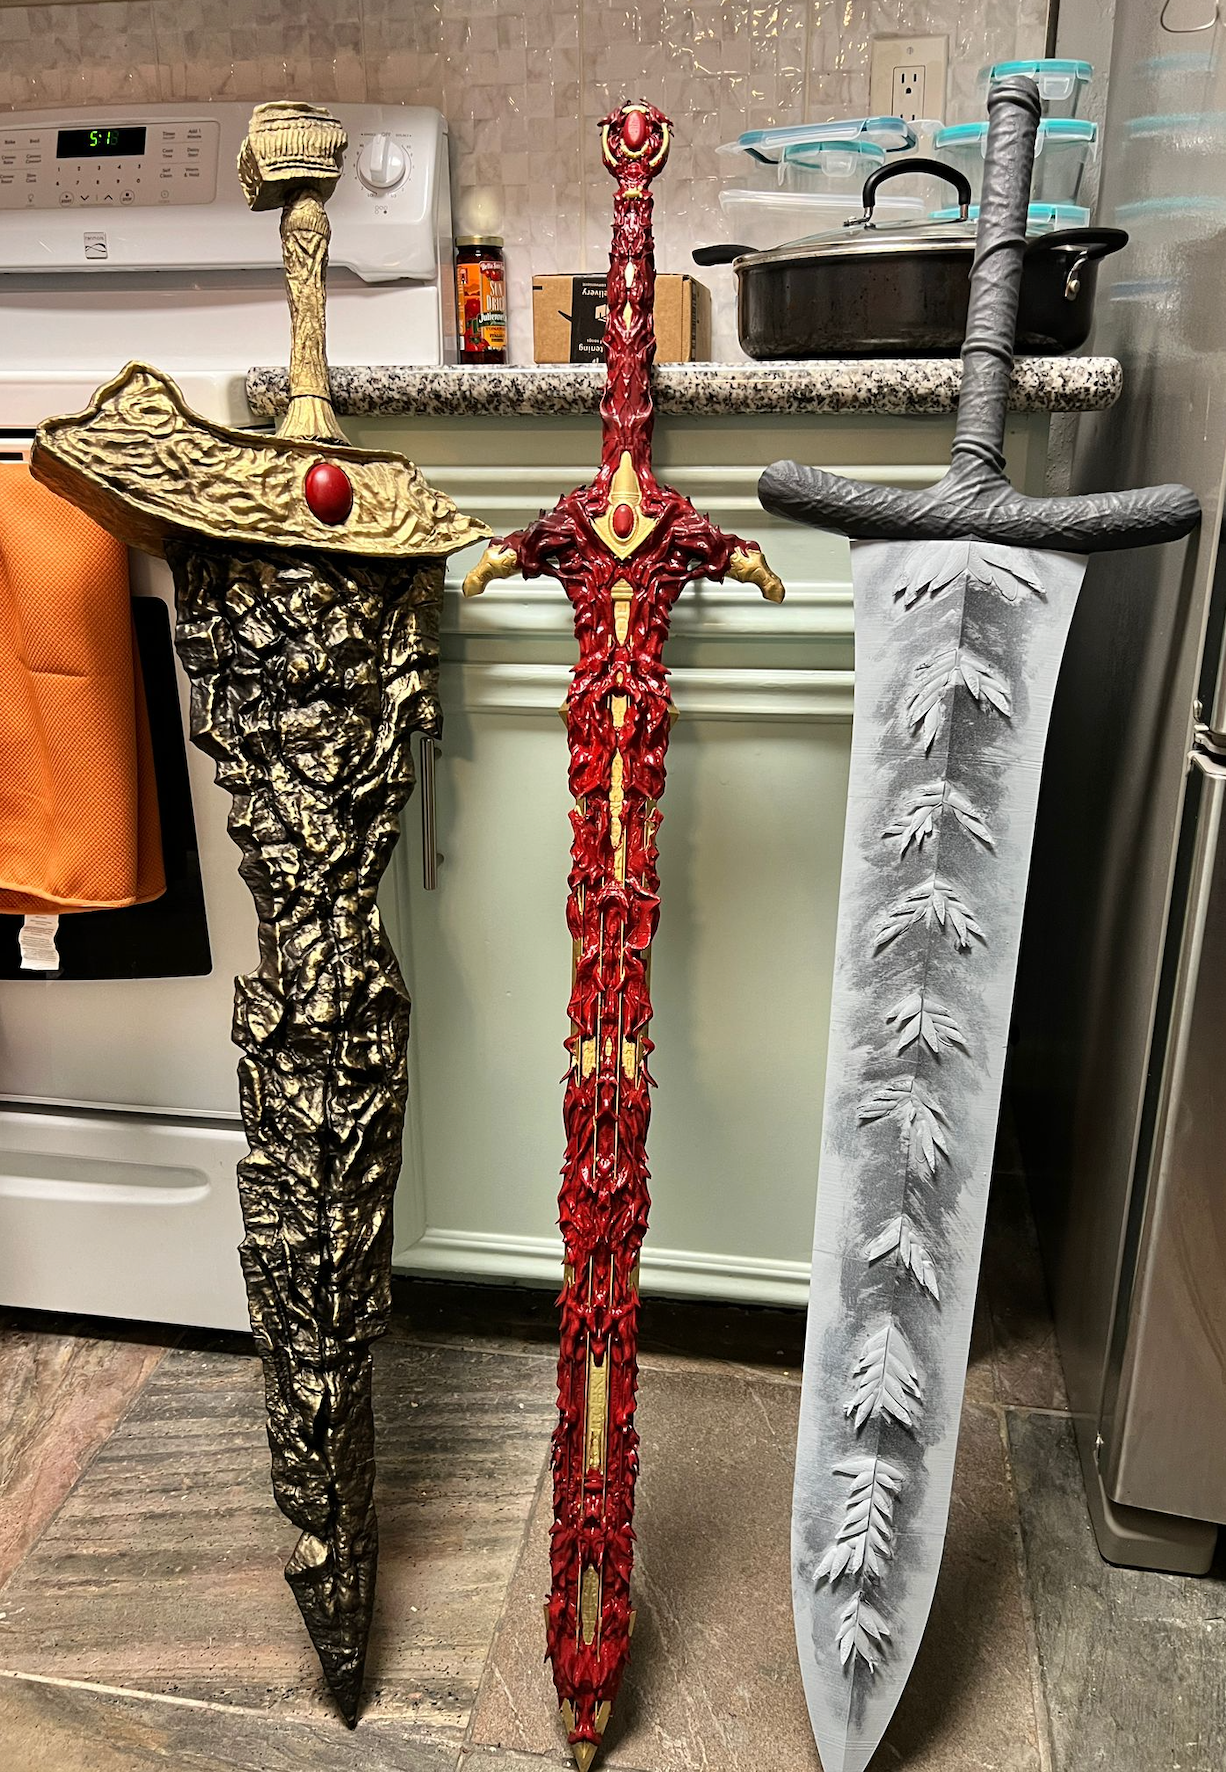

So you ordered an unpainted prop. Maybe you wanted to save some money, maybe you love the craft of painting, or maybe you just want the satisfaction of making your cosplay truly your own. Whatever the reason — welcome. Painting your own prop is incredibly rewarding, and it's more approachable than it looks. Here's exactly how to do it.
Why Unpainted?
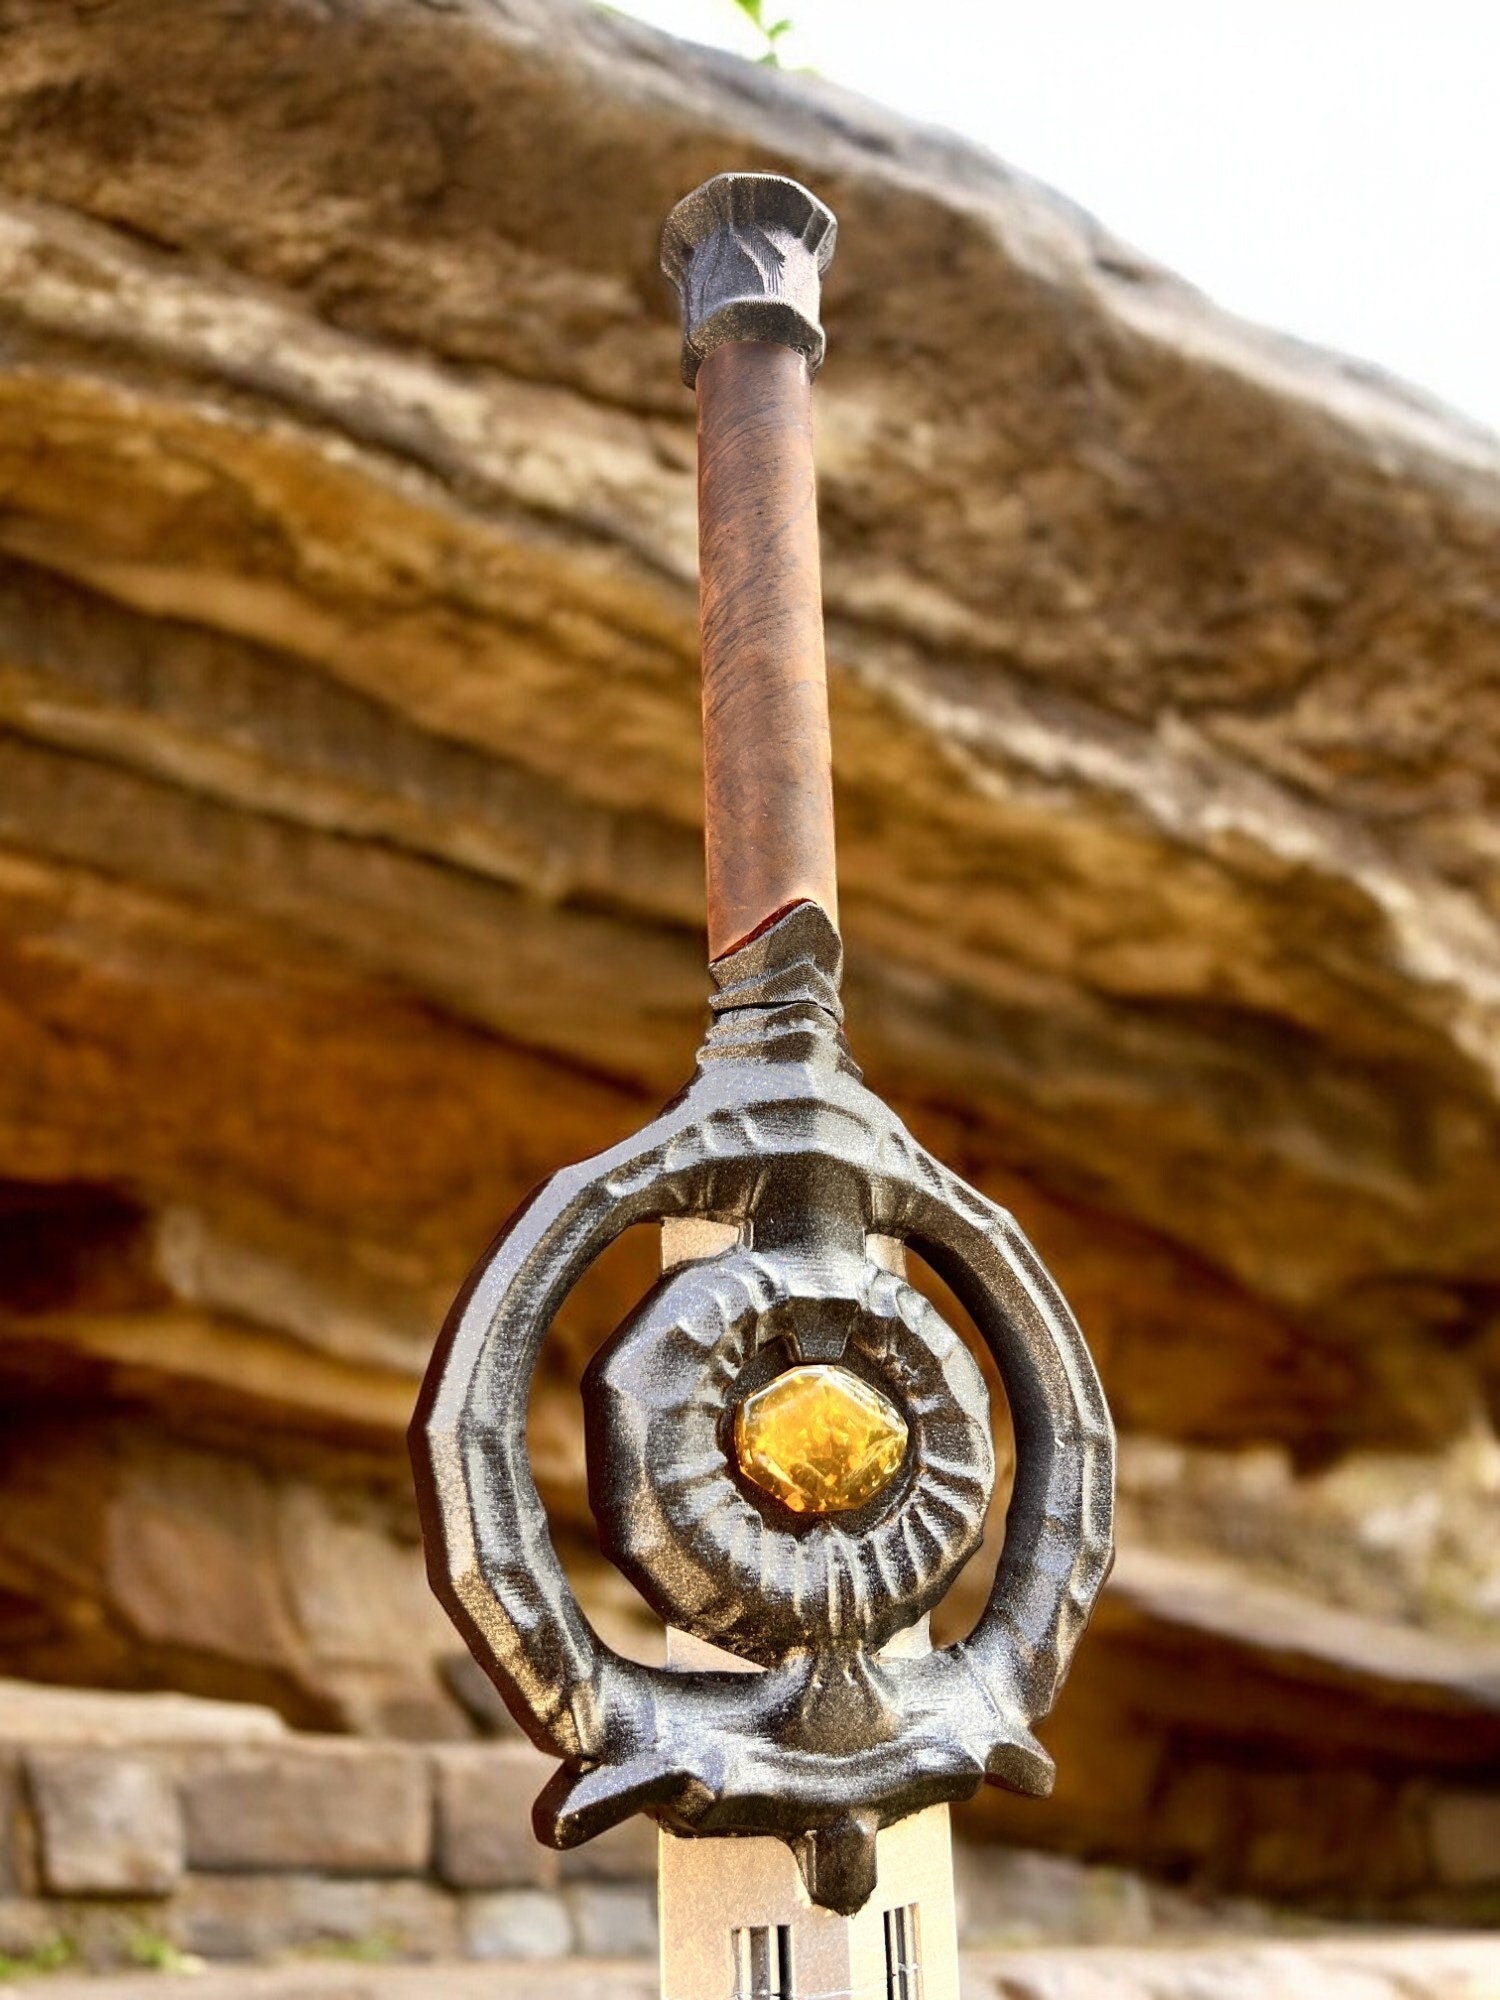
Our unpainted props come sanded and primed, ready for paint. They're a great choice for people who want to customize colors, who enjoy the hobby of painting, or who want to work on the prop gradually over time without a hard deadline. The starting surface is clean and smooth — you're not starting from scratch, you're just adding the color.
What You'll Need
- Acrylic hobby paints — Vallejo, Citadel, and Army Painter are all excellent brands available at hobby shops and online
- Spray primer — even if the prop comes primed, a light coat before you start painting helps new paint bond better
- A range of brushes — a large flat brush for base coating, a medium round for mid-detail work, and a fine detail brush for edges and highlights
- A palette — a ceramic plate works fine
- Water cup and paper towels
- Matte or satin clear coat spray for sealing when you're done
Step 1: Prep the Surface
Even on a pre-primed prop, it's worth running your hand over the surface and checking for any rough spots. If you find any, a quick pass with 400-grit sandpaper followed by wiping down with a damp cloth will sort it out. Let it dry fully before you touch paint.
Step 2: Apply a Base Coat
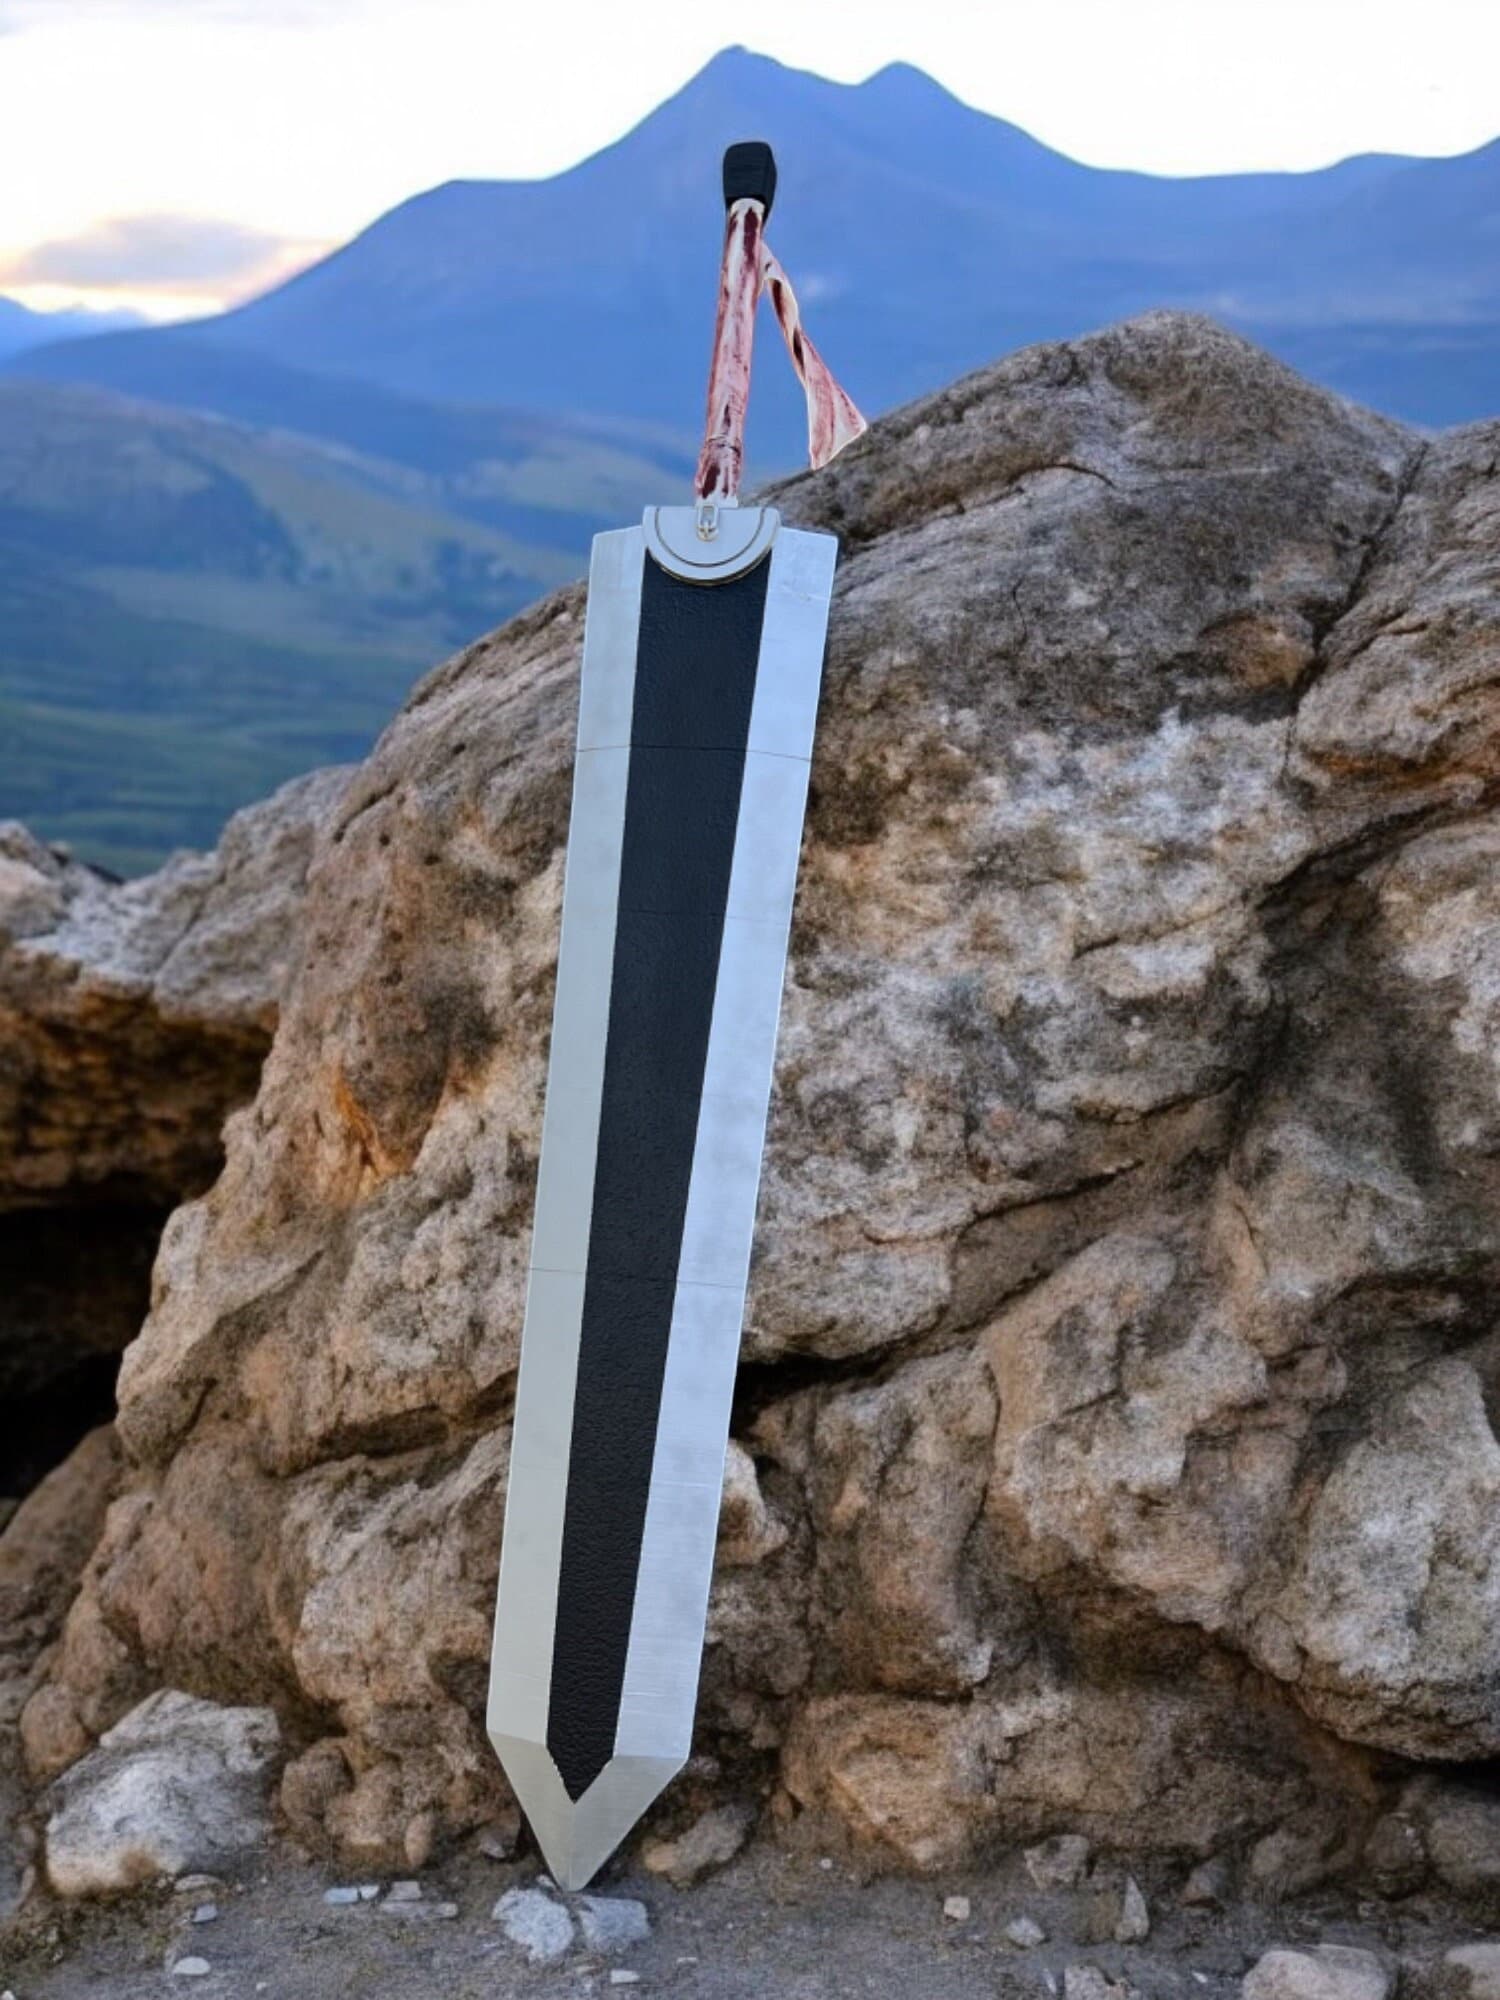
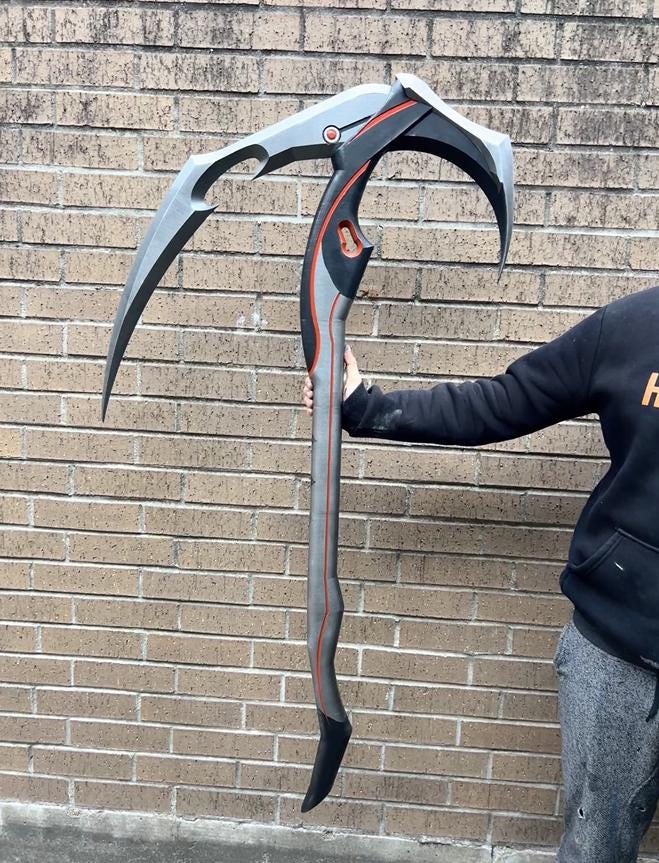
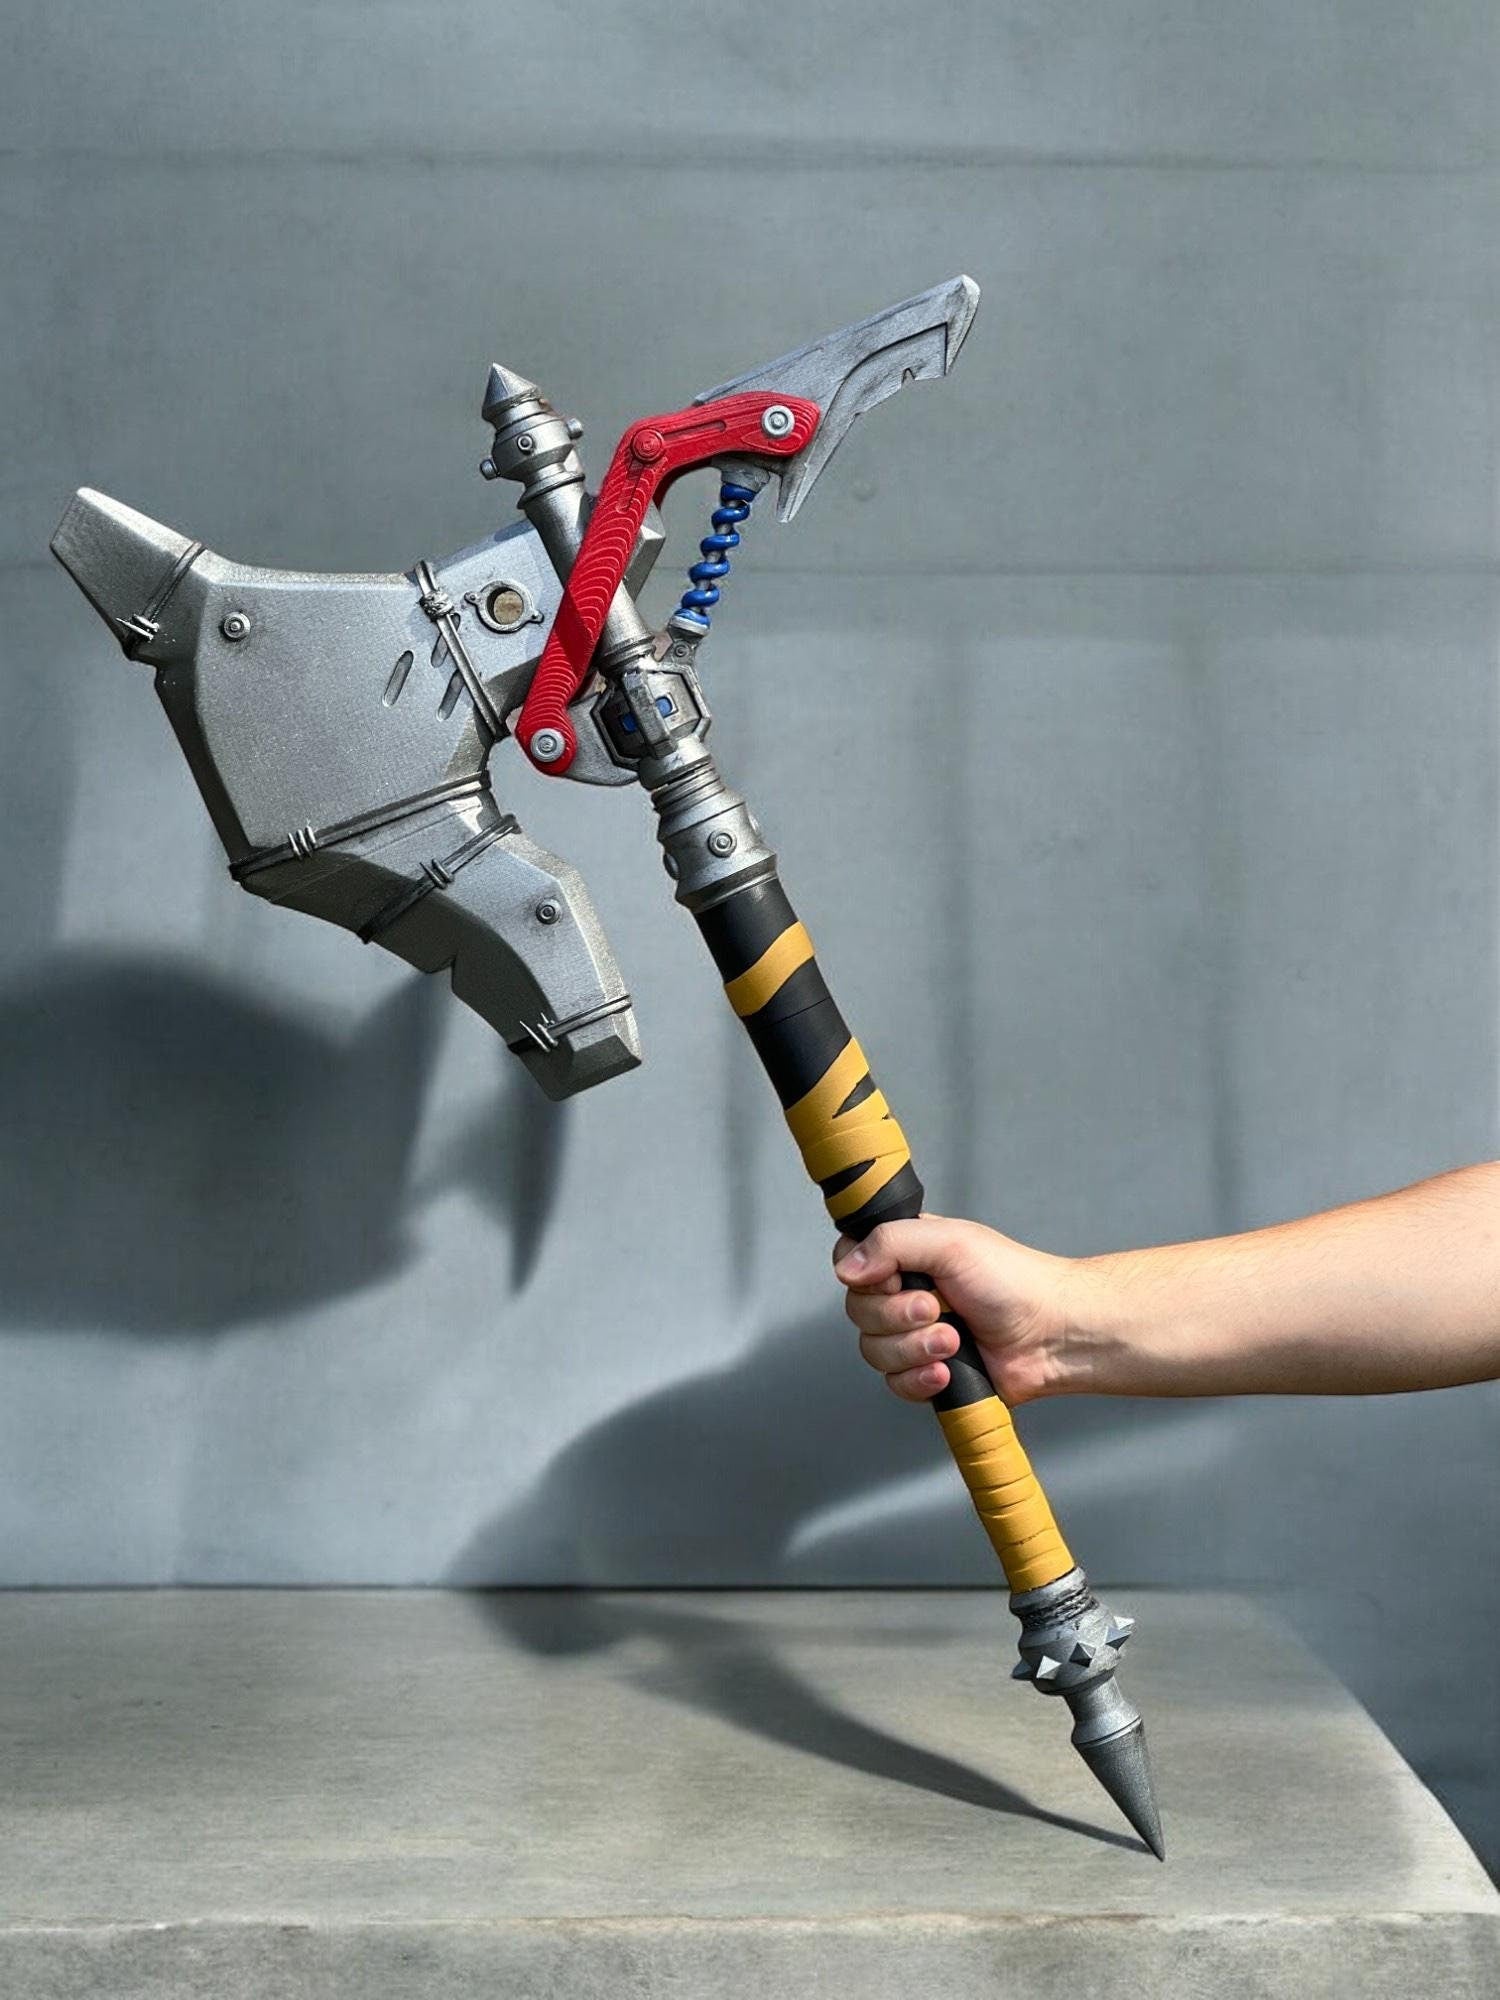
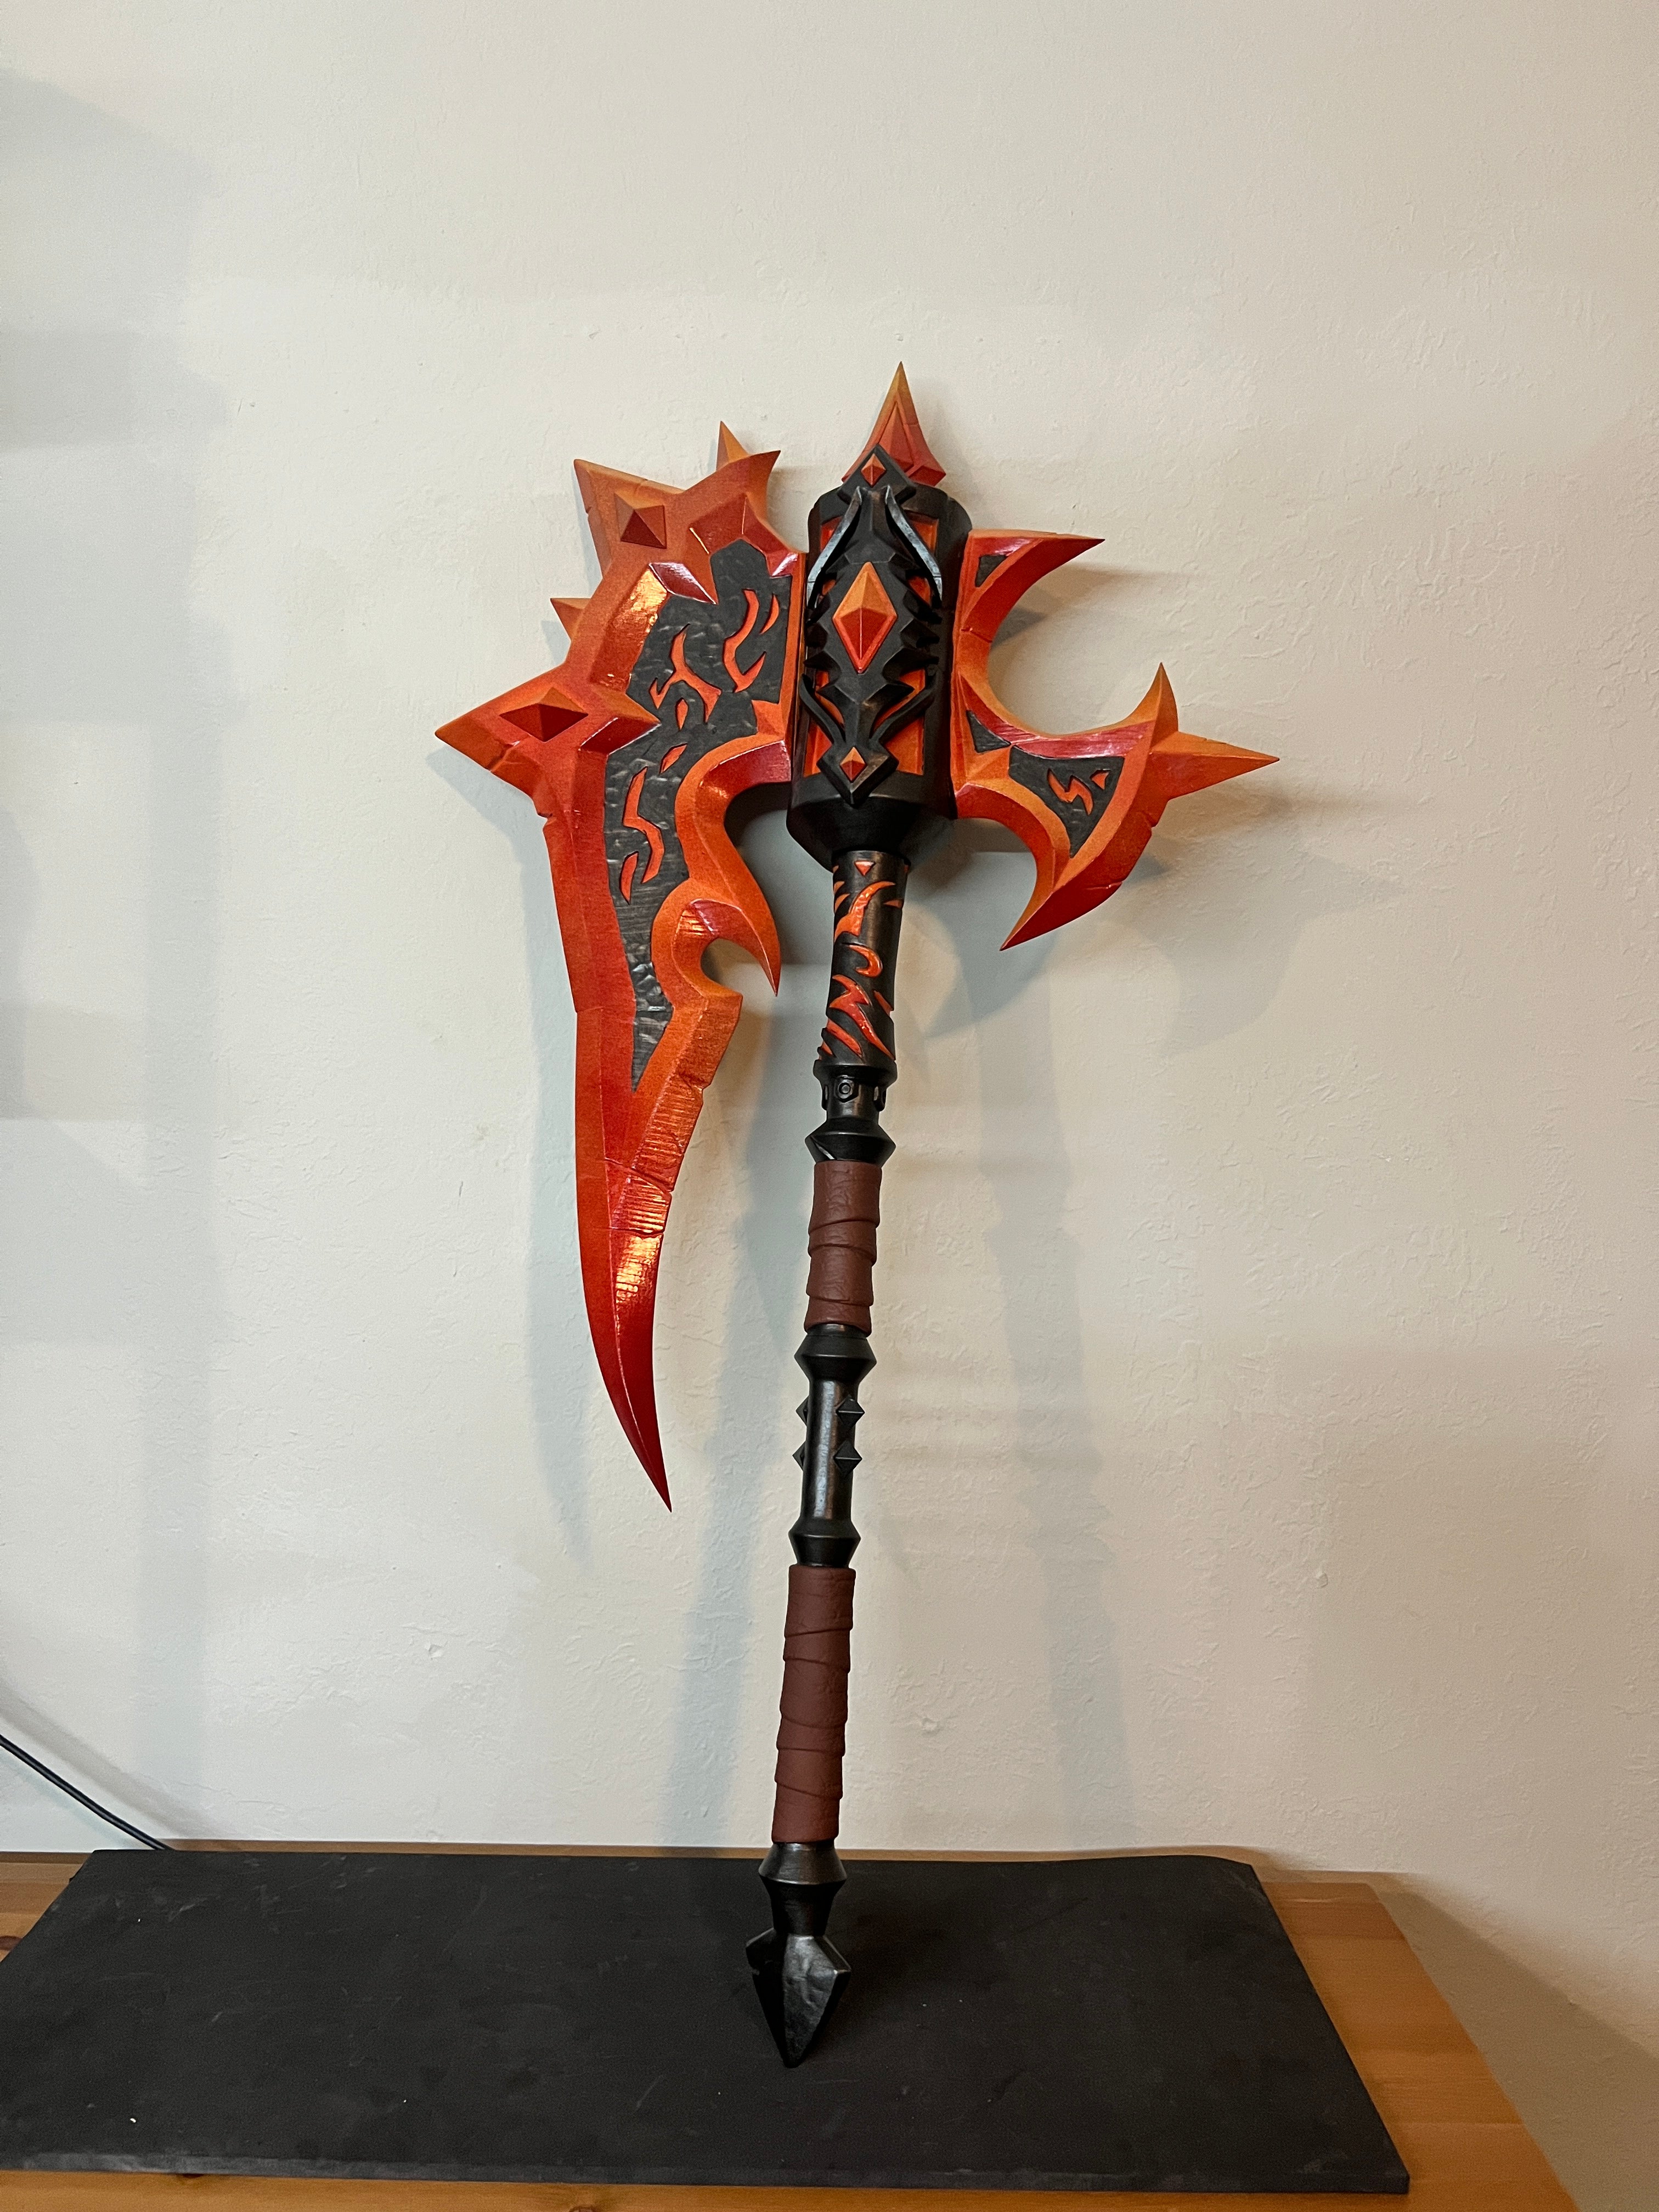
The base coat is your foundation color — the darkest or most dominant color on the prop. For most weapons (swords, axes, guns), this is usually a dark metallic grey or black. For armor pieces, it might be the main armor color.
Apply the base coat in thin, even layers. The most common beginner mistake is applying paint too thick, which obscures surface detail and takes forever to dry. Thin coats that you can see through dry faster, layer better, and produce a more professional final result. Two or three thin coats is always better than one thick one.
Step 3: Drybrush the Raised Areas
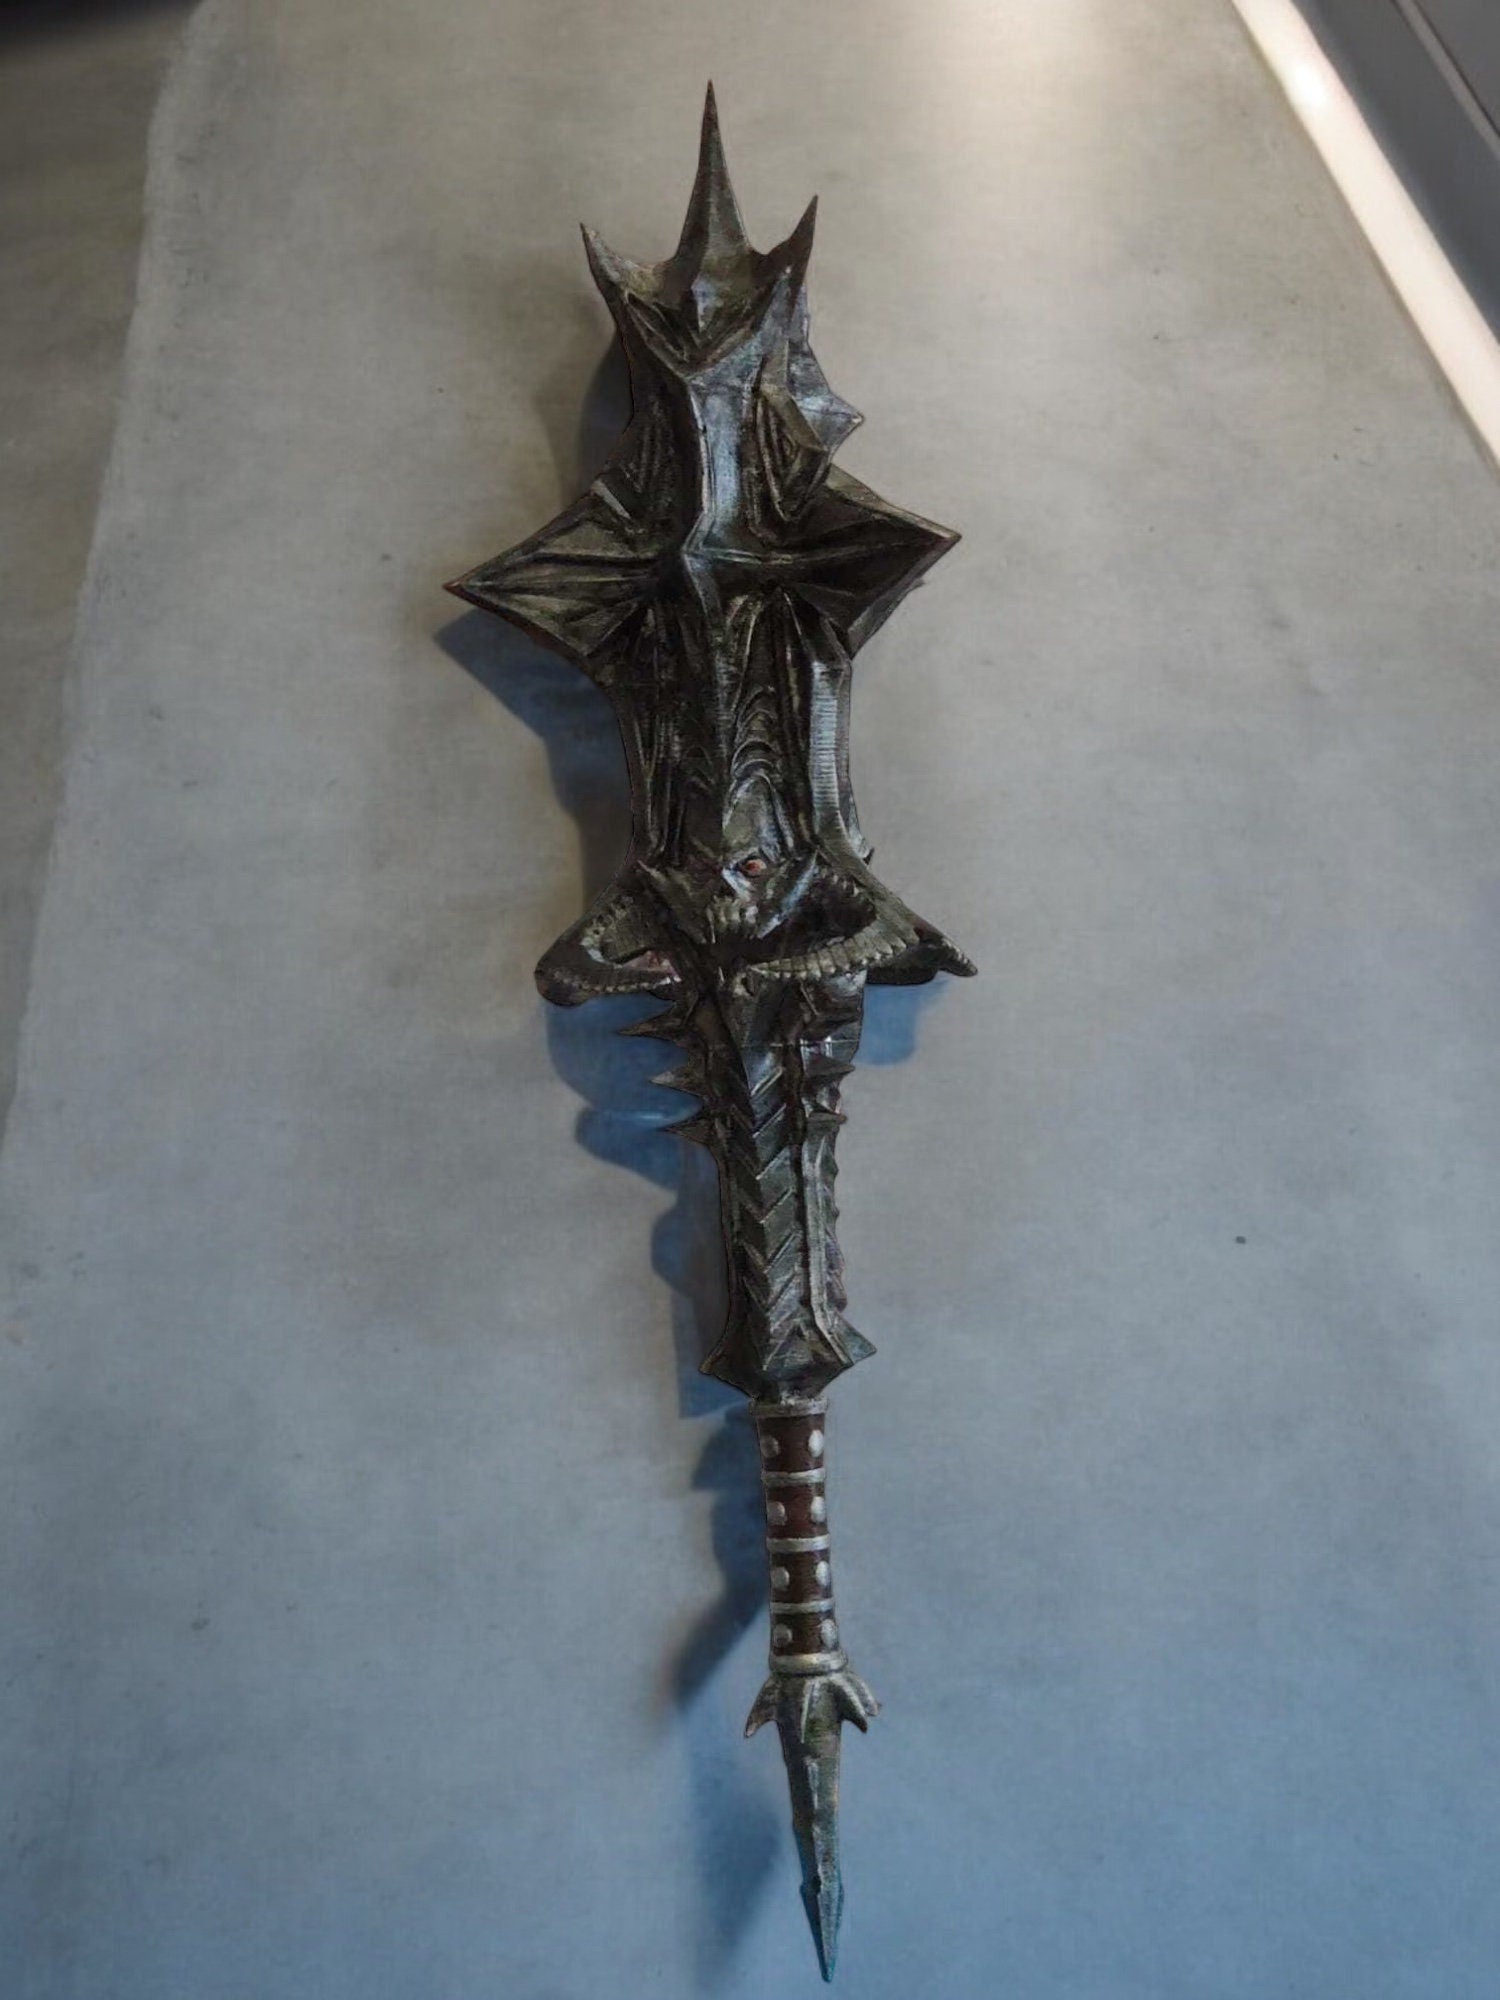
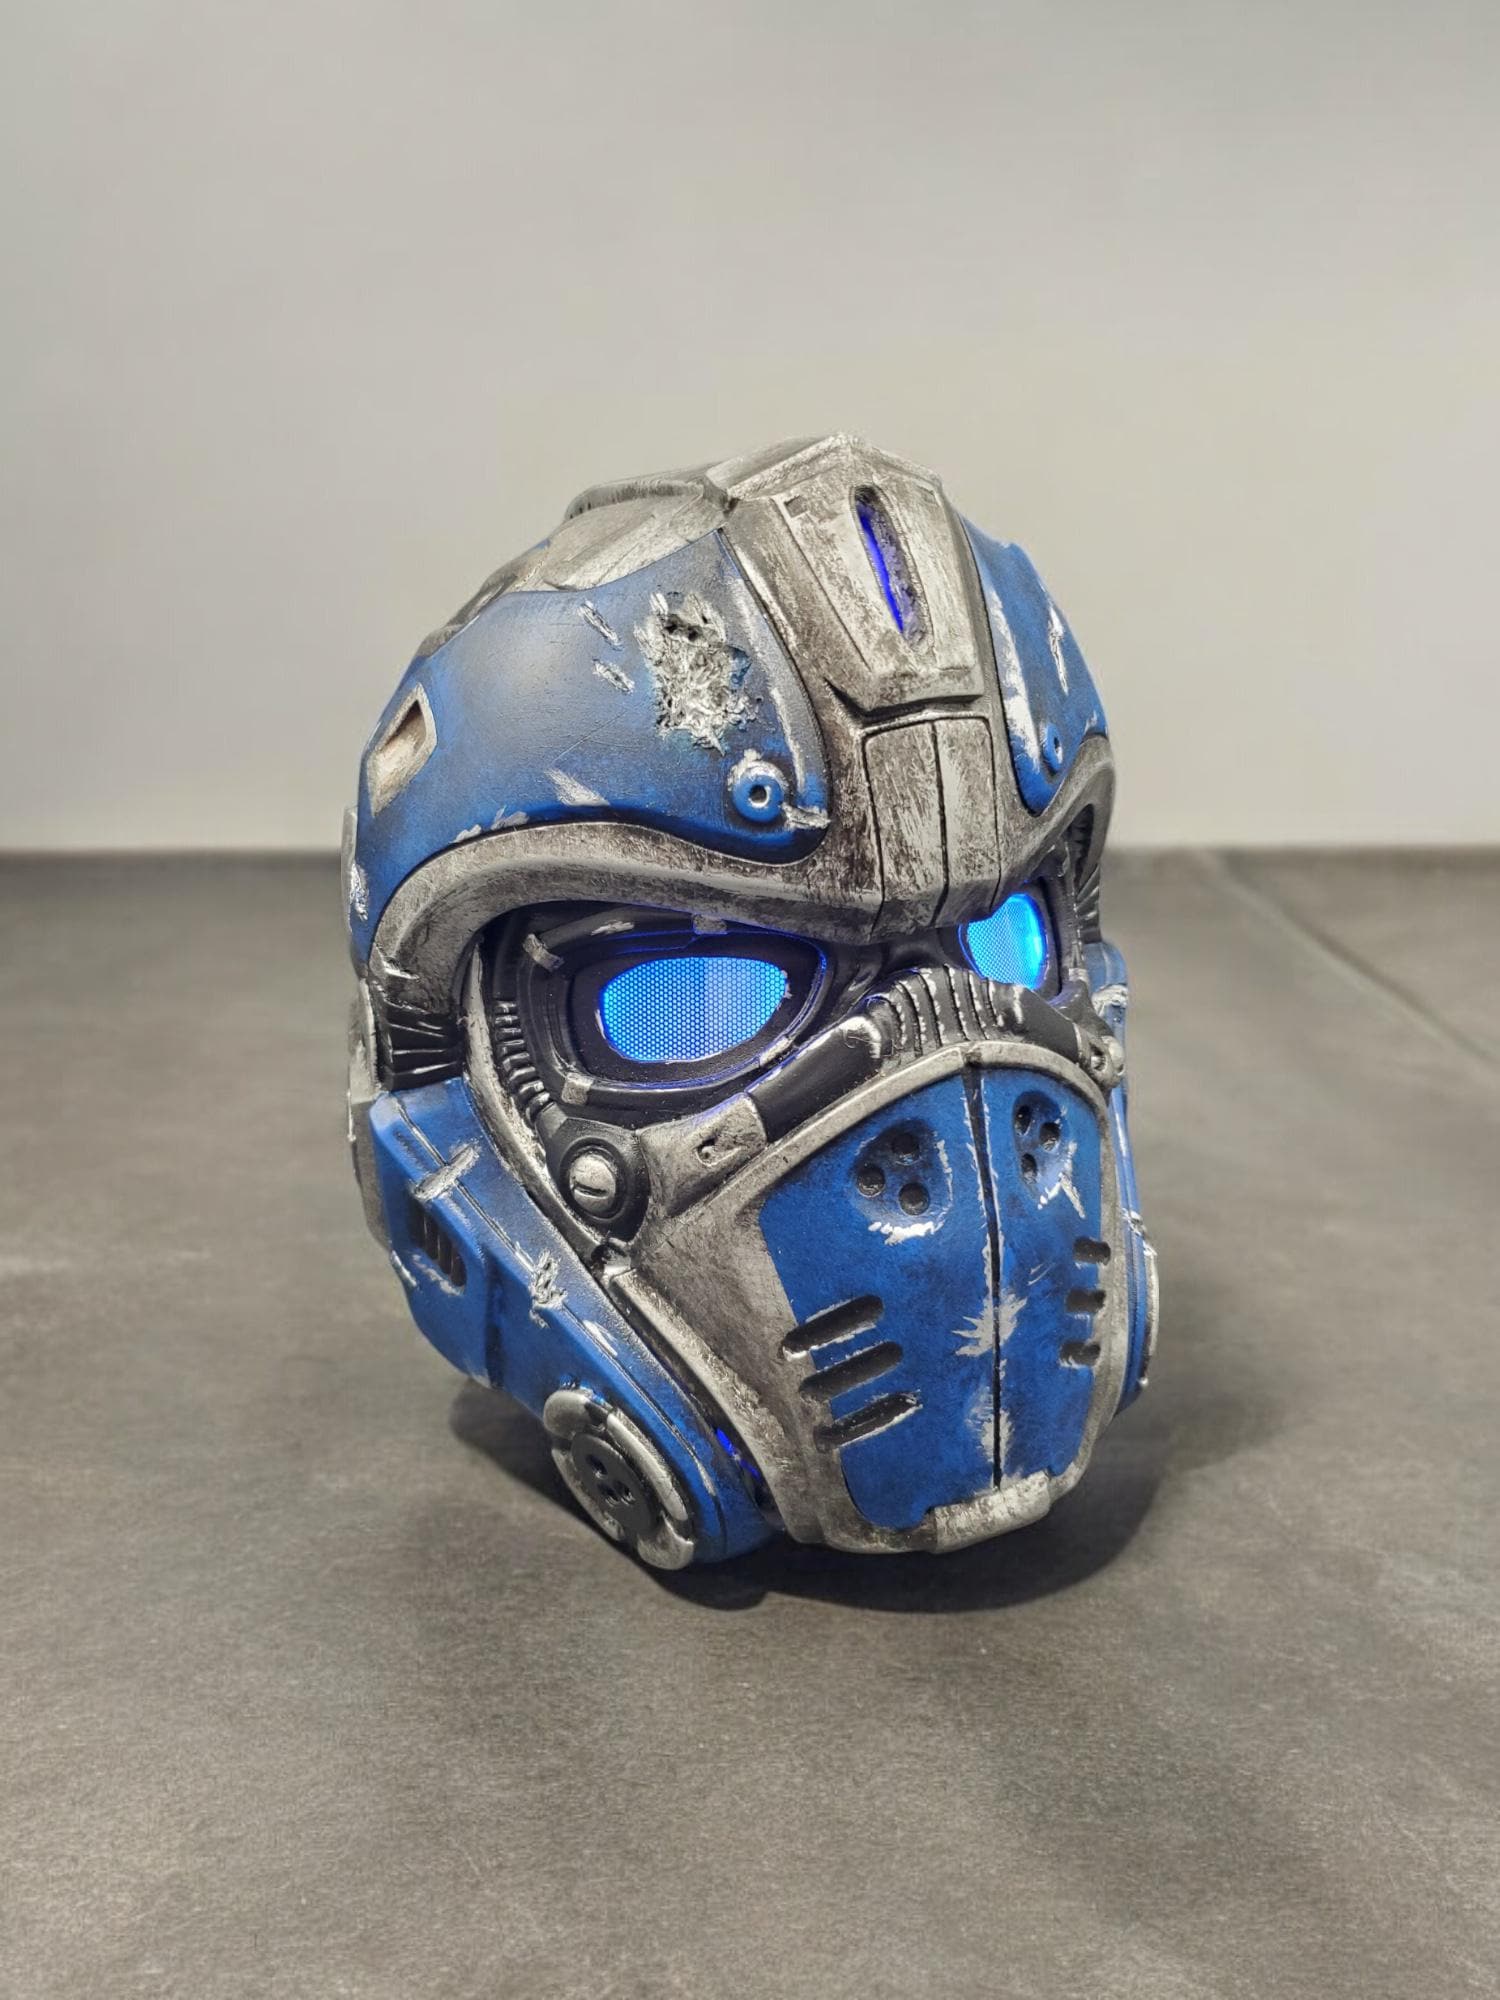
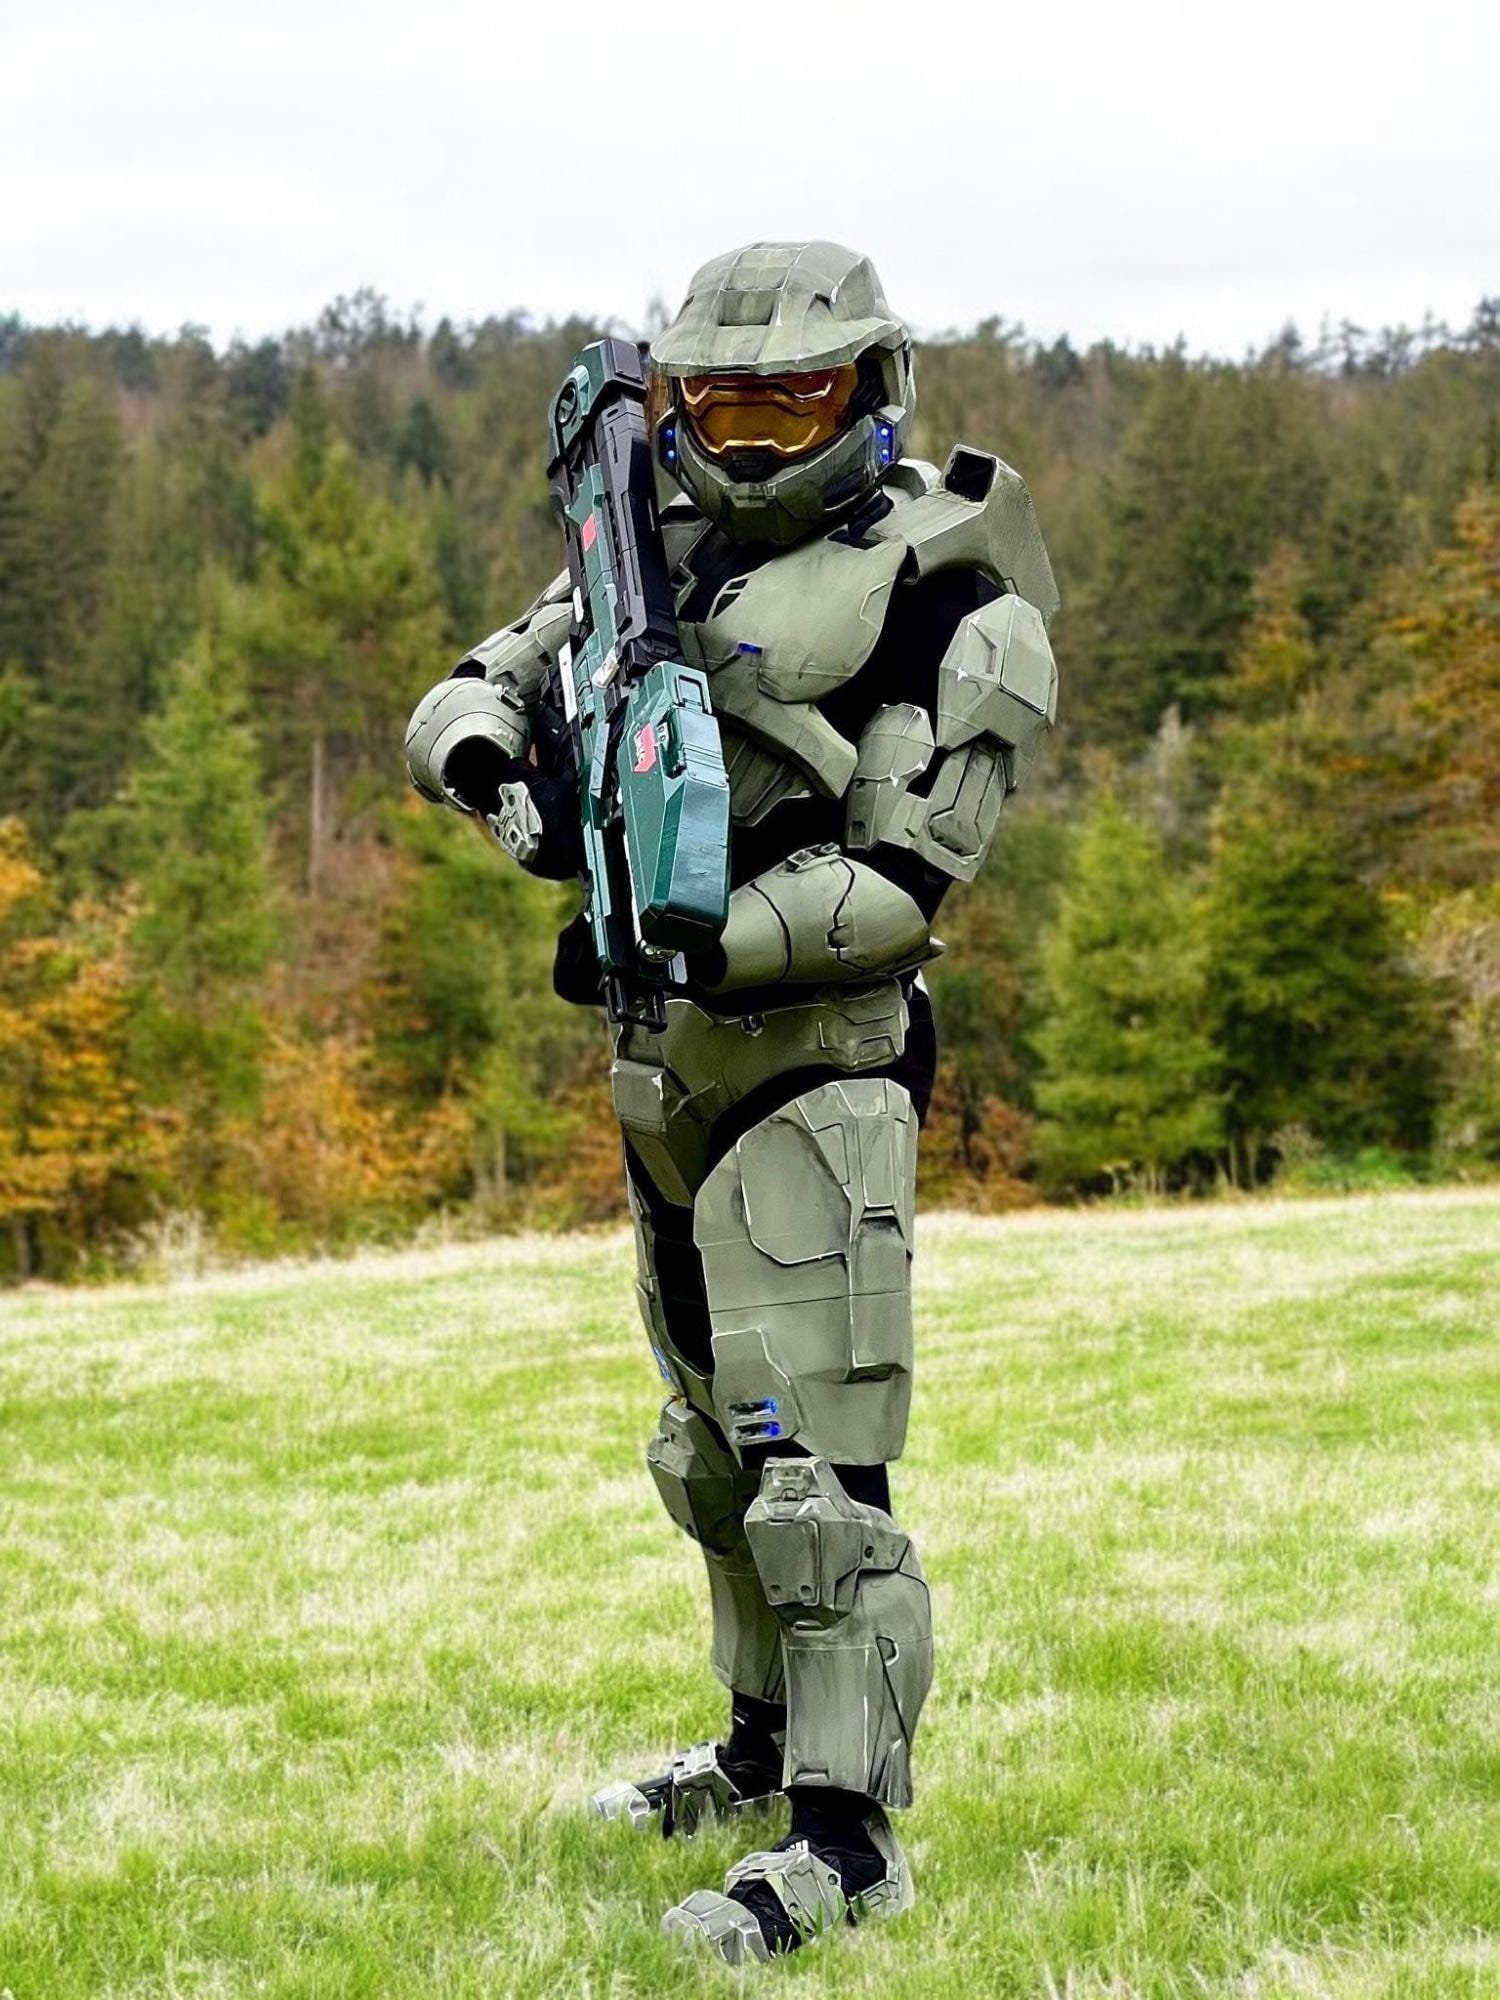
Drybrushing is the single most useful technique for making props look realistic and three-dimensional. Load a large flat brush with a lighter version of your base color (or a metallic silver), then wipe off almost all the paint on a paper towel until the brush is nearly dry. Then lightly drag it across the surface of the prop. The tiny amount of paint remaining will catch only on the raised edges and details, making them pop against the darker base.
This technique is what makes armor look worn and metallic rather than flat and plastic. It takes about five minutes to learn and produces incredible results.
Step 4: Add Depth with Washes
A wash is very thinned-down dark paint (or a pre-made wash like Citadel's Nuln Oil or Agrax Earthshade) that you apply over the whole prop. It flows into recessed areas and dries darker there, adding shadow and depth to carved details. Apply it freely and let it dry — don't try to direct it. The results look almost effortless but make an enormous difference.
Step 5: Detail Work
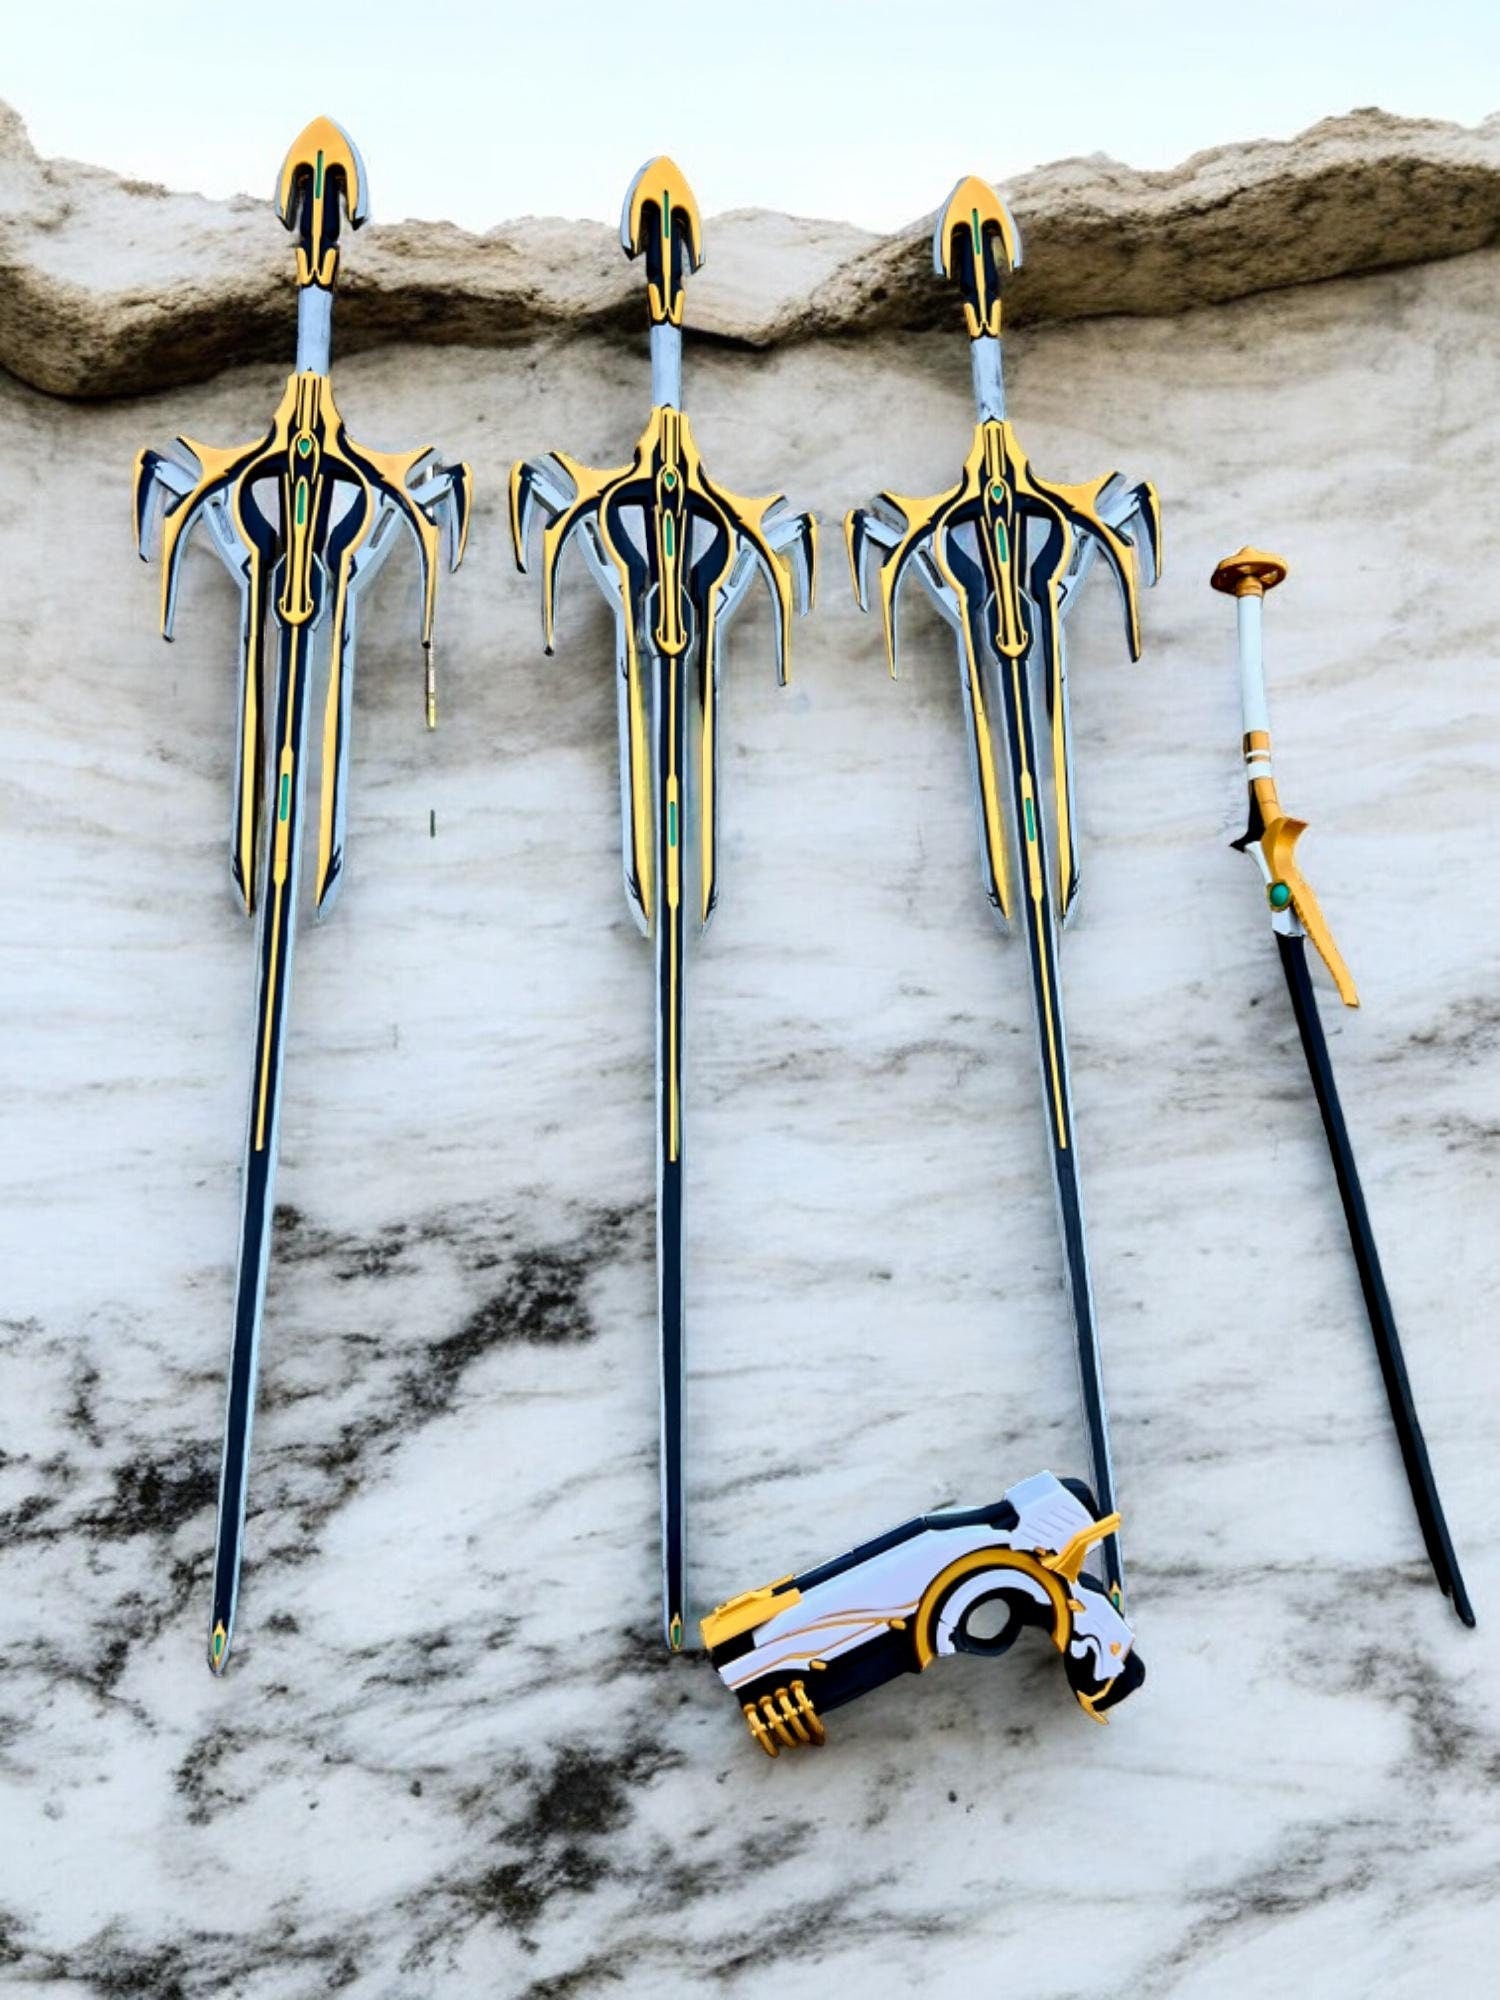
Now go in with your fine detail brush and pick out specific areas — gem inlays, text engravings, blade edges, rivets, whatever the prop has. This is where you add secondary colors and personal touches. Don't rush this stage — it's what separates a good paint job from a great one.
Step 6: Seal It
Once you're satisfied with the paint job, seal it with a clear coat spray. For weapons and dark armor, matte clear coat looks most realistic. For shinier armor or props meant to look polished, satin or gloss works better. Apply two thin coats and let it dry fully before handling. The sealer protects your work from convention wear, sweat, and the occasional accidental bump.
Common Mistakes to Avoid
- Painting in a room that's too cold — acrylic paint doesn't cure properly below about 60°F
- Rushing between layers — always let each layer dry completely before adding the next
- Using too much water in your washes — a wash should be thin, but not so thin it beads up
- Skipping the sealer — seriously, don't skip the sealer
If you have questions about your specific prop or want advice on color matching a particular character, drop us a message. We've painted hundreds of these and we're happy to share what works.