


The single fastest way to take a cosplay prop from "good" to "unforgettable" is to add LEDs. A blade that glows, a helmet visor that lights up, a staff that pulses with energy — these are the moments that turn convention floors into photo lines. Here's everything you need to know about adding LEDs to your cosplay prop, whether you order it from us with LEDs built in or want to install them yourself.
The Two Paths: Built-In or DIY
Adding LEDs to a prop is one of two paths. Either we build them in during production, or you install them after the fact. Each has its place.
Path 1: We Build It In
For most cosplayers, this is the easier route. Several of our props — most notably the elemental staffs from Call of Duty Zombies — are designed with LED installation in mind. When you order, mention the LED option and we'll quote it.
Benefits of built-in LEDs:
- The wiring is integrated cleanly — no exposed wires, no battery box clipped on the outside
- The light placement is optimized for the prop's specific design
- The battery compartment is built into the prop, hidden from view
- The on/off switch is positioned for easy access during wear
Path 2: DIY After-Install
If you ordered an unpainted or painted prop without the LED option and want to add lights yourself, it's absolutely doable. The unpainted version is easier to work with because you can drill or modify the surface before painting.
What You'll Need for DIY LED Install
Basic components for a simple LED setup:
- LED strip or individual LEDs — 5mm round LEDs are easiest for point-of-light effects. LED strips work for longer glow lines. Color choice matches the in-game energy color of your prop
- Battery holder — 2x or 3x AA holder works for most setups. For more power, 9V battery options are compact and high-output
- On/off switch — small panel-mount switch that can be installed flush to the prop surface
- Wire — 22 gauge stranded wire works for most cosplay applications
- Resistors — standard for any LED setup. The supplier of your LEDs will tell you the right resistance for your voltage
- Soldering iron and solder — a basic 25W iron is enough
- Heat shrink tubing or electrical tape — to insulate the connections
Total cost of supplies for a single prop LED setup: roughly $20-40 depending on how fancy you get.
The Installation Process
Here's the rough flow for adding LEDs to an existing 3D printed prop:
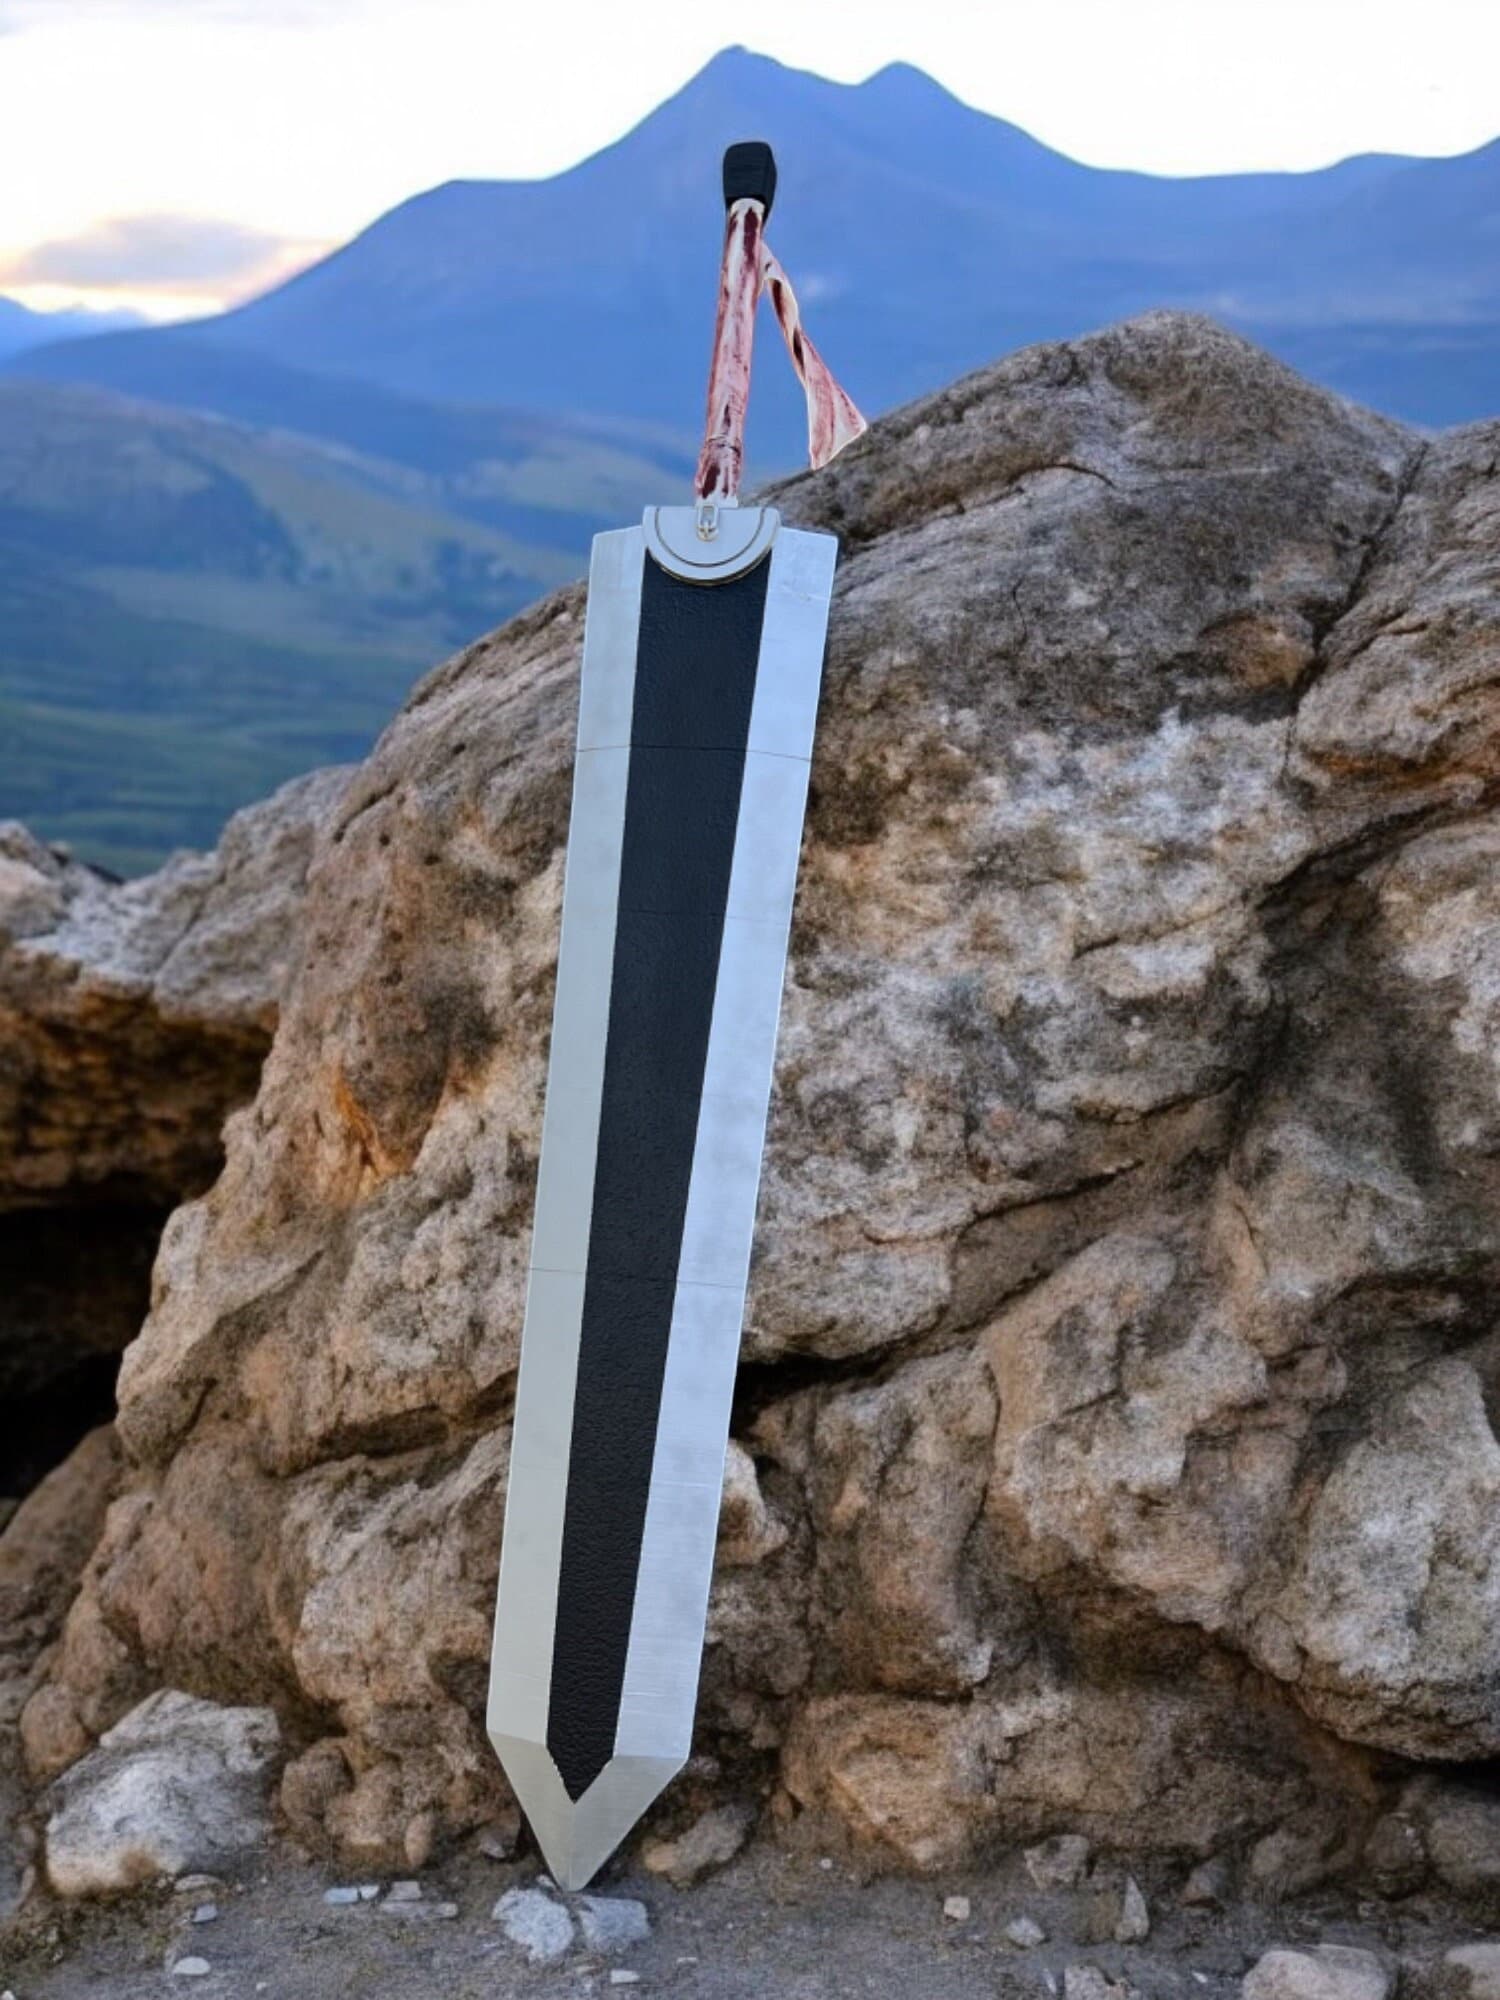
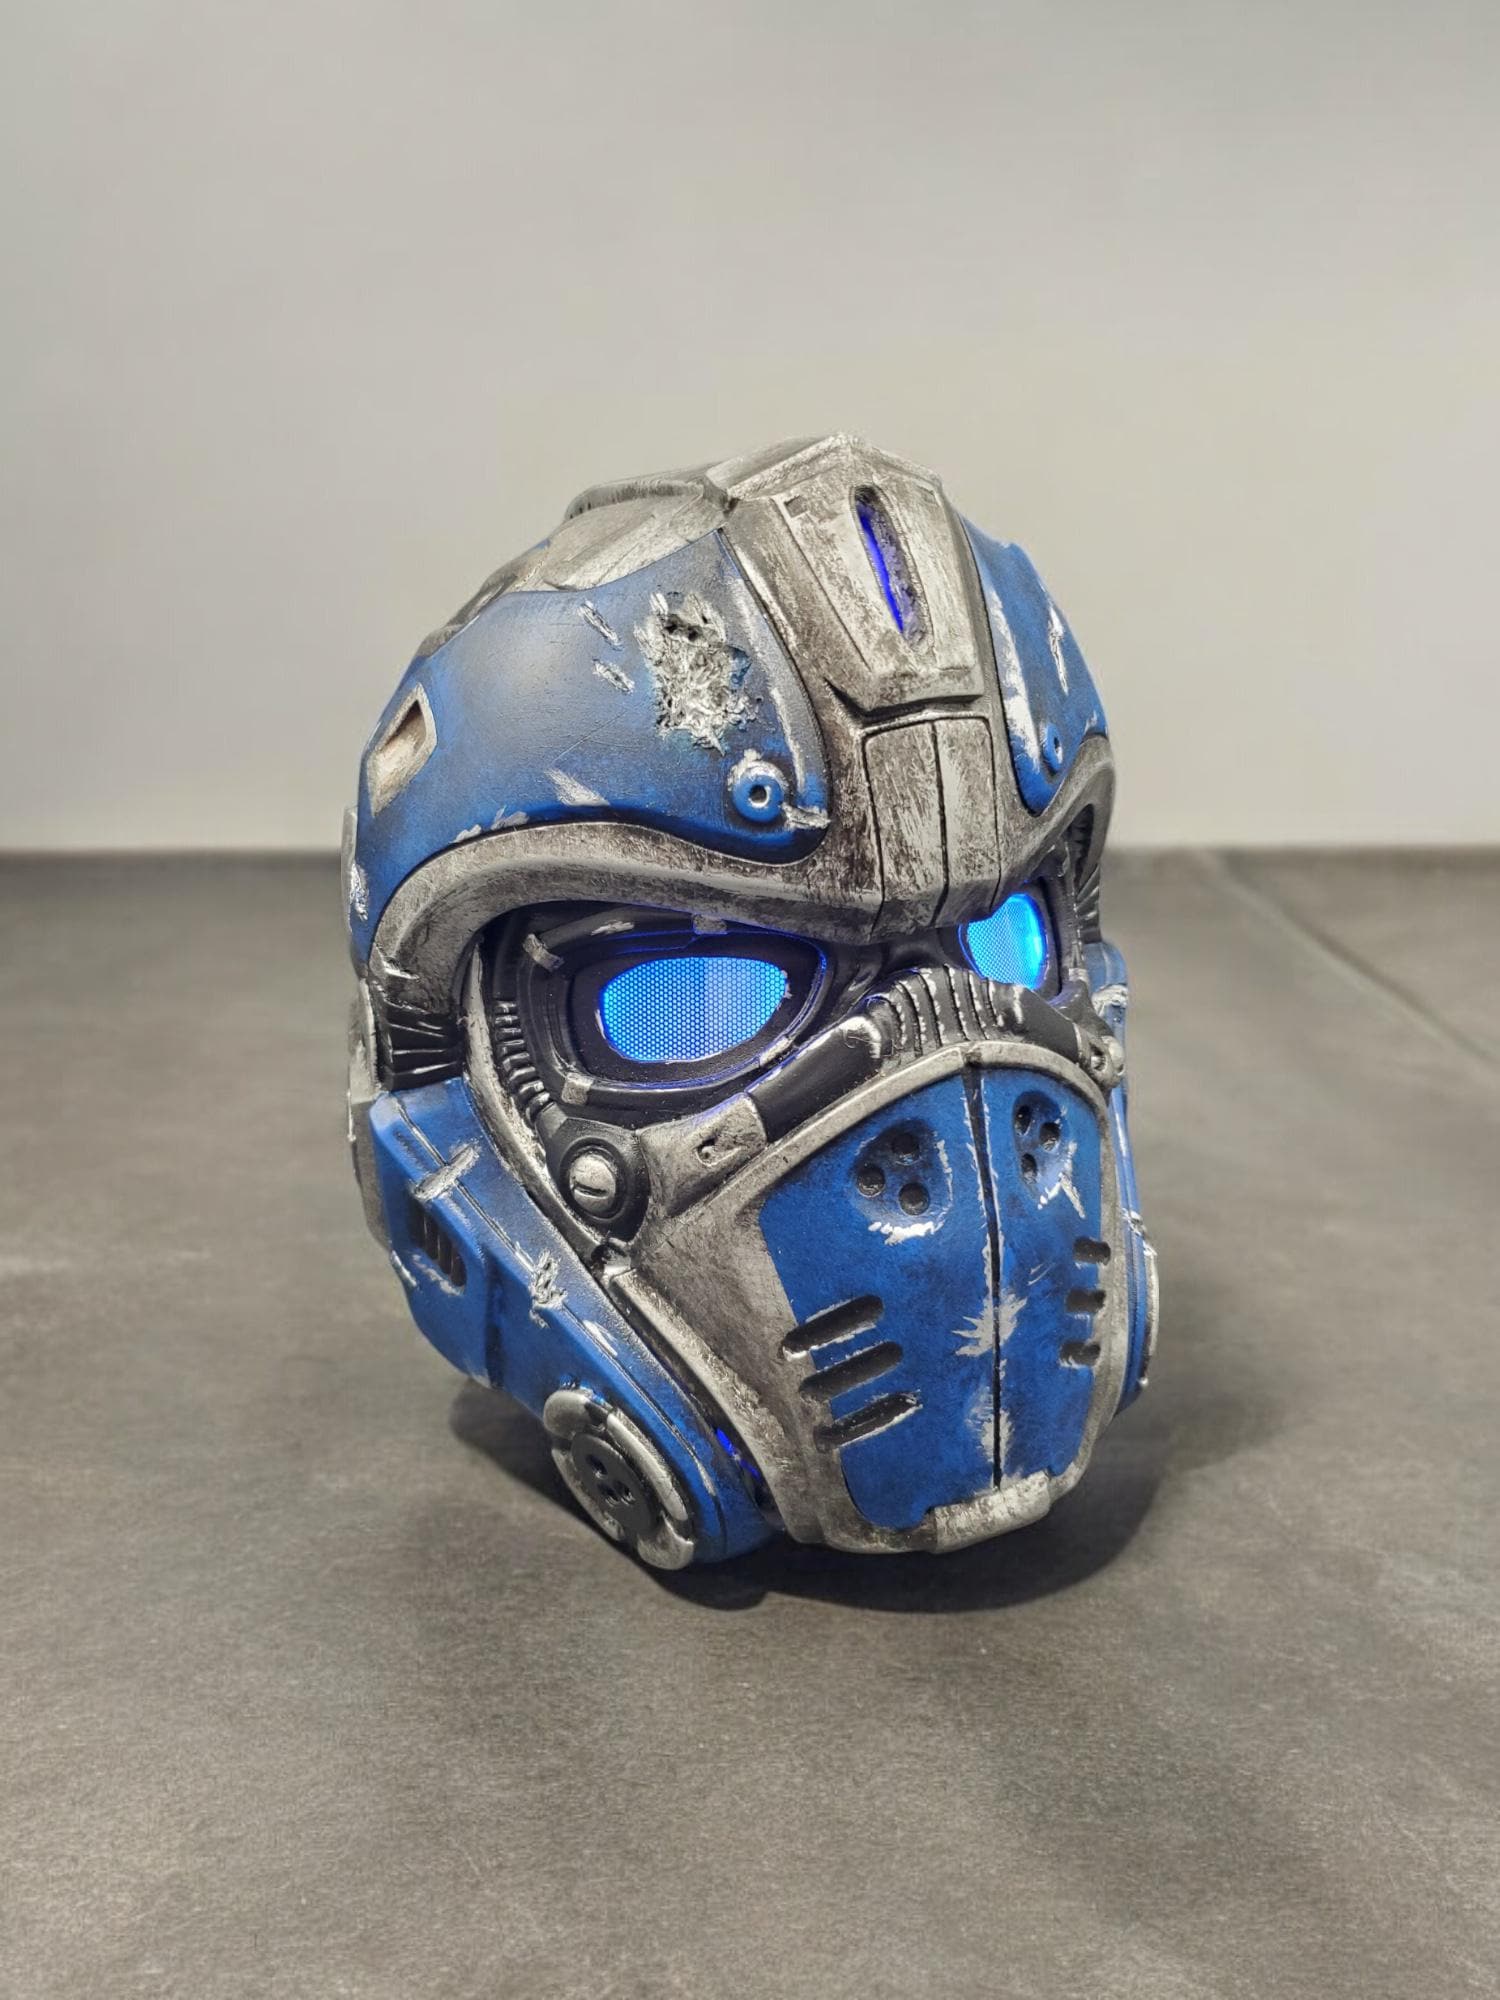
- Plan the light placement — Where should the lights show through? On a sword, typically along the fuller (the central groove). On a staff, near the top of the head. On a helmet, behind the visor
- Drill holes for individual LEDs or carve channels for LED strips — Use a small drill bit (4-5mm for round LEDs). For strips, a Dremel makes clean channels
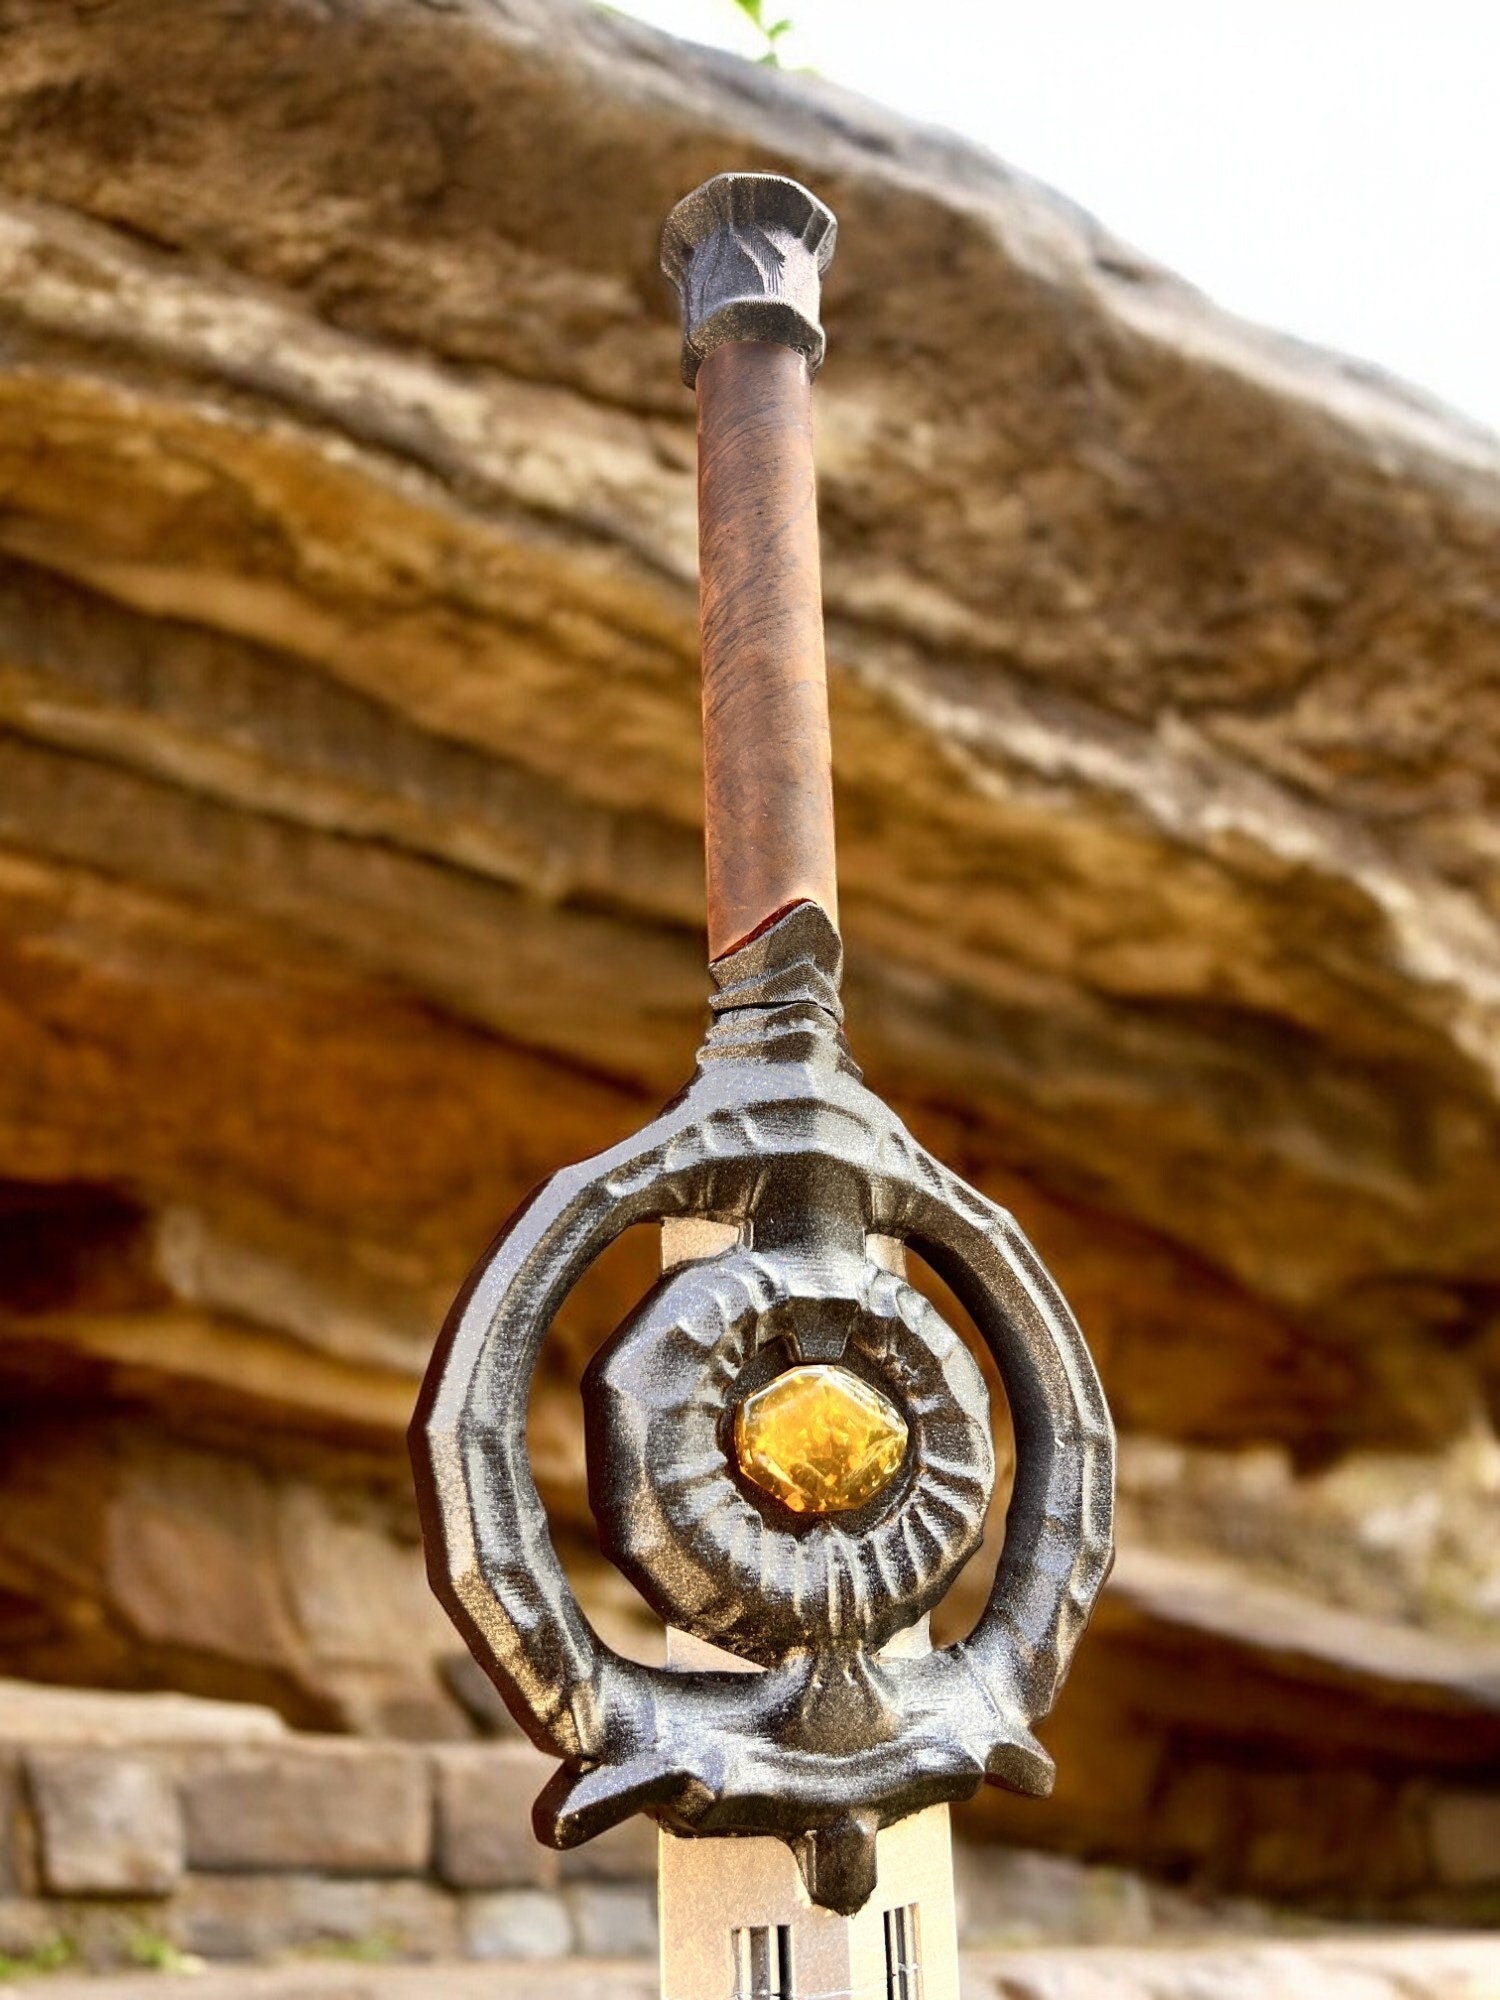
- Plan the battery compartment — The hilt of a sword, the base of a staff, or the back of a helmet typically has room. You may need to add a small access panel
- Wire the circuit — Battery to switch to LEDs (with resistor inline). This is the same basic circuit you'd build in any electronics 101 class
- Test the circuit before final installation — Make sure everything lights up correctly before you commit to mounting
- Install and seal — Hot glue is your friend for securing LEDs in place. Heat shrink or electrical tape on all exposed wire
For cosplayers who haven't soldered before, there are plenty of YouTube tutorials on basic LED circuits for prop work. The learning curve is gentle.
Best Cosplay Props for LEDs
Some props benefit from LEDs more than others. The clearest winners in our shop:
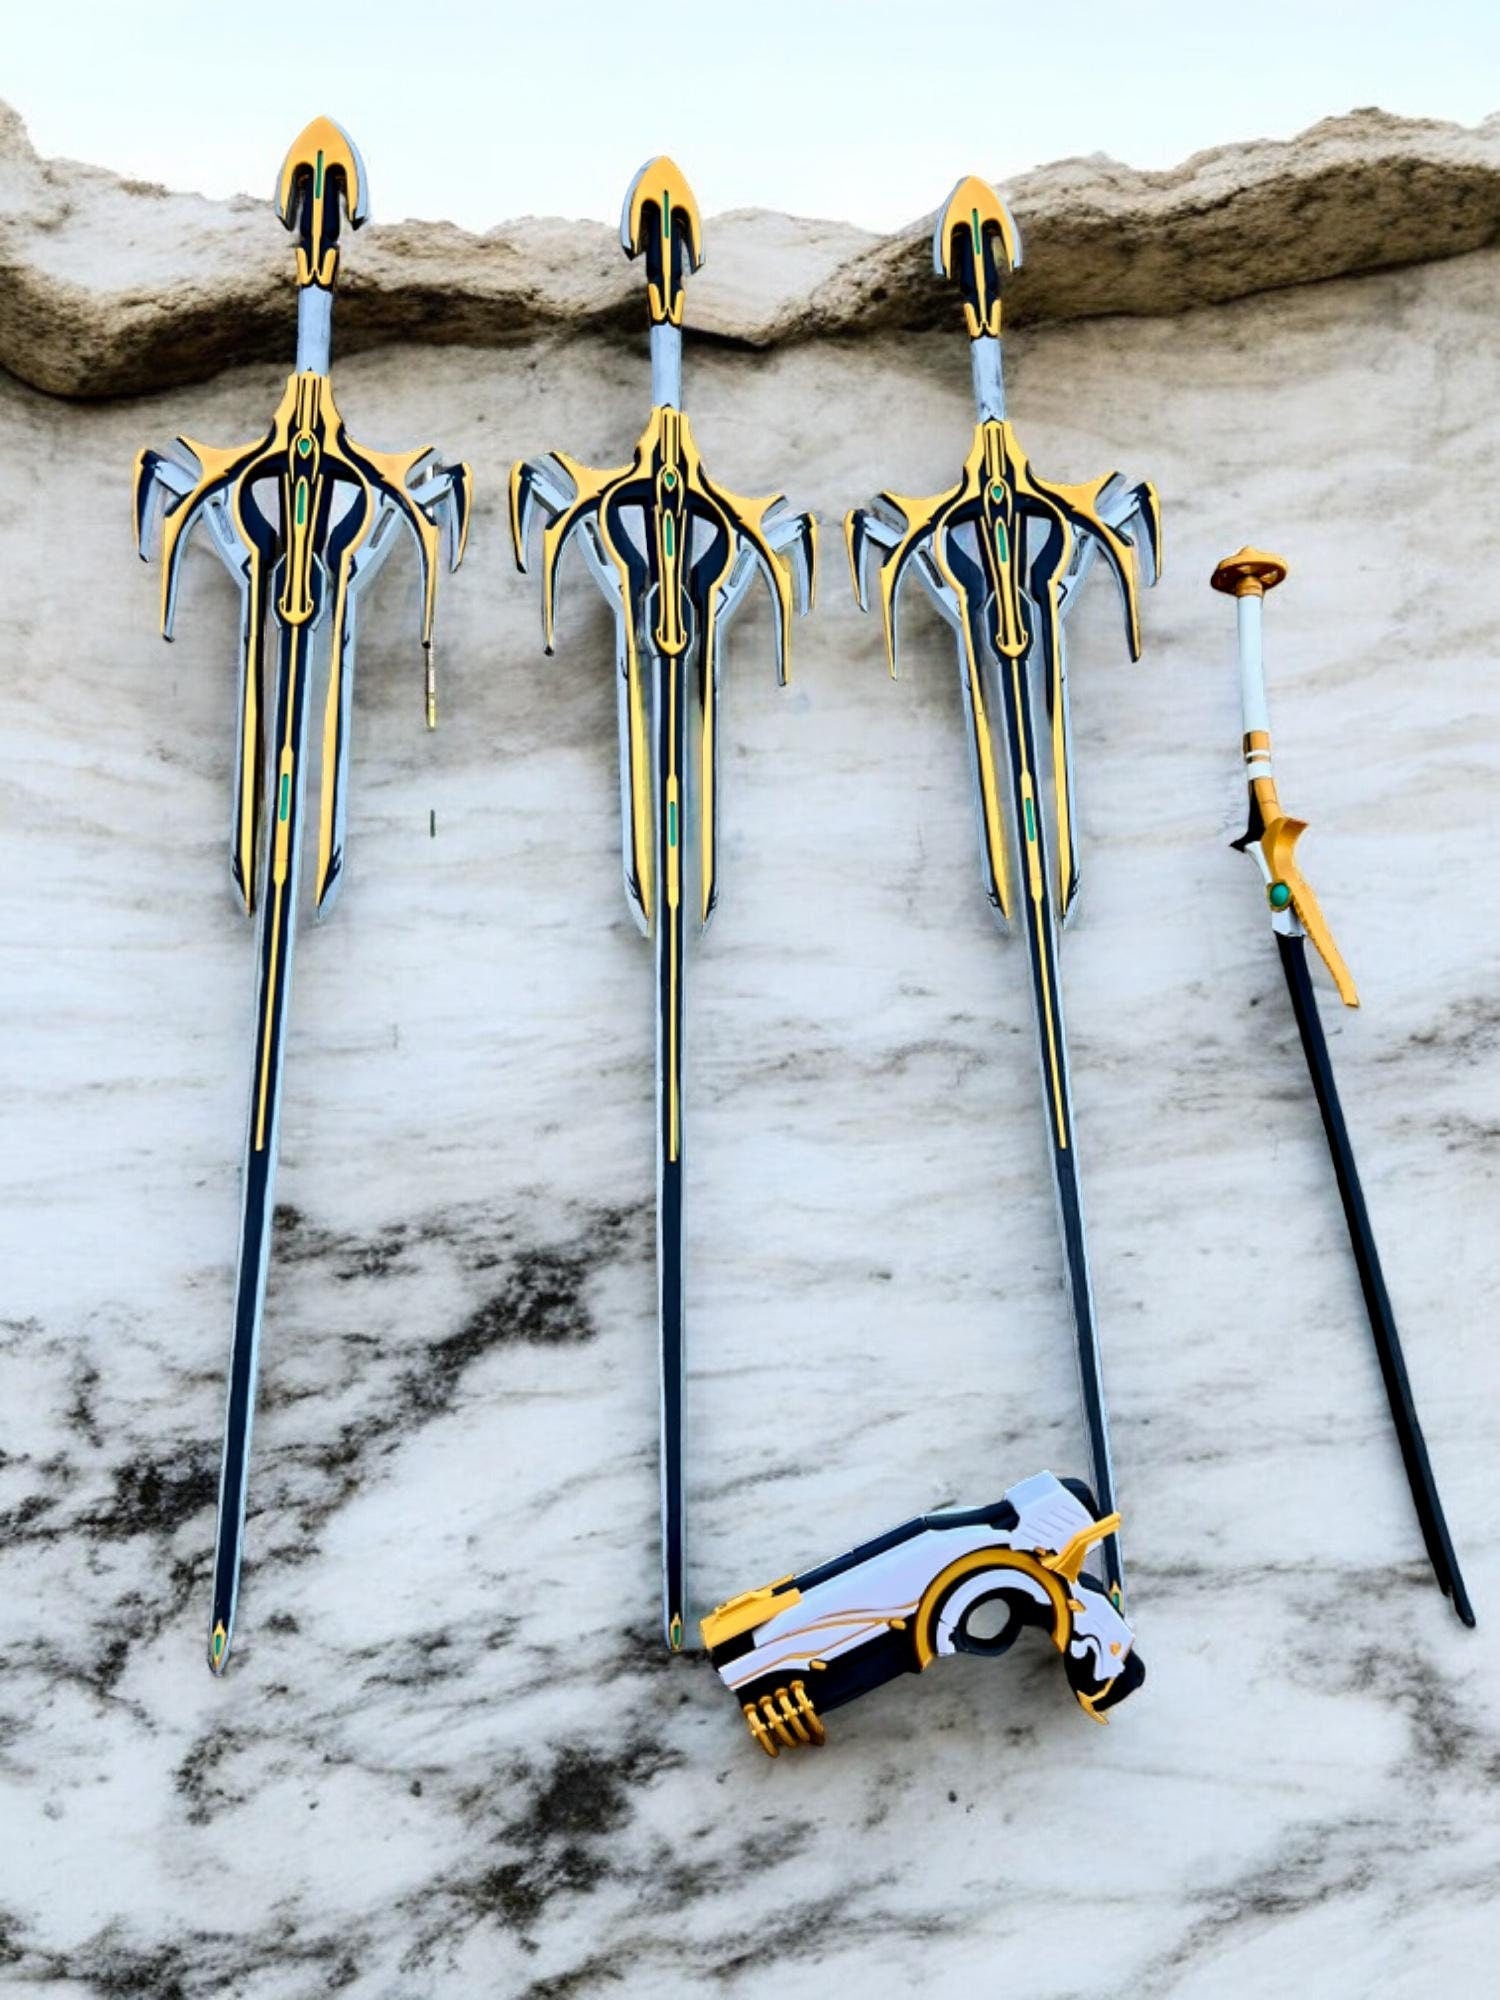
- Elemental Staffs full set — designed with LEDs in mind, the in-game effect of glowing elemental energy at the top of each staff is iconic
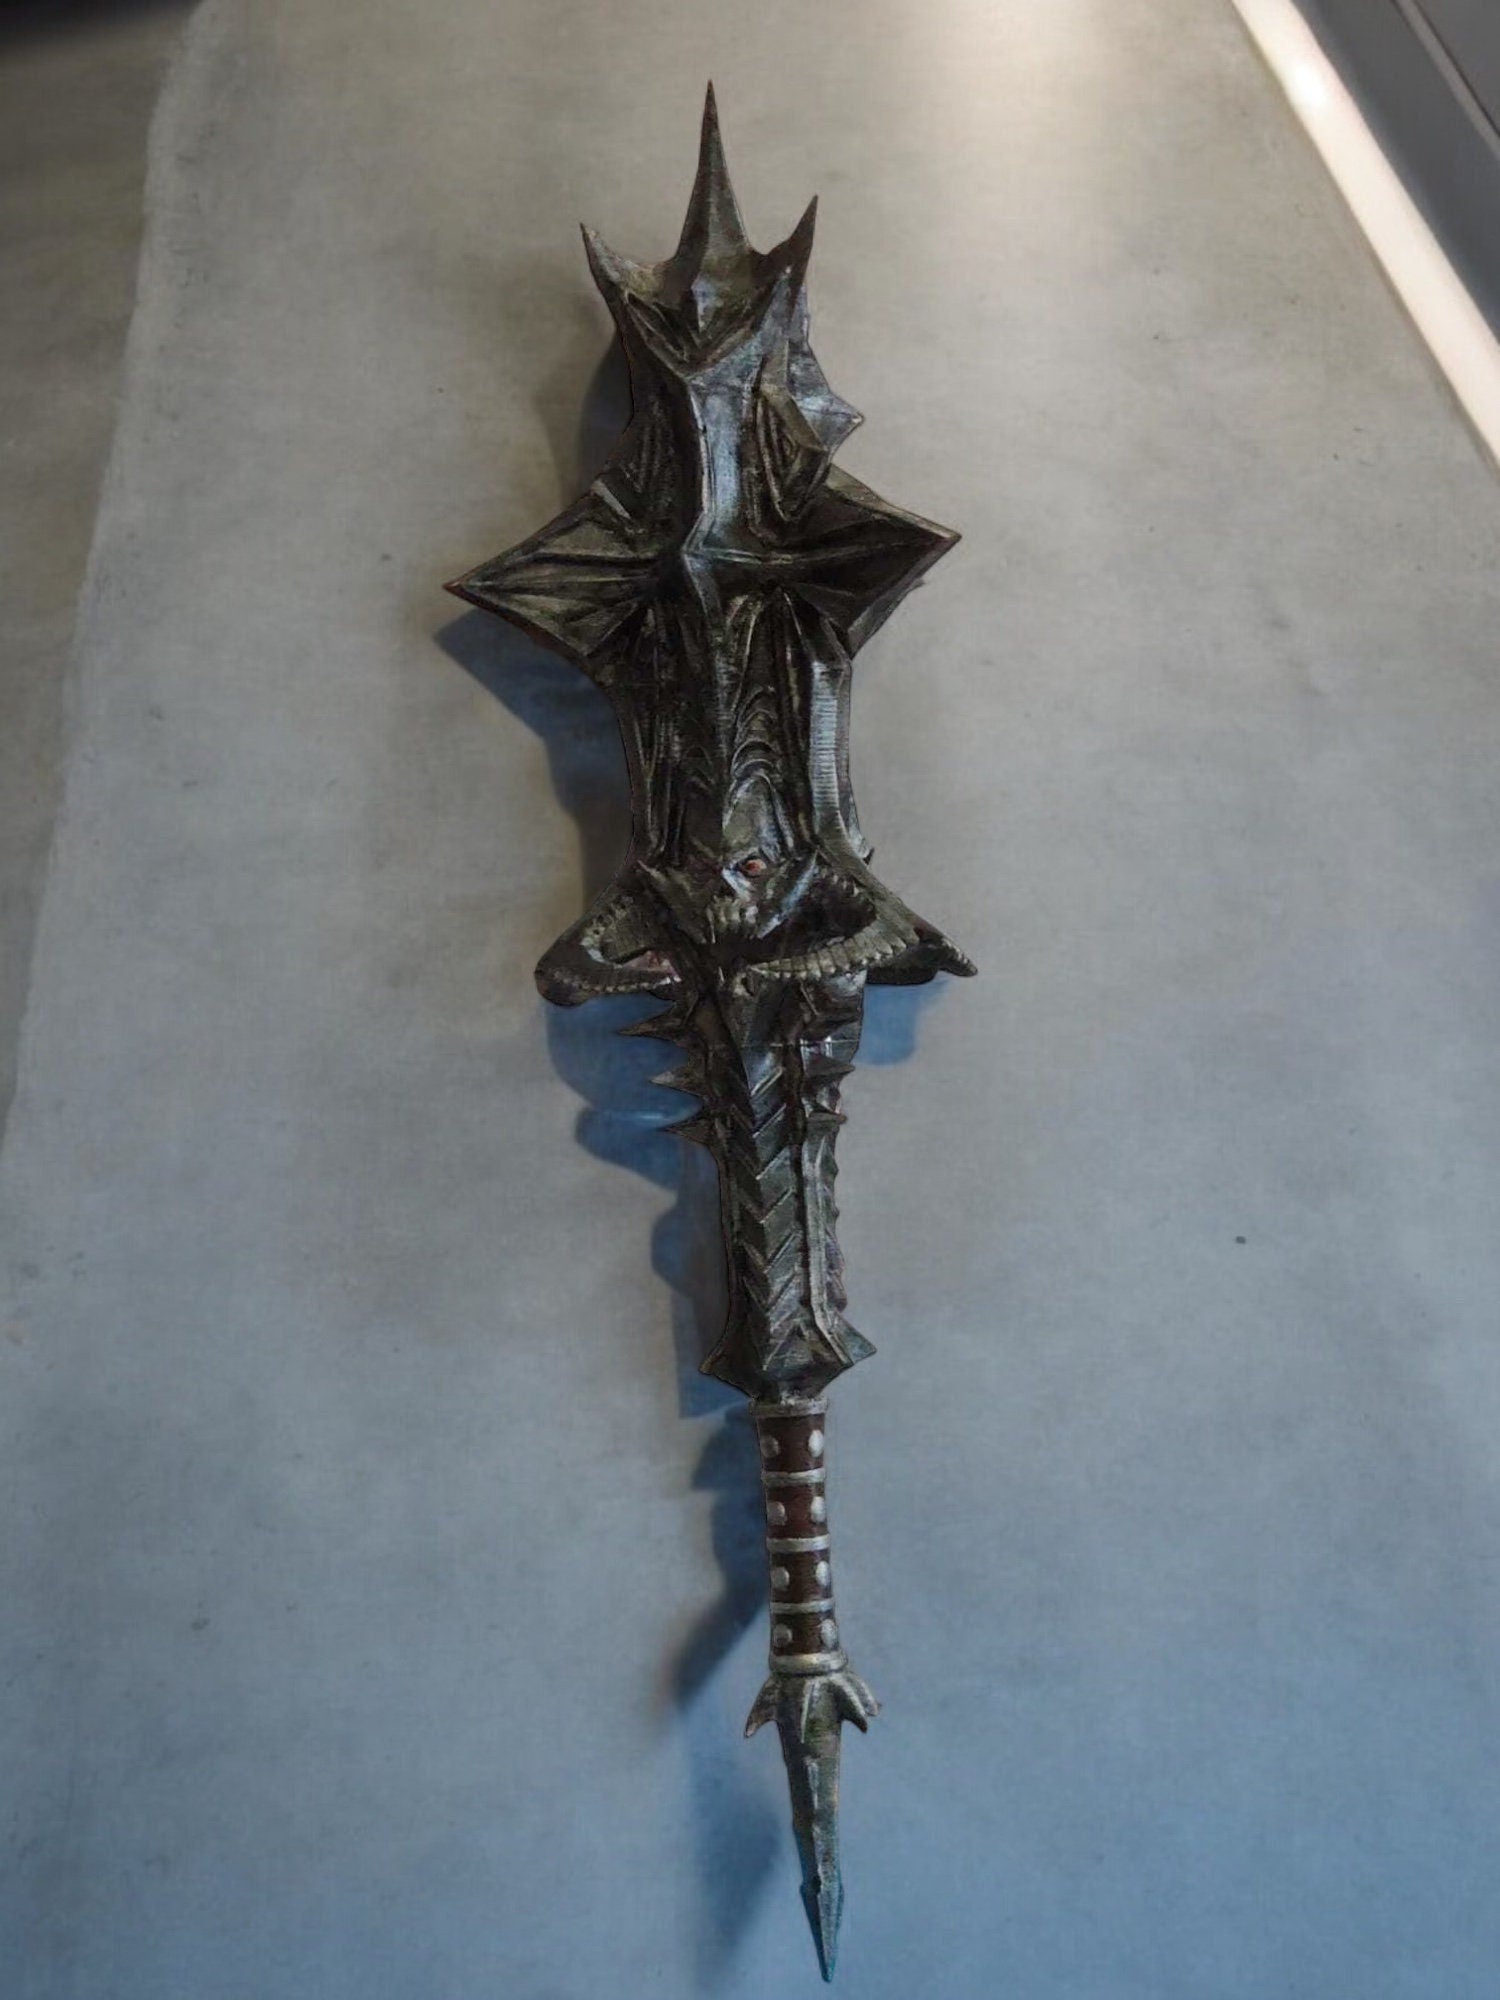
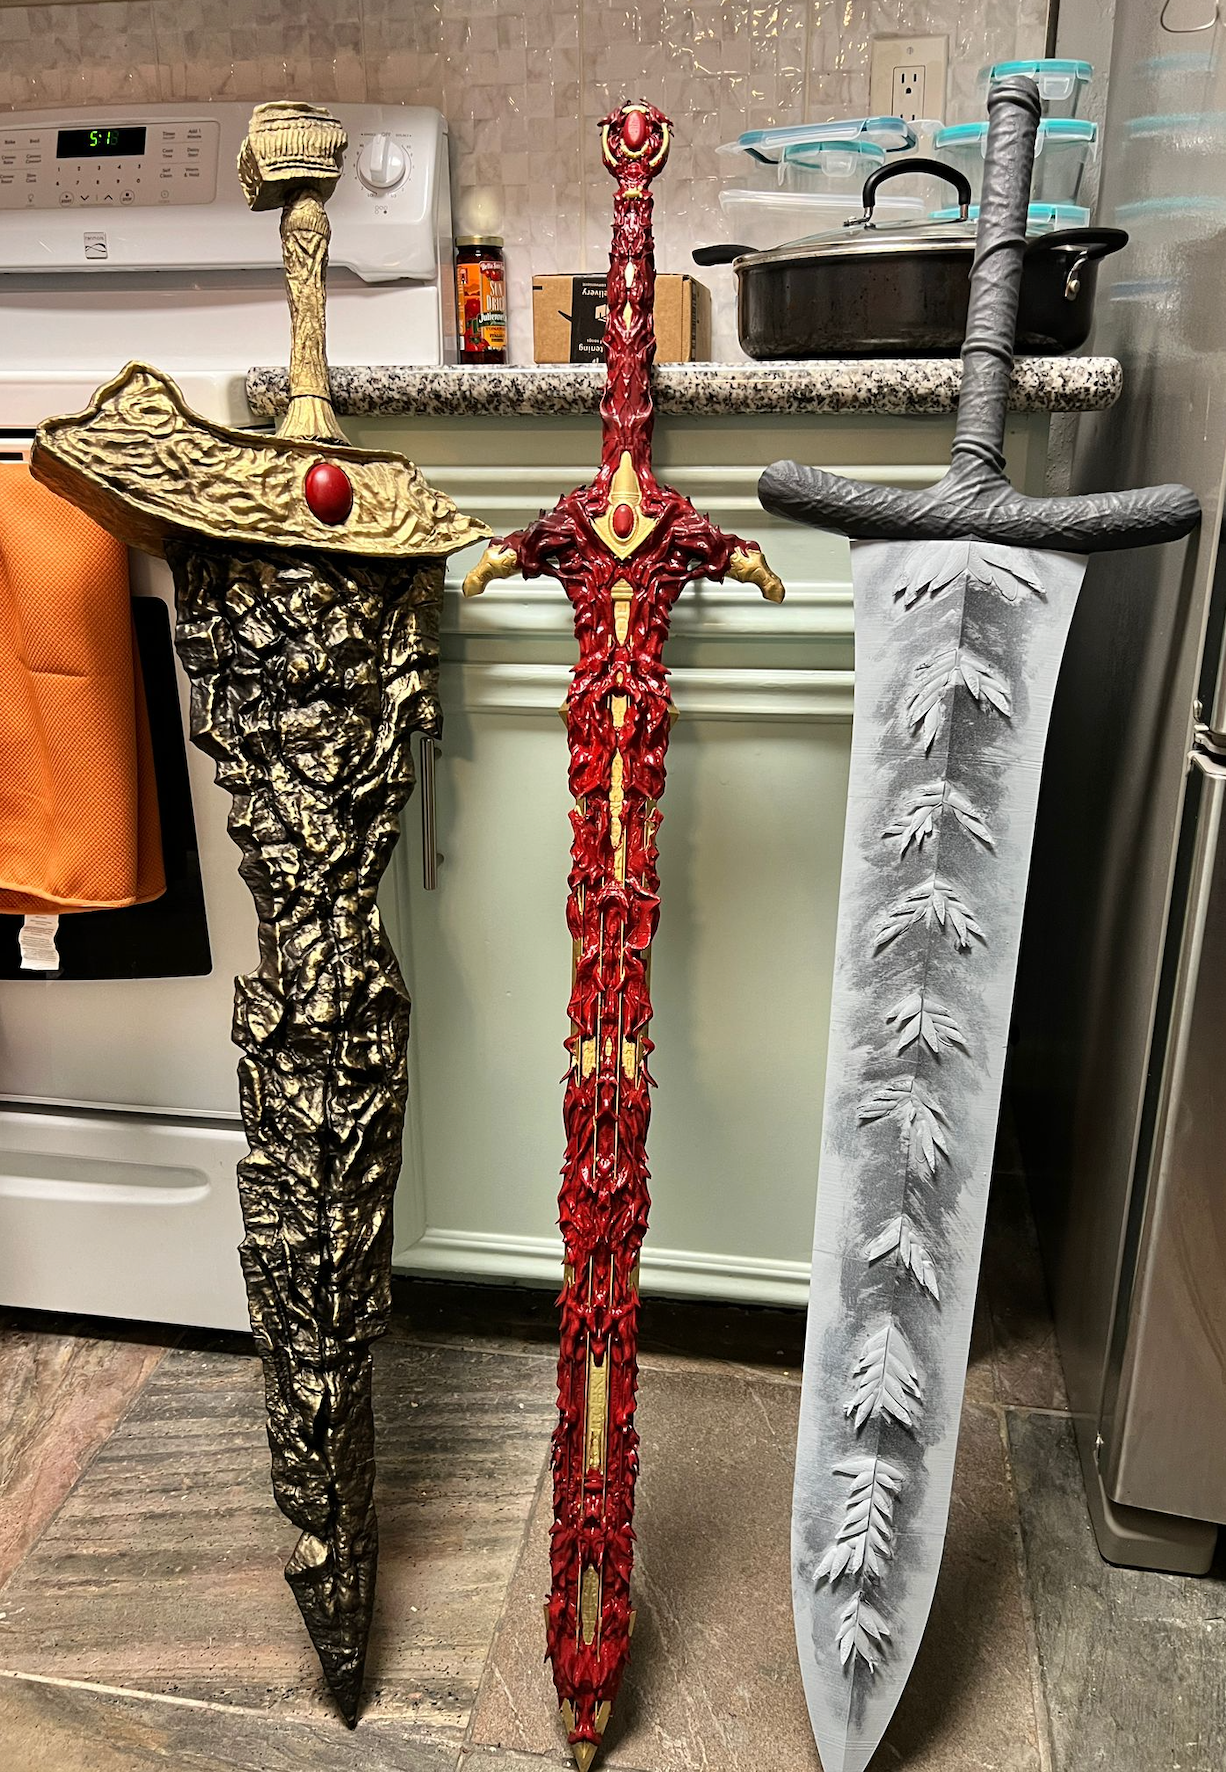
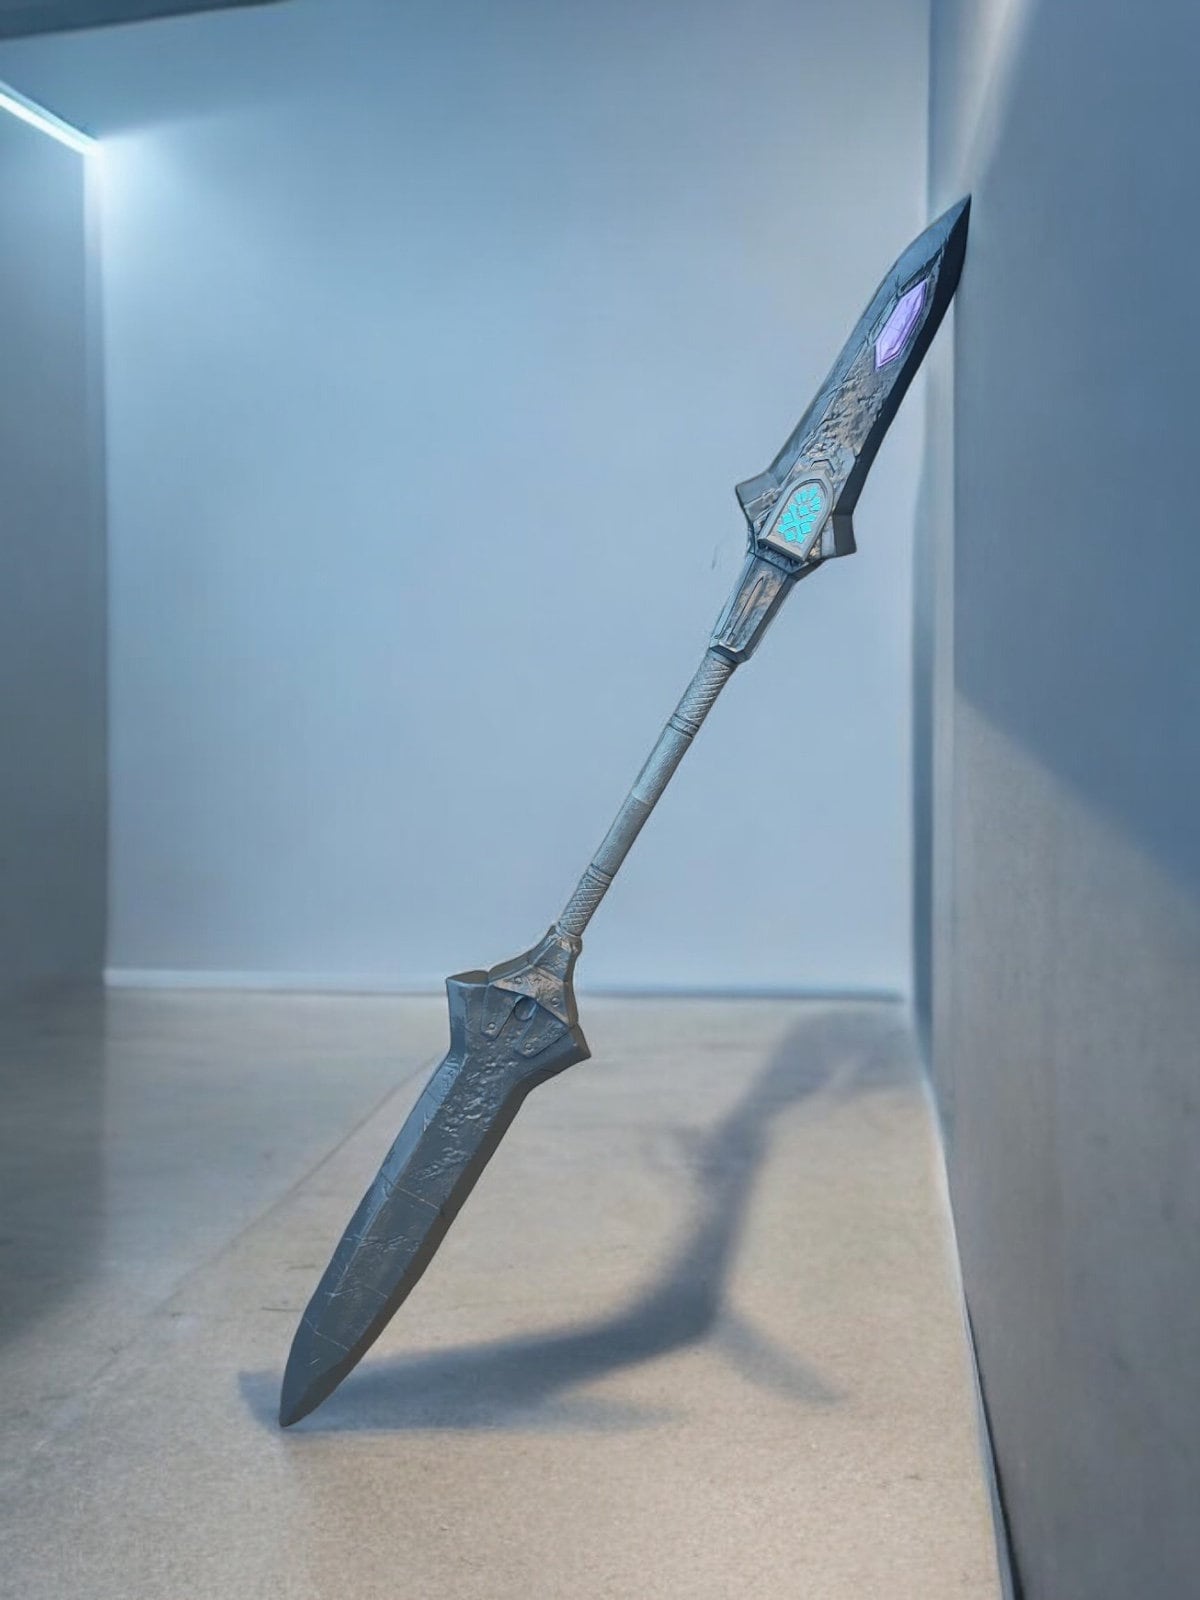
- Hive Sword — Destiny's energy weapons are defined by glow effects. LED accents inside the bone structure make this prop legendary
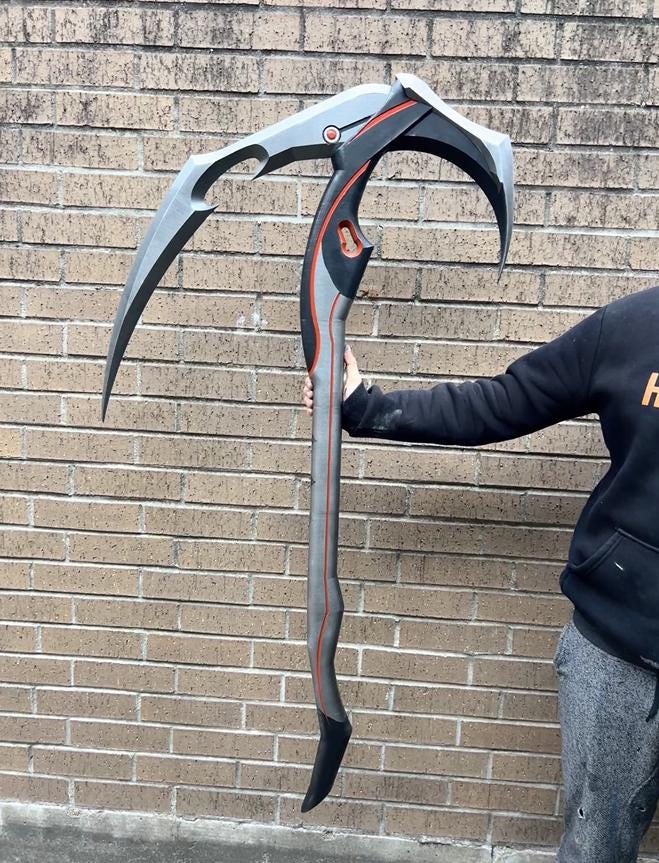
- Rhulk's Glaive — the Witness energy is canonically luminous
- Dawnbreaker — the blade of holy fire from Meridia, designed to literally burn with light
- Trauma Team Helmet — the visor is begging for LED backlighting
- Mercy's Caduceus Staff — healing beam staff with built-in glow potential
Battery Life Reality Check
LED props at conventions need to last a full day. Two practical tips:
- Plan for 8-10 hours of intermittent use, not constant illumination. Turn the LEDs off when walking between locations or eating, on when you're posing for photos
- Bring spare batteries. Always. A dead prop in the middle of a convention day is rough
Color Choice for In-Game Accuracy
Match the color to the franchise:
- Destiny weapons: typically blue (Arc), orange (Solar), or purple (Void) depending on the element
- Skyrim Dawnbreaker: warm yellow-white
- Elemental Staffs (Black Ops Zombies): blue ice, yellow lightning, green wind, red fire
- Cyberpunk visors: red, cyan, or amber depending on the faction
- Final Fantasy weapons: cyan or white for most magical effects
Mention LEDs When You Order
The simplest path: mention you want LEDs added when you order the prop. We can quote it based on the prop type and your color preference. Pricing varies per prop and complexity but typically adds $20-60 depending on the setup. You skip the soldering and we deliver a fully wired, fully working prop ready for the convention floor.
One Last Thing
LED props get attention. Lots of it. Plan for the energy of people approaching you for photos all day. Also plan for kids — a glowing sword is a magnet for kids who want to touch it. Have a polite line ready about "please look but don't touch" and you'll be fine.
Light it up.