


Every prop in our shop comes in three options: painted (ready to wear), unpainted (built and finished but no paint), or DIY kit (raw 3D printed pieces for you to sand, prime, and paint from scratch). Each one fits a different kind of cosplayer. Here's the full breakdown of what you get with each option, and how to decide which one is right for you.
The Quick Comparison
| Option | What You Get | Time Investment | Best For |
|---|---|---|---|
| Painted | Fully finished, ready-to-wear prop | Zero — just wear it | Most cosplayers |
| Unpainted | Built and primed, no color | 10-30 hours of painting | Cosplayers who enjoy painting |
| DIY Kit | Raw printed pieces, unassembled | 30-80 hours of finishing work | Builders who want full control |
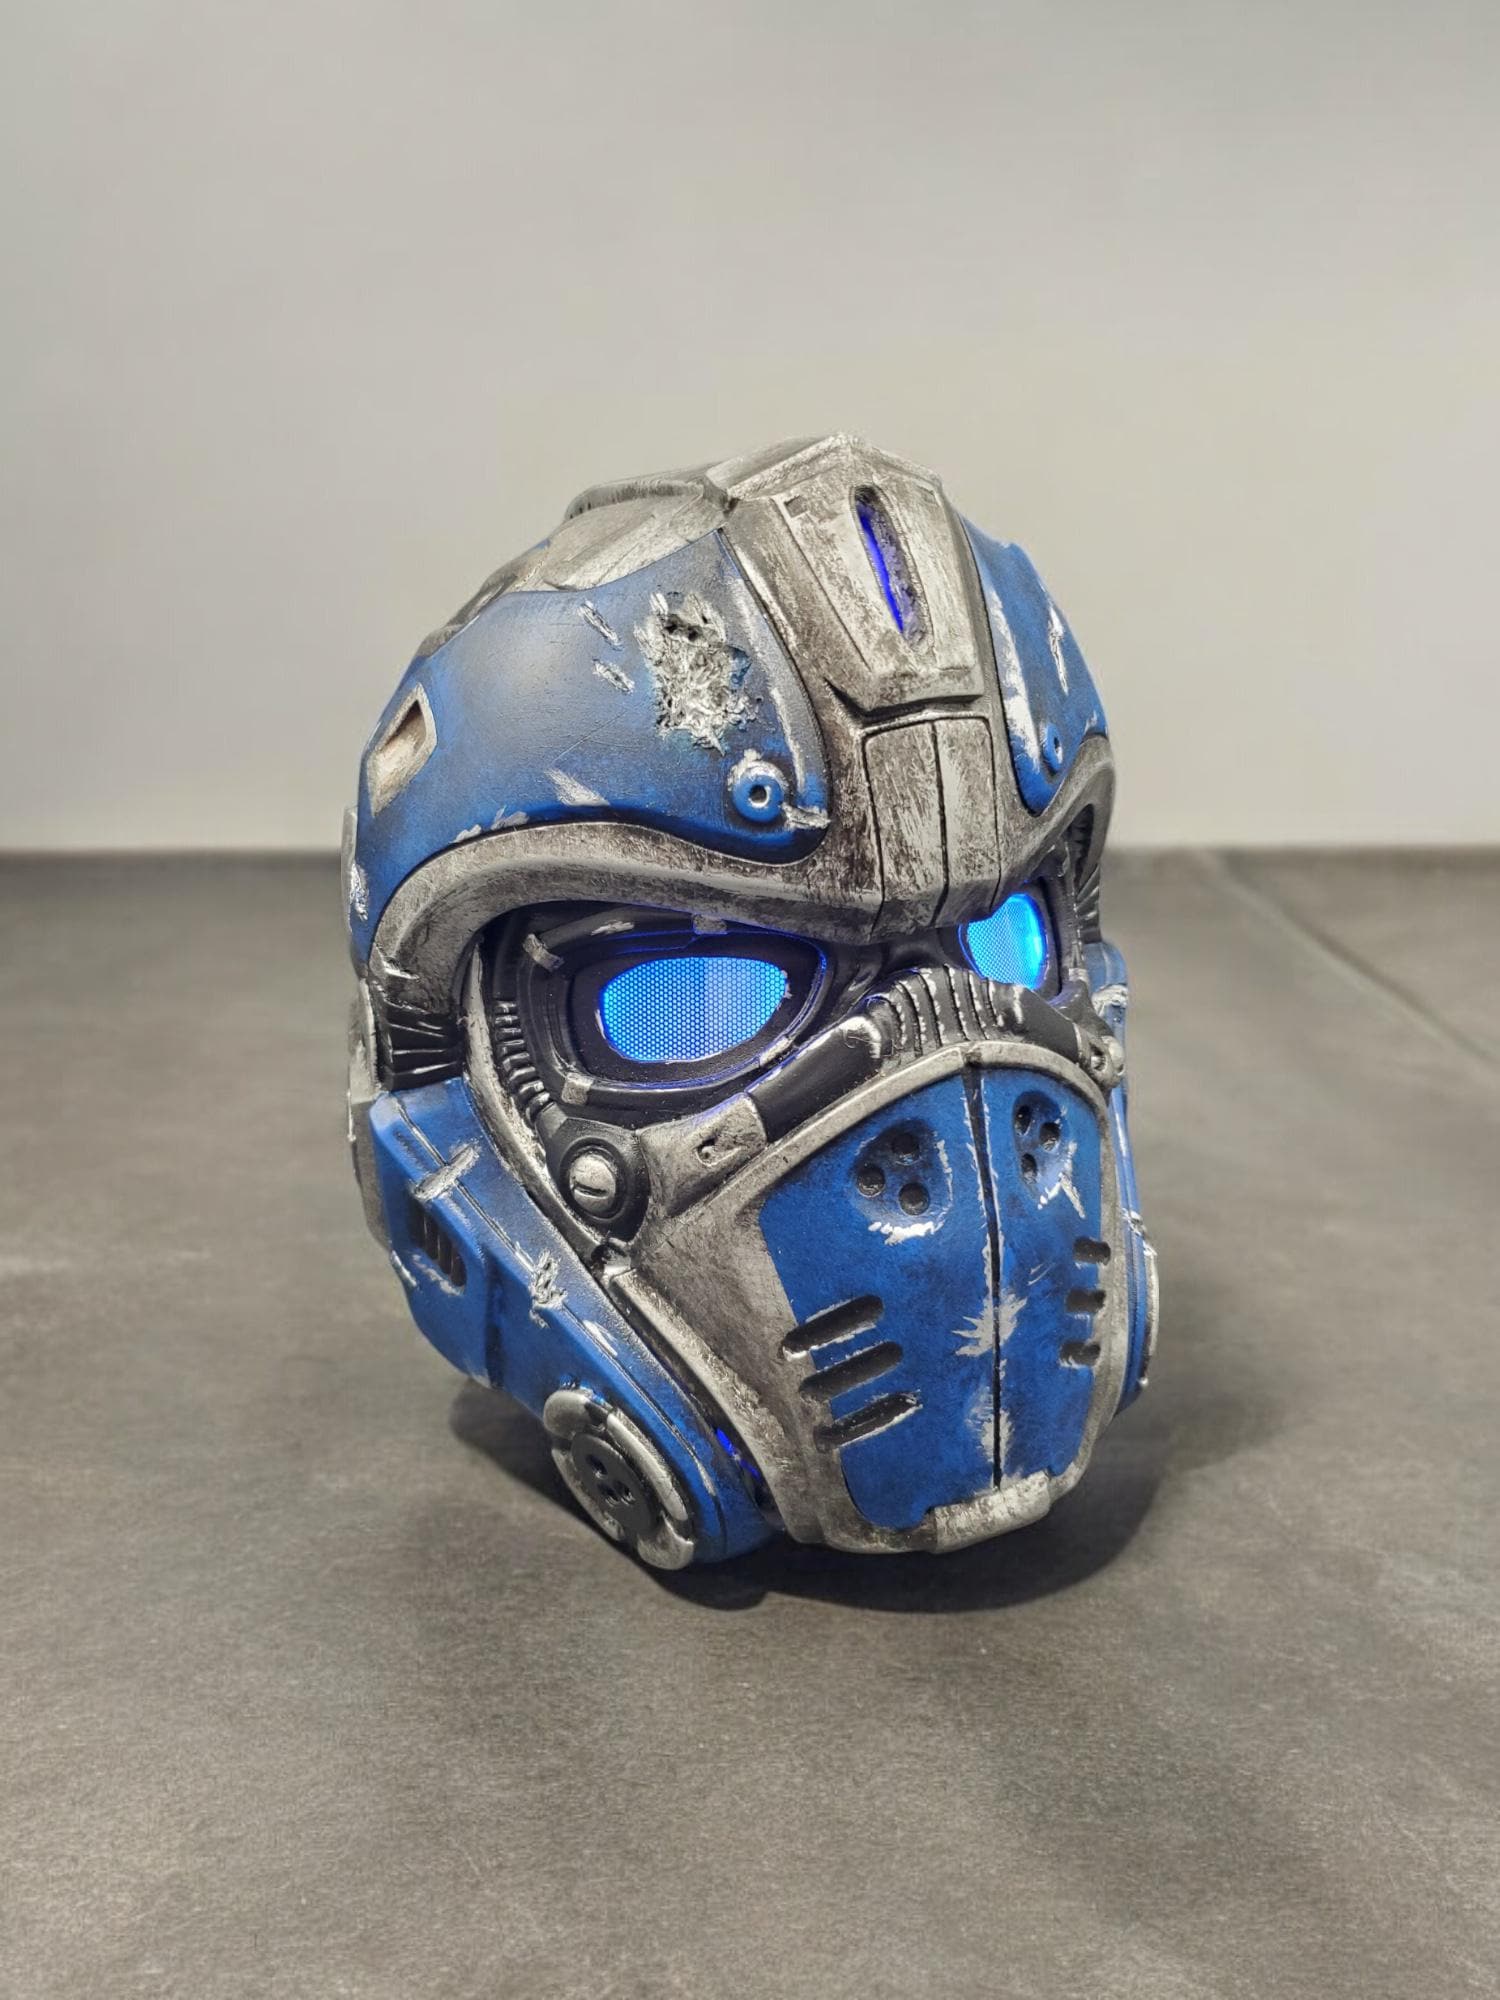
Painted: The Default Choice
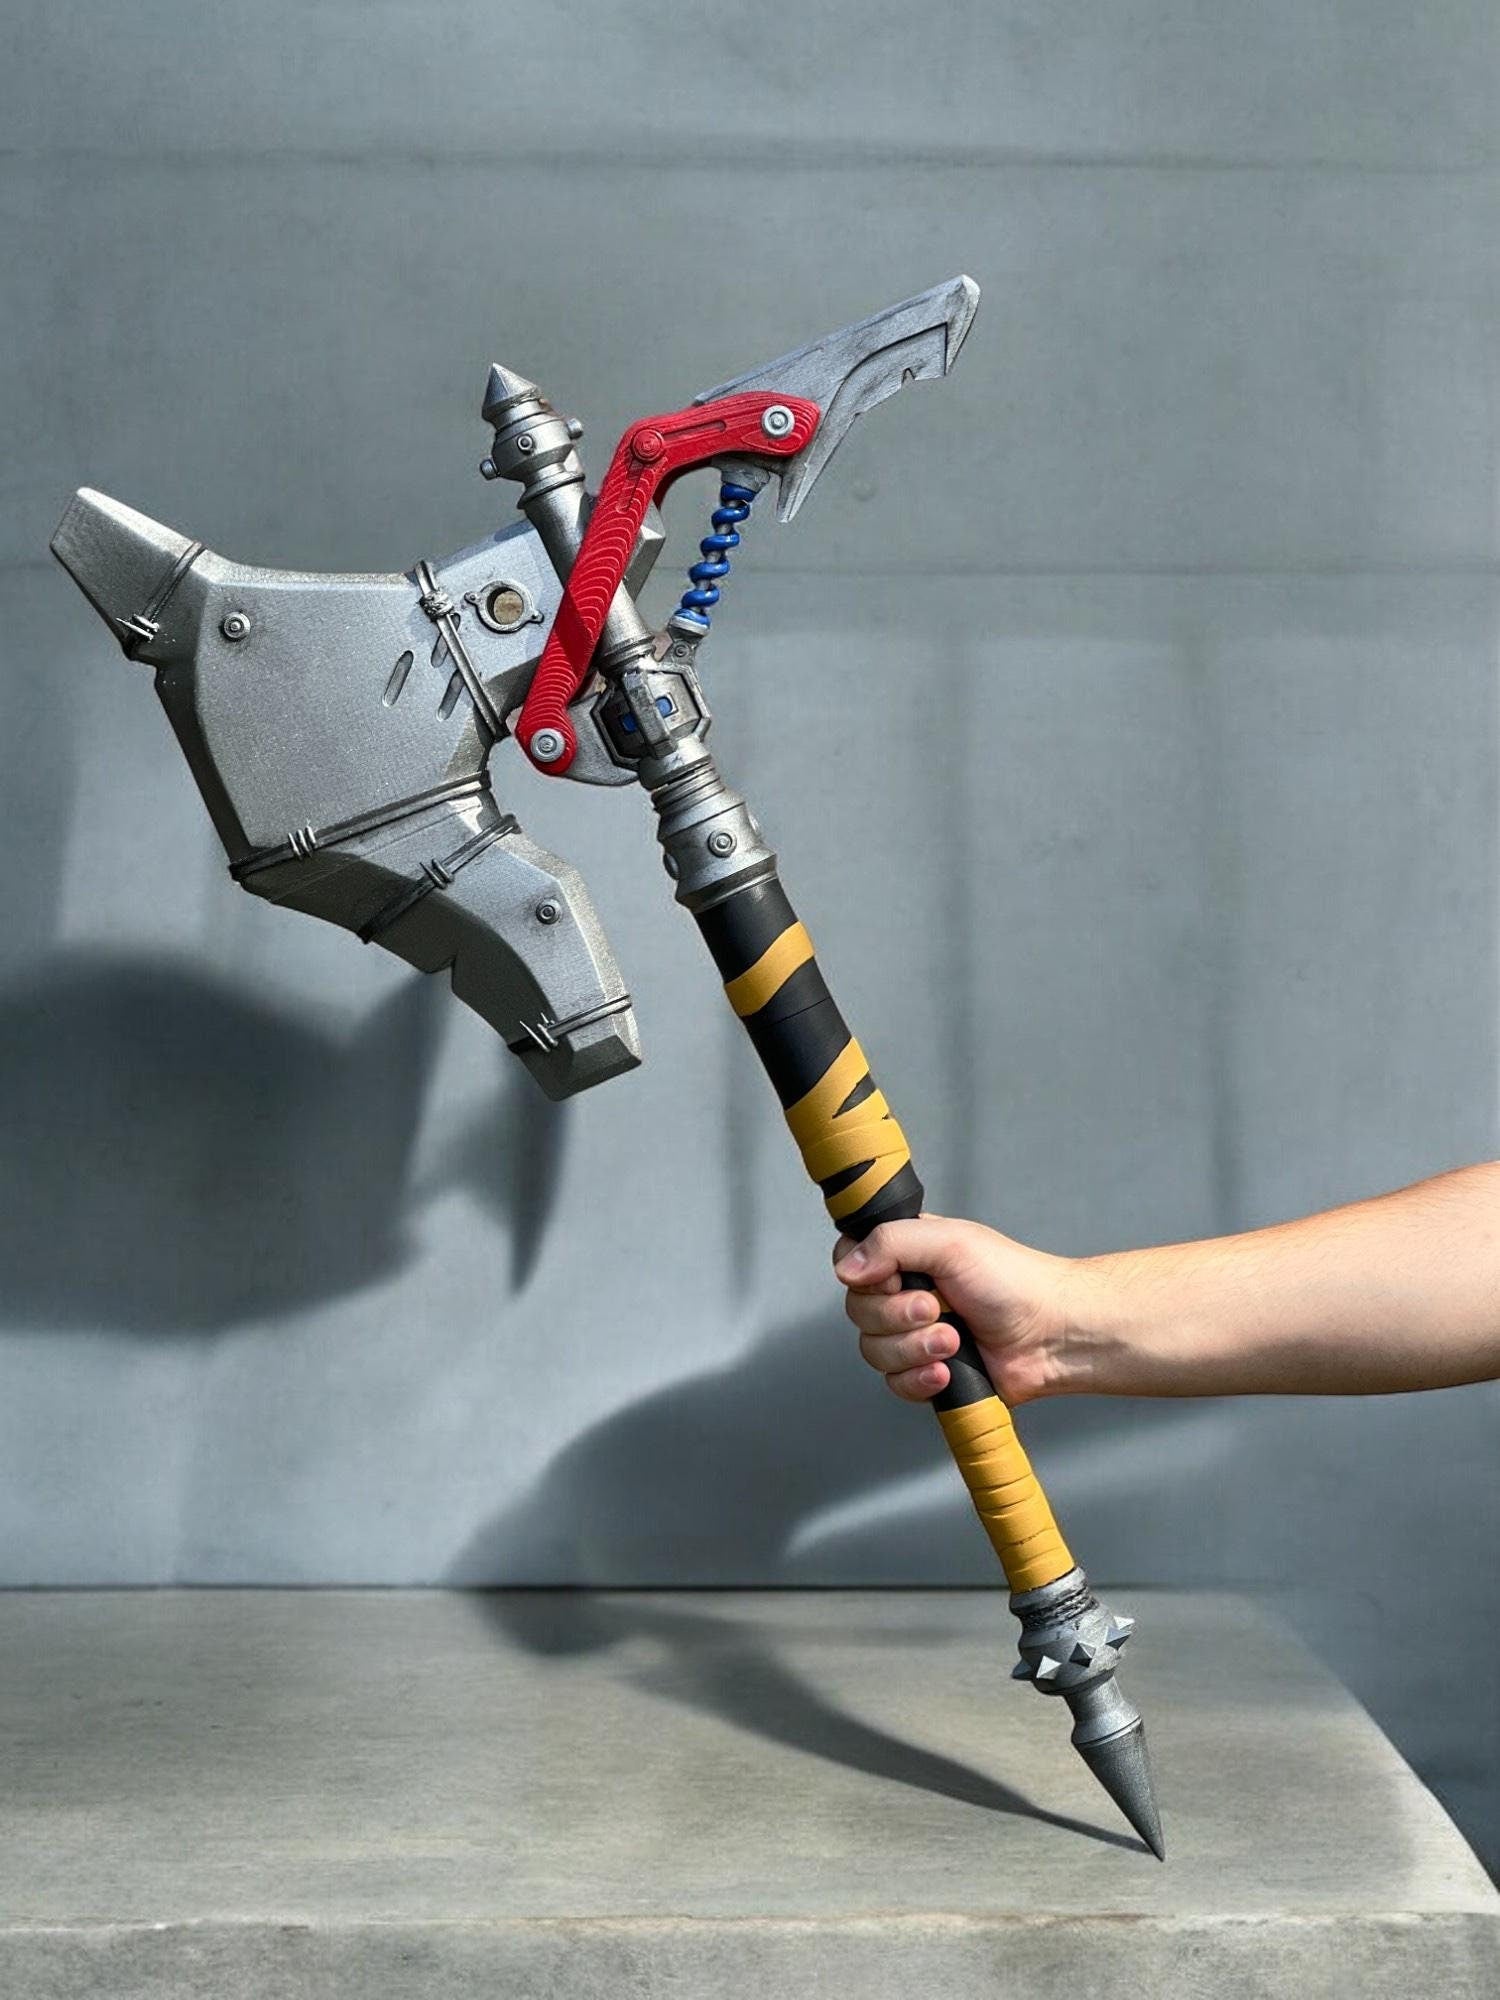
The painted option is what 70% of our customers order, and for good reason. The prop arrives at your door ready to wear at your next convention. We handle the sanding, the priming, the basecoat, the detail work, the weathering, the clear coat, and the final touches. You handle showing up looking incredible.
What You Get With Painted
- Smooth, sanded surfaces (no visible print lines)
- Primer base for paint adhesion and longevity
- Full color treatment matched to the in-game canonical look
- Weathering and detail painting (battle damage, edge highlighting, panel lines)
- Sealing clear coat for durability
- Any decorative details like emblems, sigils, or specific markings
Who Should Choose Painted
- First-time cosplayers — don't add the stress of painting to your first cosplay
- Anyone working under a deadline — saves 30-80 hours of post-arrival work
- Cosplayers who don't enjoy the painting process
- People who want guaranteed visual quality (paint mistakes can ruin a prop)
The Honest Trade-Off
Painted costs more than unpainted. You're paying for the labor, the materials, and the expertise. For most cosplayers this is the right trade — buying back 30-80 hours of your life for the price of the paint job is worth it. But if you genuinely enjoy painting and want to do it yourself, unpainted saves money and gives you creative control.
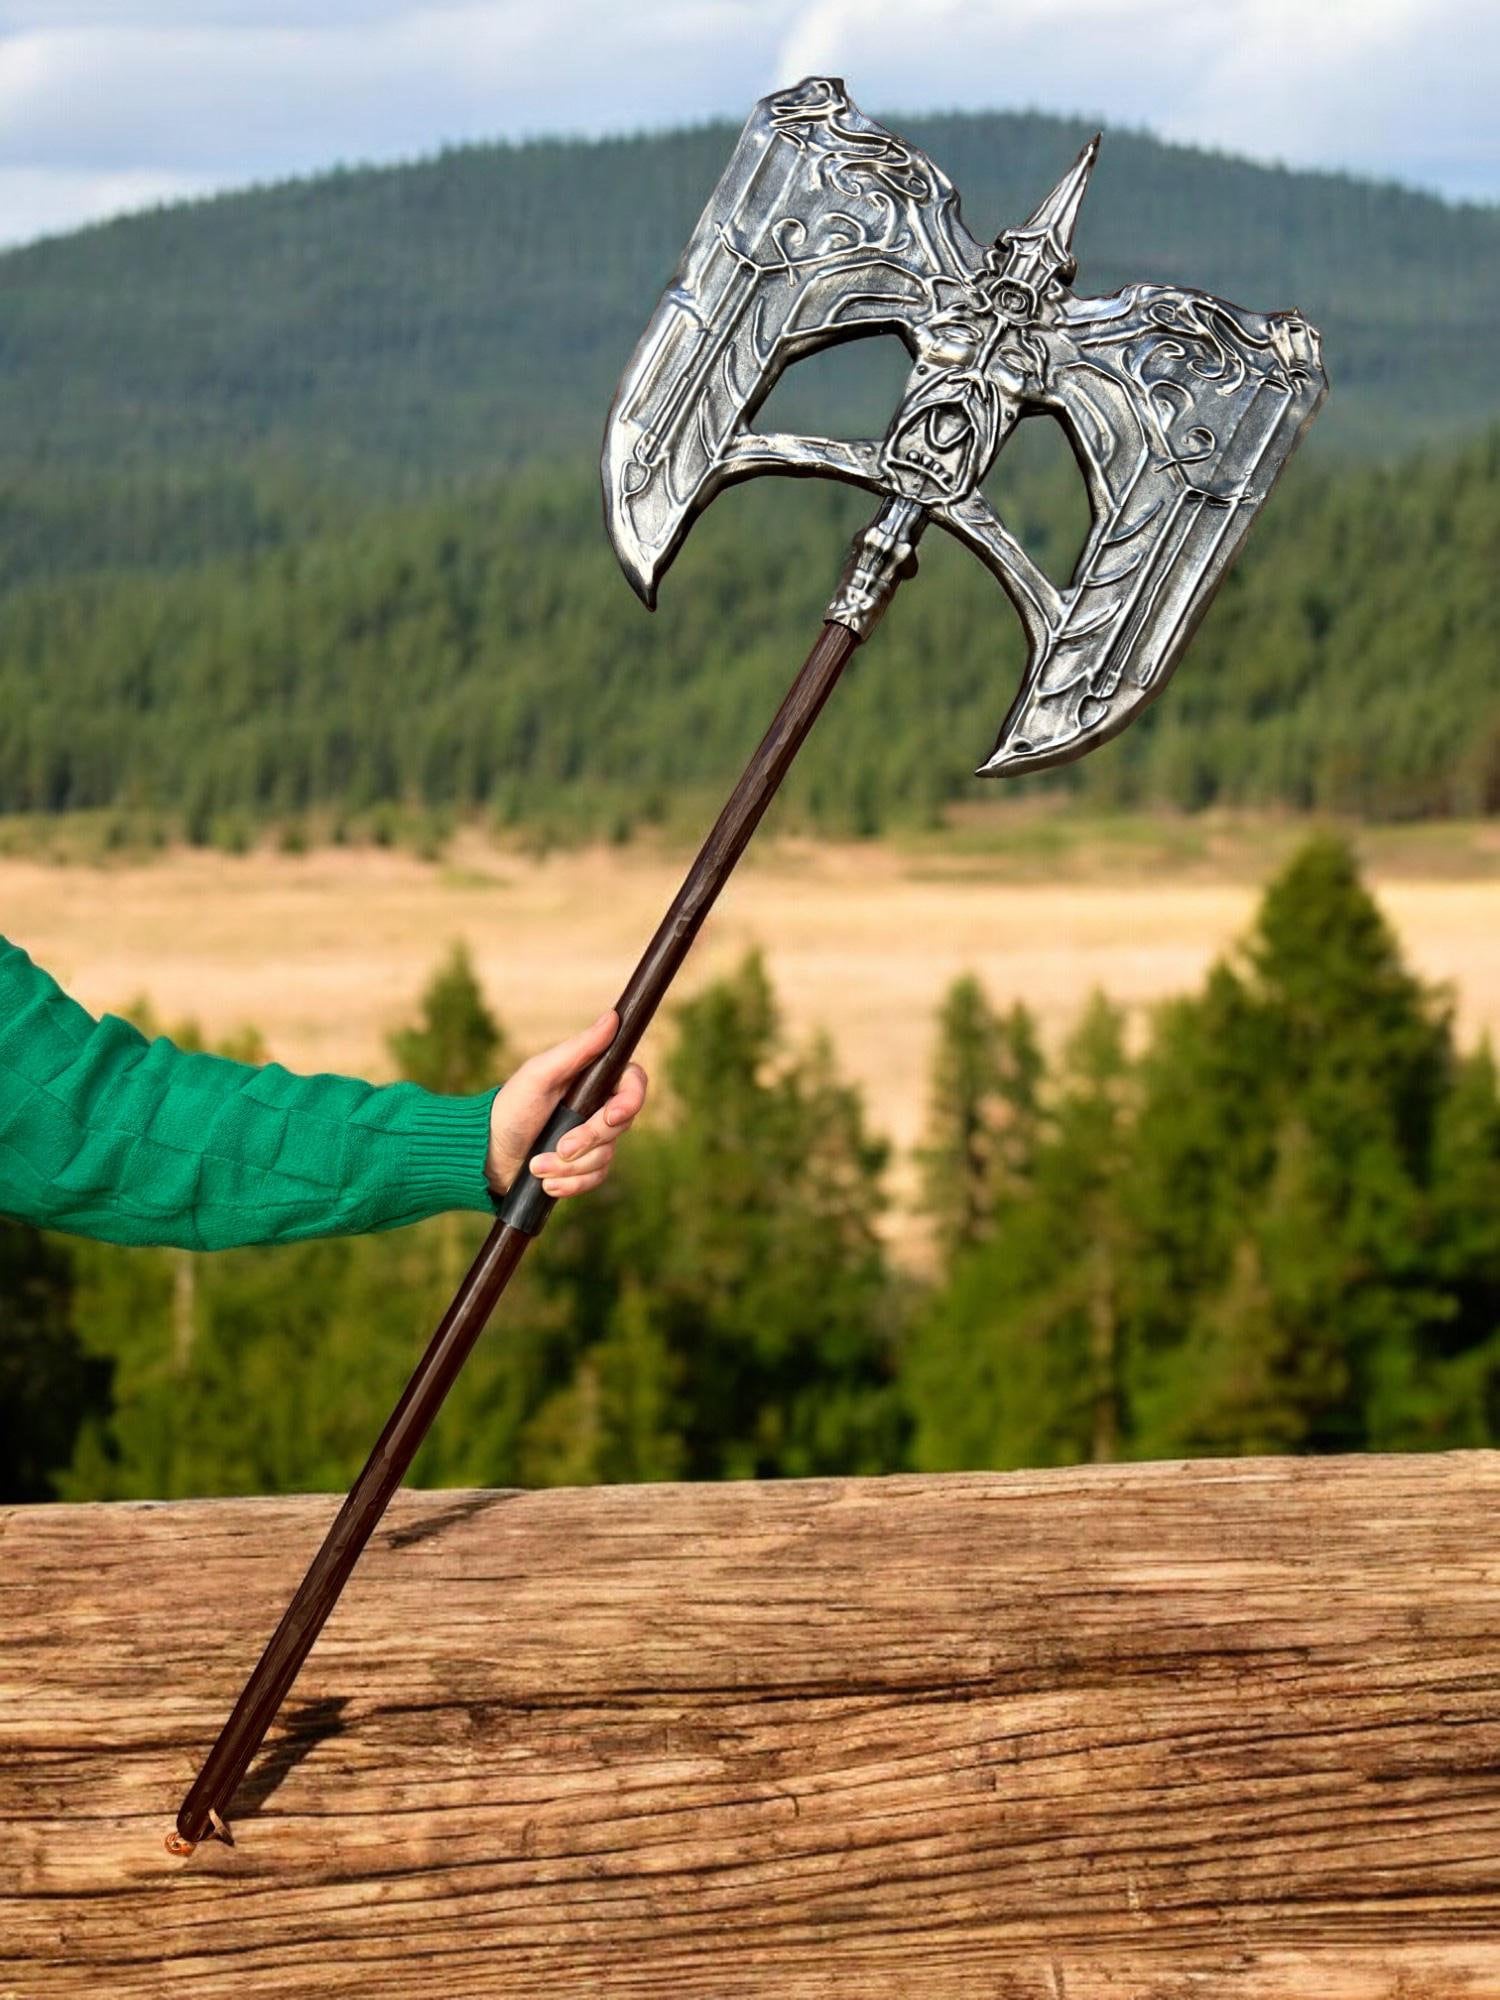
Unpainted: For the Builders
The unpainted option gives you a prop that's structurally complete — we've done all the 3D printing, the sanding, the priming, and the assembly. You add the color.
What You Get With Unpainted
- Smooth, sanded surfaces (print lines already eliminated)
- Primer base ready to accept paint
- Fully assembled (where assembly applies)
- Ready to paint immediately — no prep work needed on your end
What You Need to Do
- Plan your color scheme (canonical, custom, or fan-art variant)
- Buy paint and brushes/airbrush
- Paint base layers, then detail layers, then weathering
- Apply clear coat to seal everything
Expect 10-30 hours of work depending on the prop's complexity. A small weapon might be 8-10 hours. A full helmet with intricate detail can be 25-30 hours.
Who Should Choose Unpainted
- Cosplayers who genuinely enjoy painting and want the meditative process
- Builders who want to customize the color scheme to match a specific Guardian, Tenno, or original character
- People with painting experience who want the cost savings
- Anyone planning to weather the prop heavily — you can do more dramatic weathering when you control every step
For specific painting techniques, see our at-home painting guide. It covers everything from priming to final sealing.
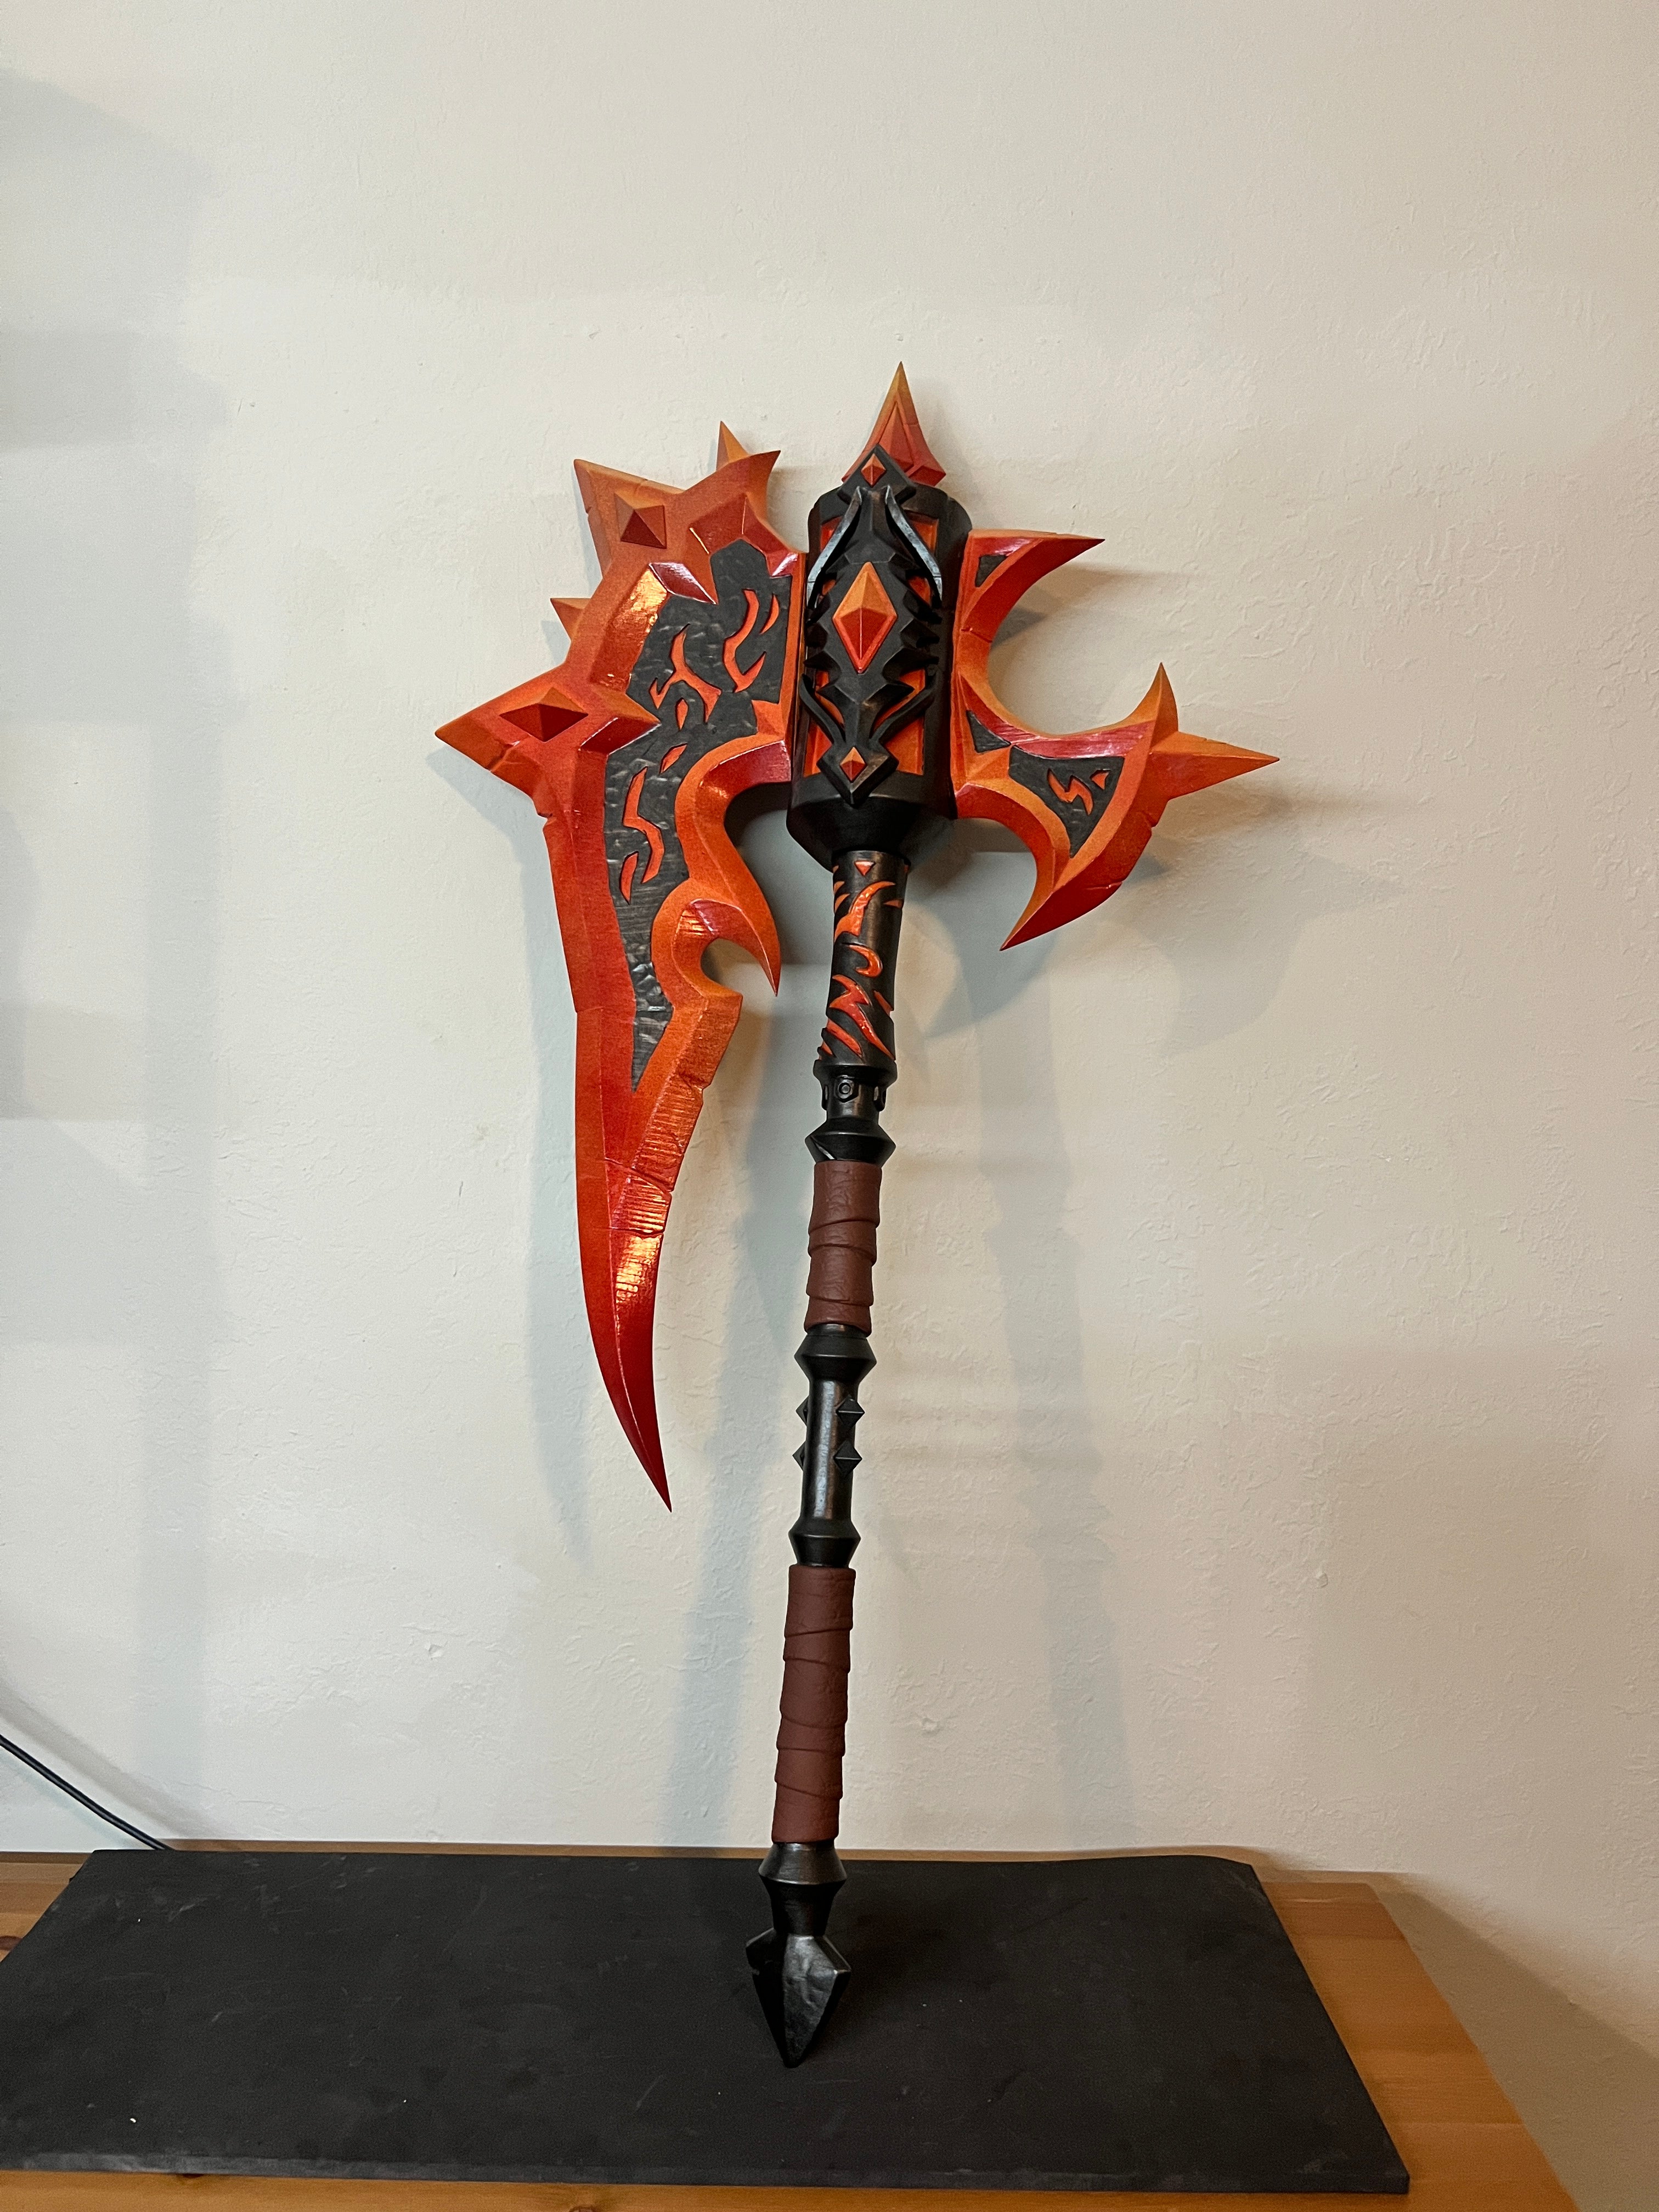
DIY Kit: For the Hardcore Builders
The DIY kit option is for cosplayers who want to do everything from scratch. You get the raw 3D printed pieces in unsanded, unprimed condition. From there, you're handling the entire finishing process — sanding the print lines, filling any gaps, priming, painting, sealing.
What You Get With DIY Kit
- Raw 3D printed pieces in our chosen filament (we use high-quality PLA)
- Pieces separated by section (so you can sand and paint each piece individually if you prefer)
- Lower price point than painted or unpainted
What You Need to Do
- Sand all surfaces to eliminate visible print lines (this is the most time-consuming step)
- Fill any gaps or printing imperfections with bondo or epoxy putty
- Sand again after filling
- Prime the surface
- Sand again lightly after priming
- Paint base coats
- Paint detail layers
- Apply weathering
- Clear coat
- Assemble final pieces if the prop has multiple components
Time investment: 30-80 hours for most props, depending on complexity. A simple sword might be 20 hours. A full helmet with detail work can be 60+ hours.
Who Should Choose DIY Kit
- Experienced prop builders who enjoy the full process
- Cosplayers on the tightest budget who have the time
- People who want to learn the entire workflow
- Builders who plan to heavily modify the prop's geometry (you can sand and reshape raw PLA more easily than primed surfaces)
What Materials You'll Need for DIY
- Sandpaper in multiple grits (220, 400, 800, 1500)
- Bondo or Apoxie Sculpt for filling gaps
- Primer (filler primer works best on 3D prints)
- Acrylic or enamel paints in your color scheme
- Brushes (or airbrush, which produces much better results)
- Clear coat (matte, satin, or gloss depending on the prop)
- Patience
Total supply cost for finishing a single prop: $30-80 depending on your existing supplies.
Real-World Examples
To make this concrete, here's how a few specific props break down across the three options:
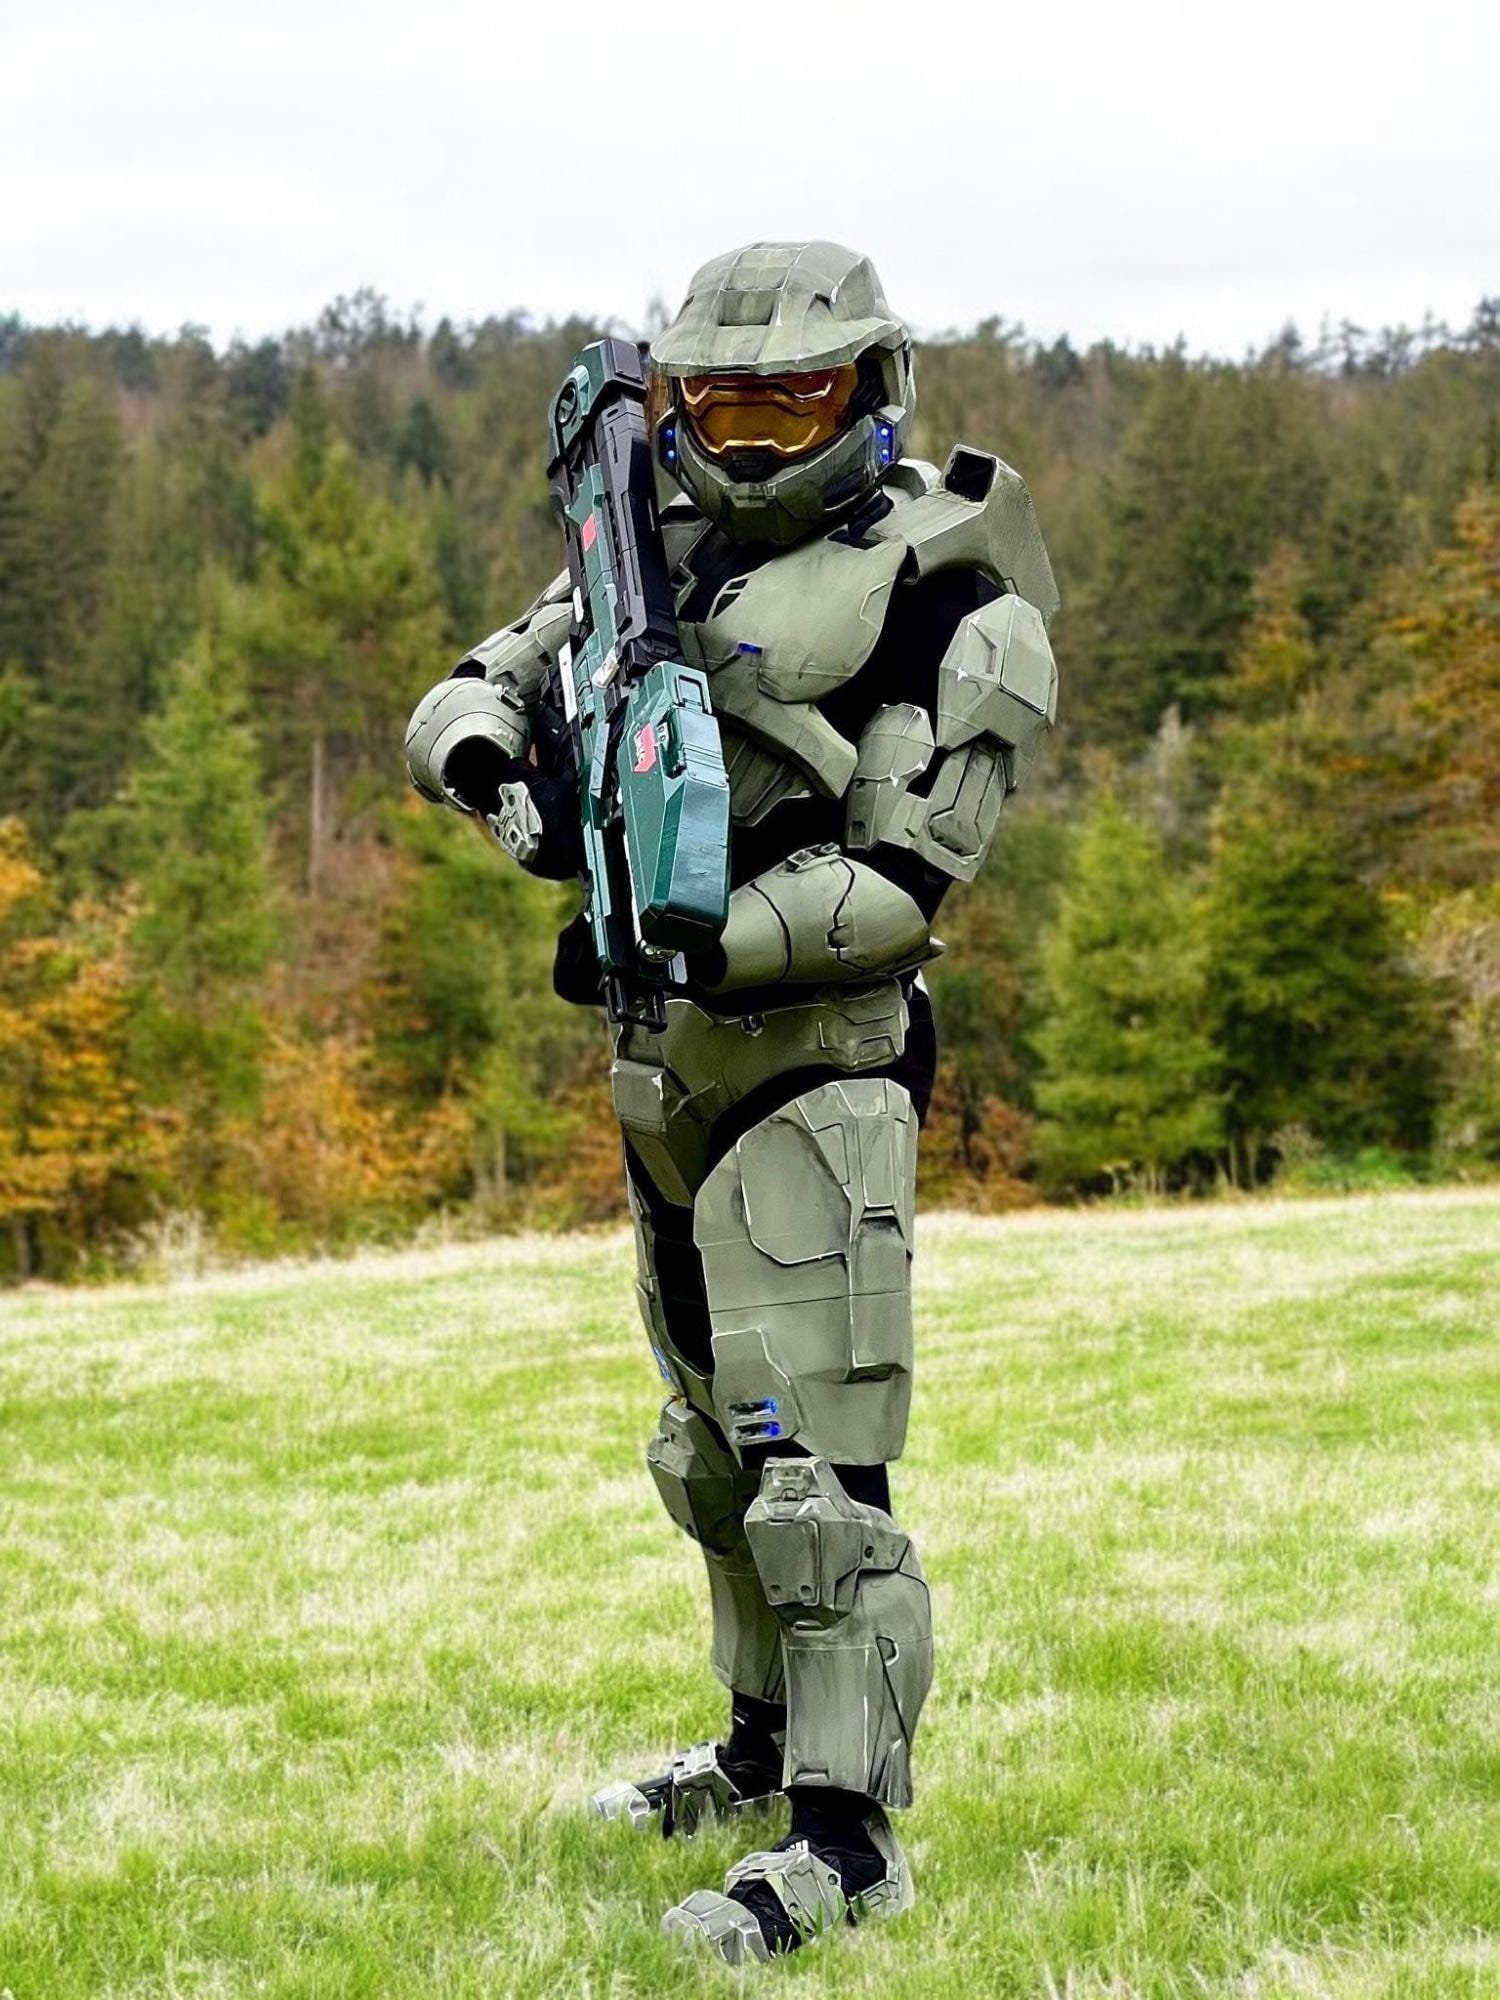
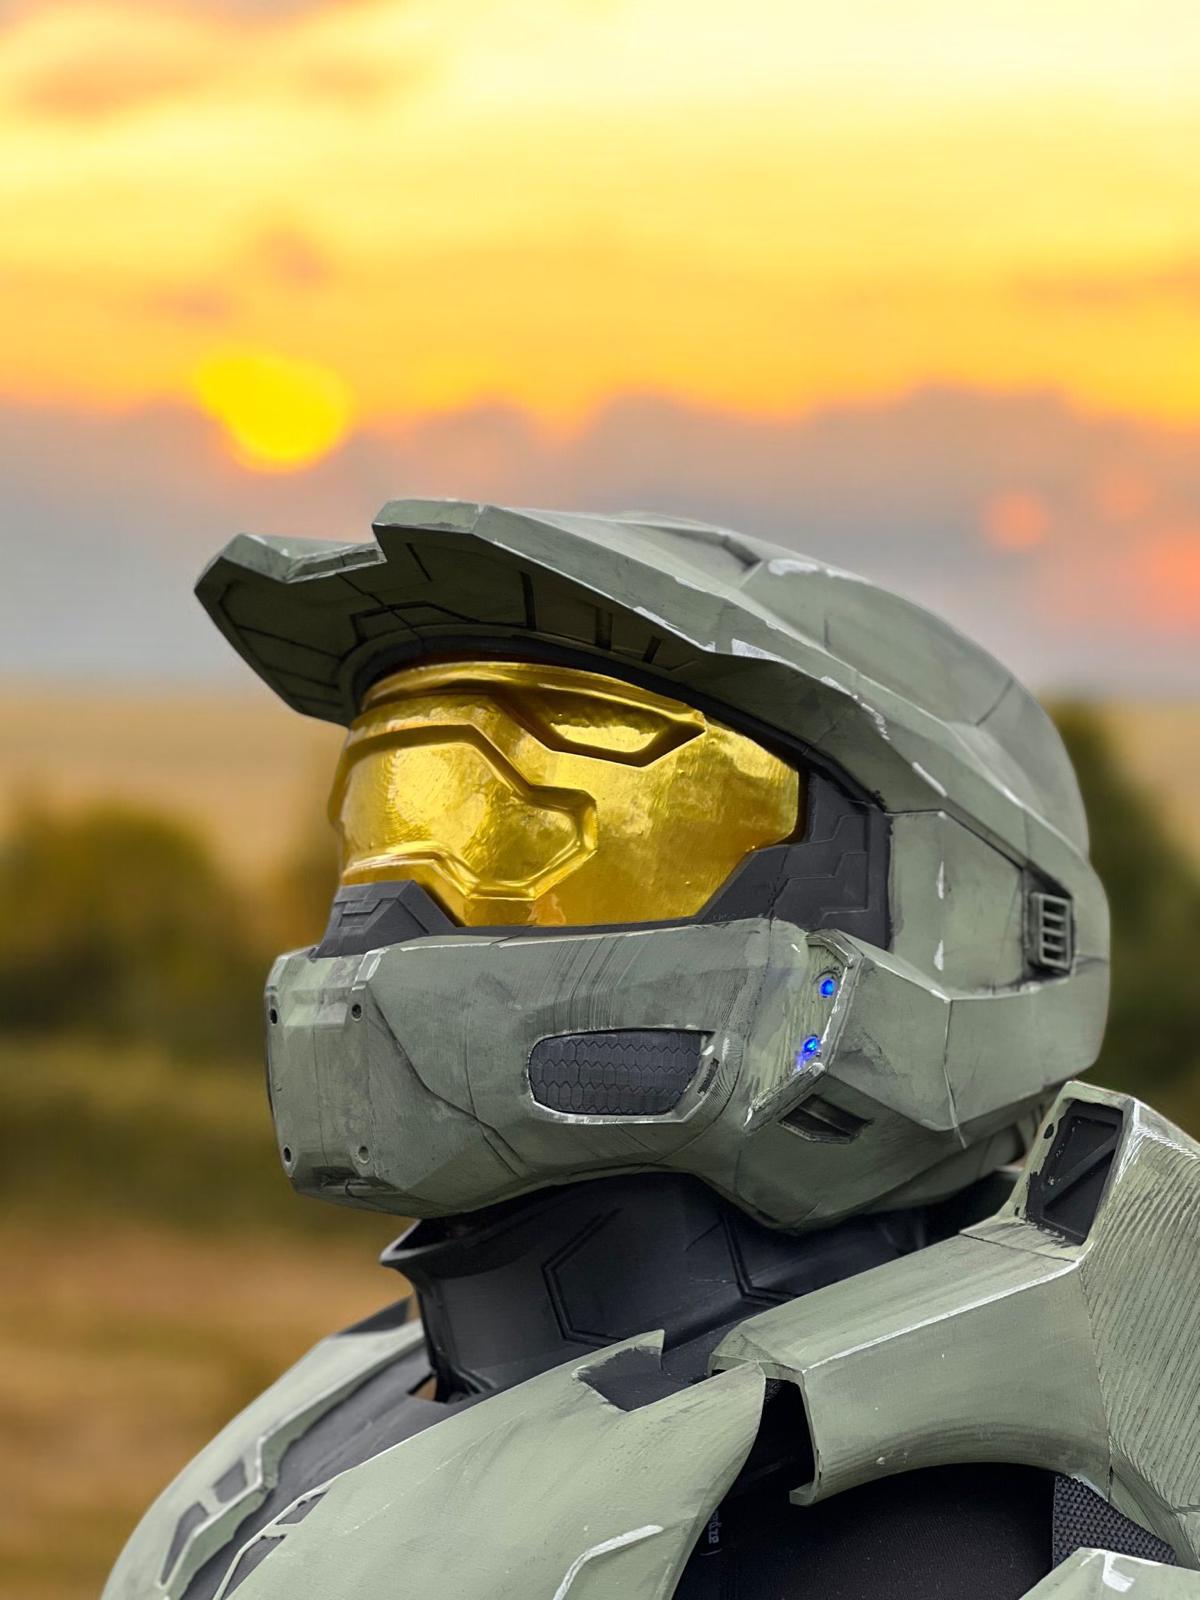
- Doom Slayer Armor — strongly recommend painted. The weathering is intricate and time-consuming to replicate. If you want to paint it yourself, plan 60+ hours
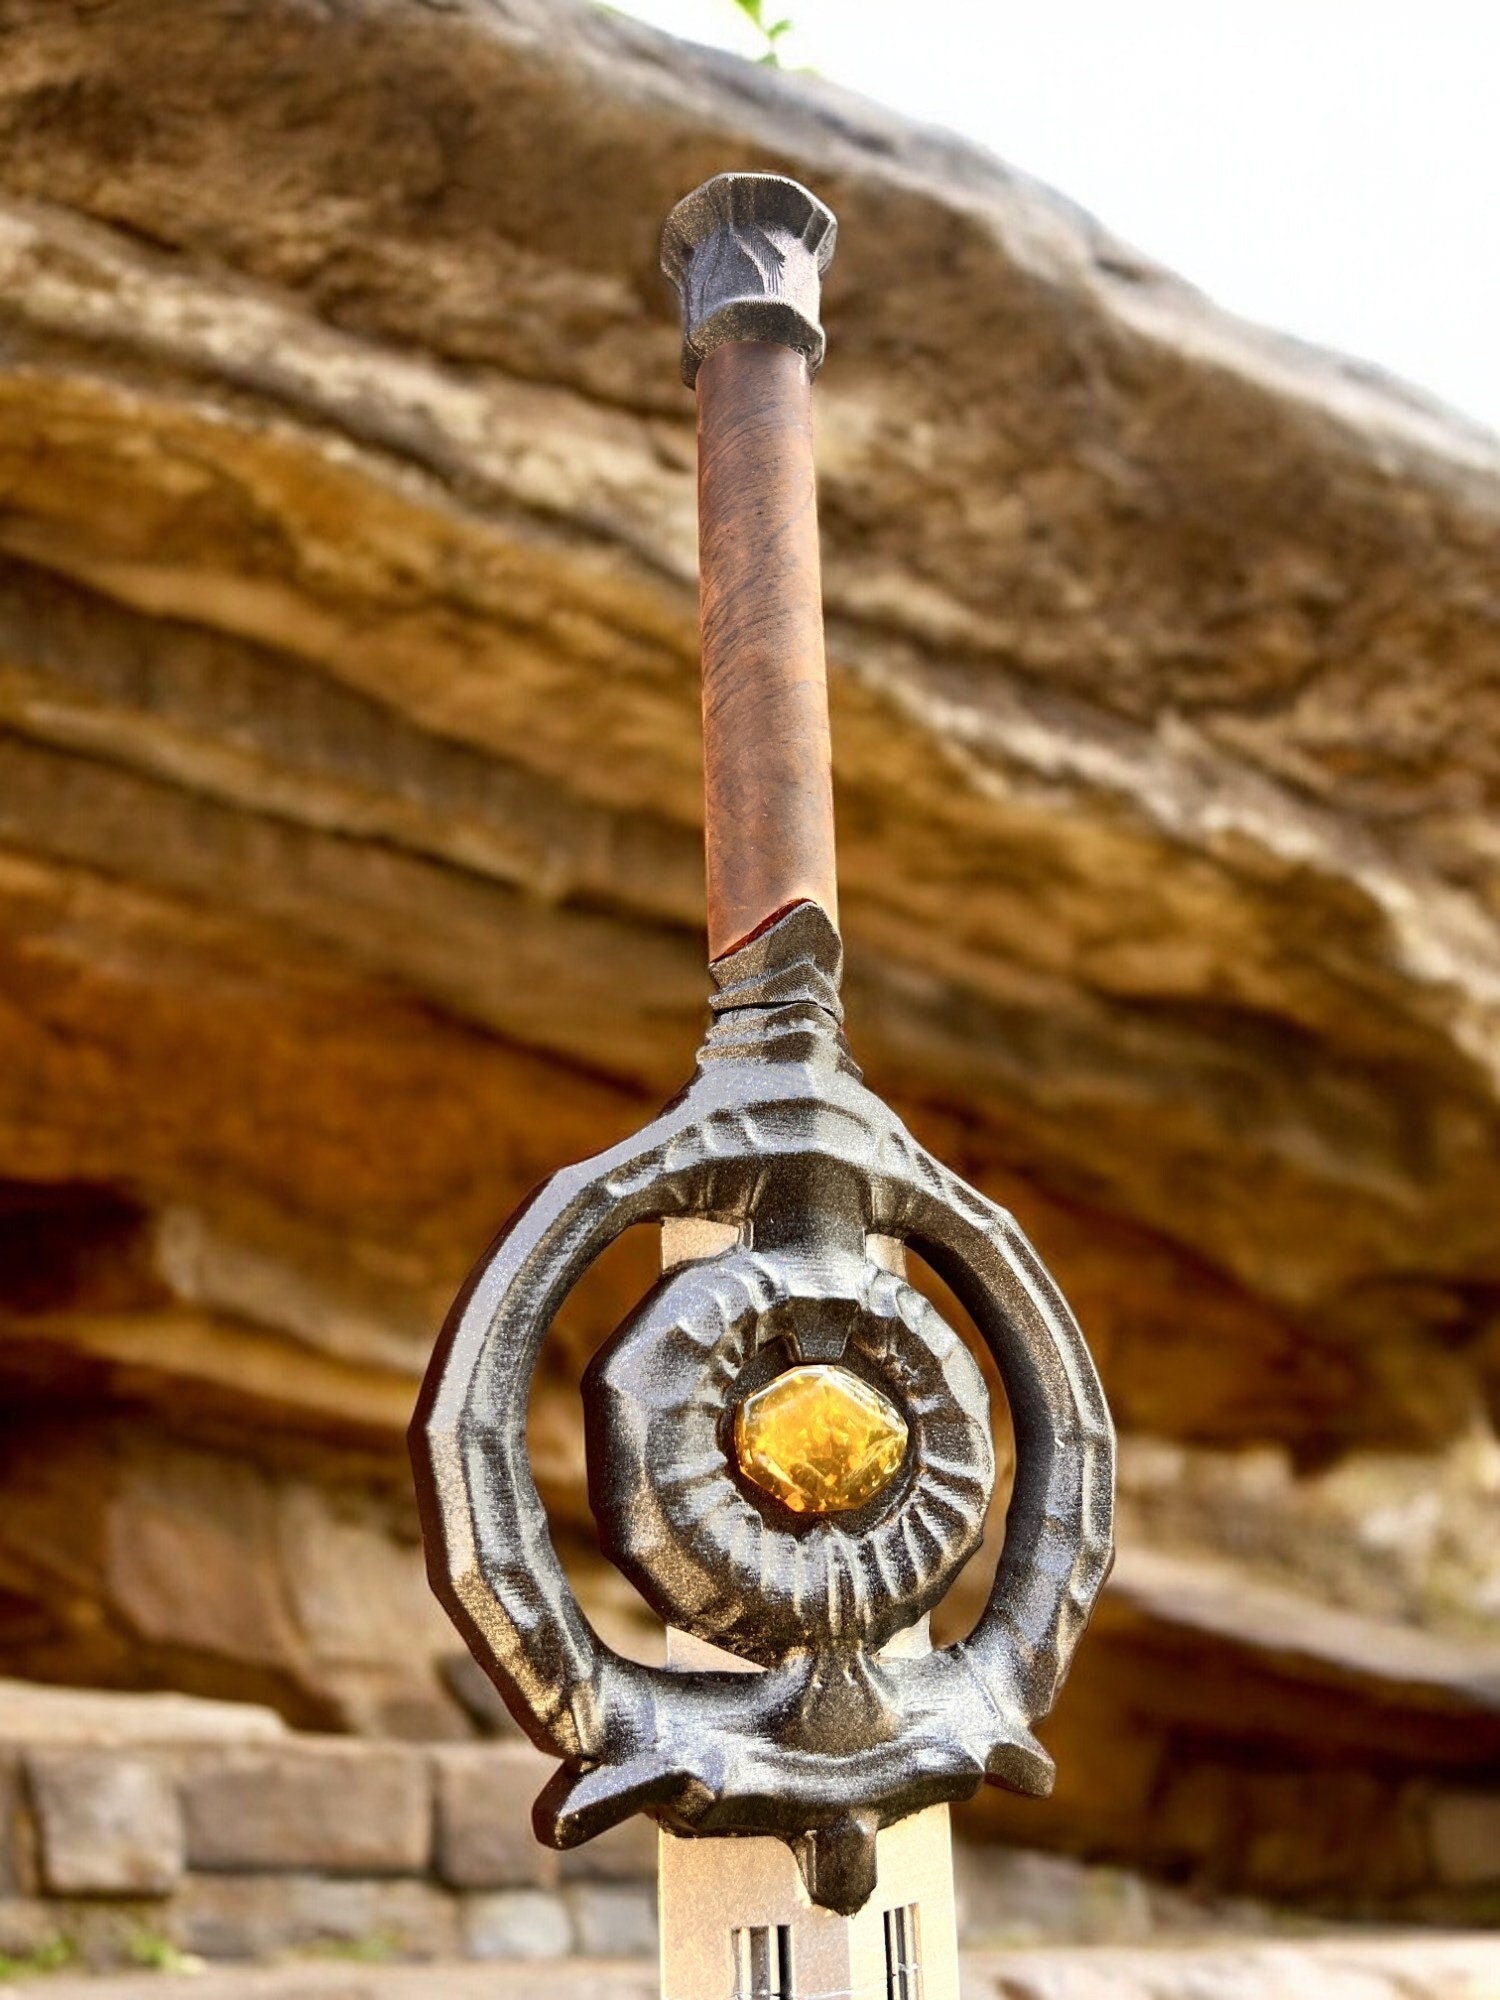
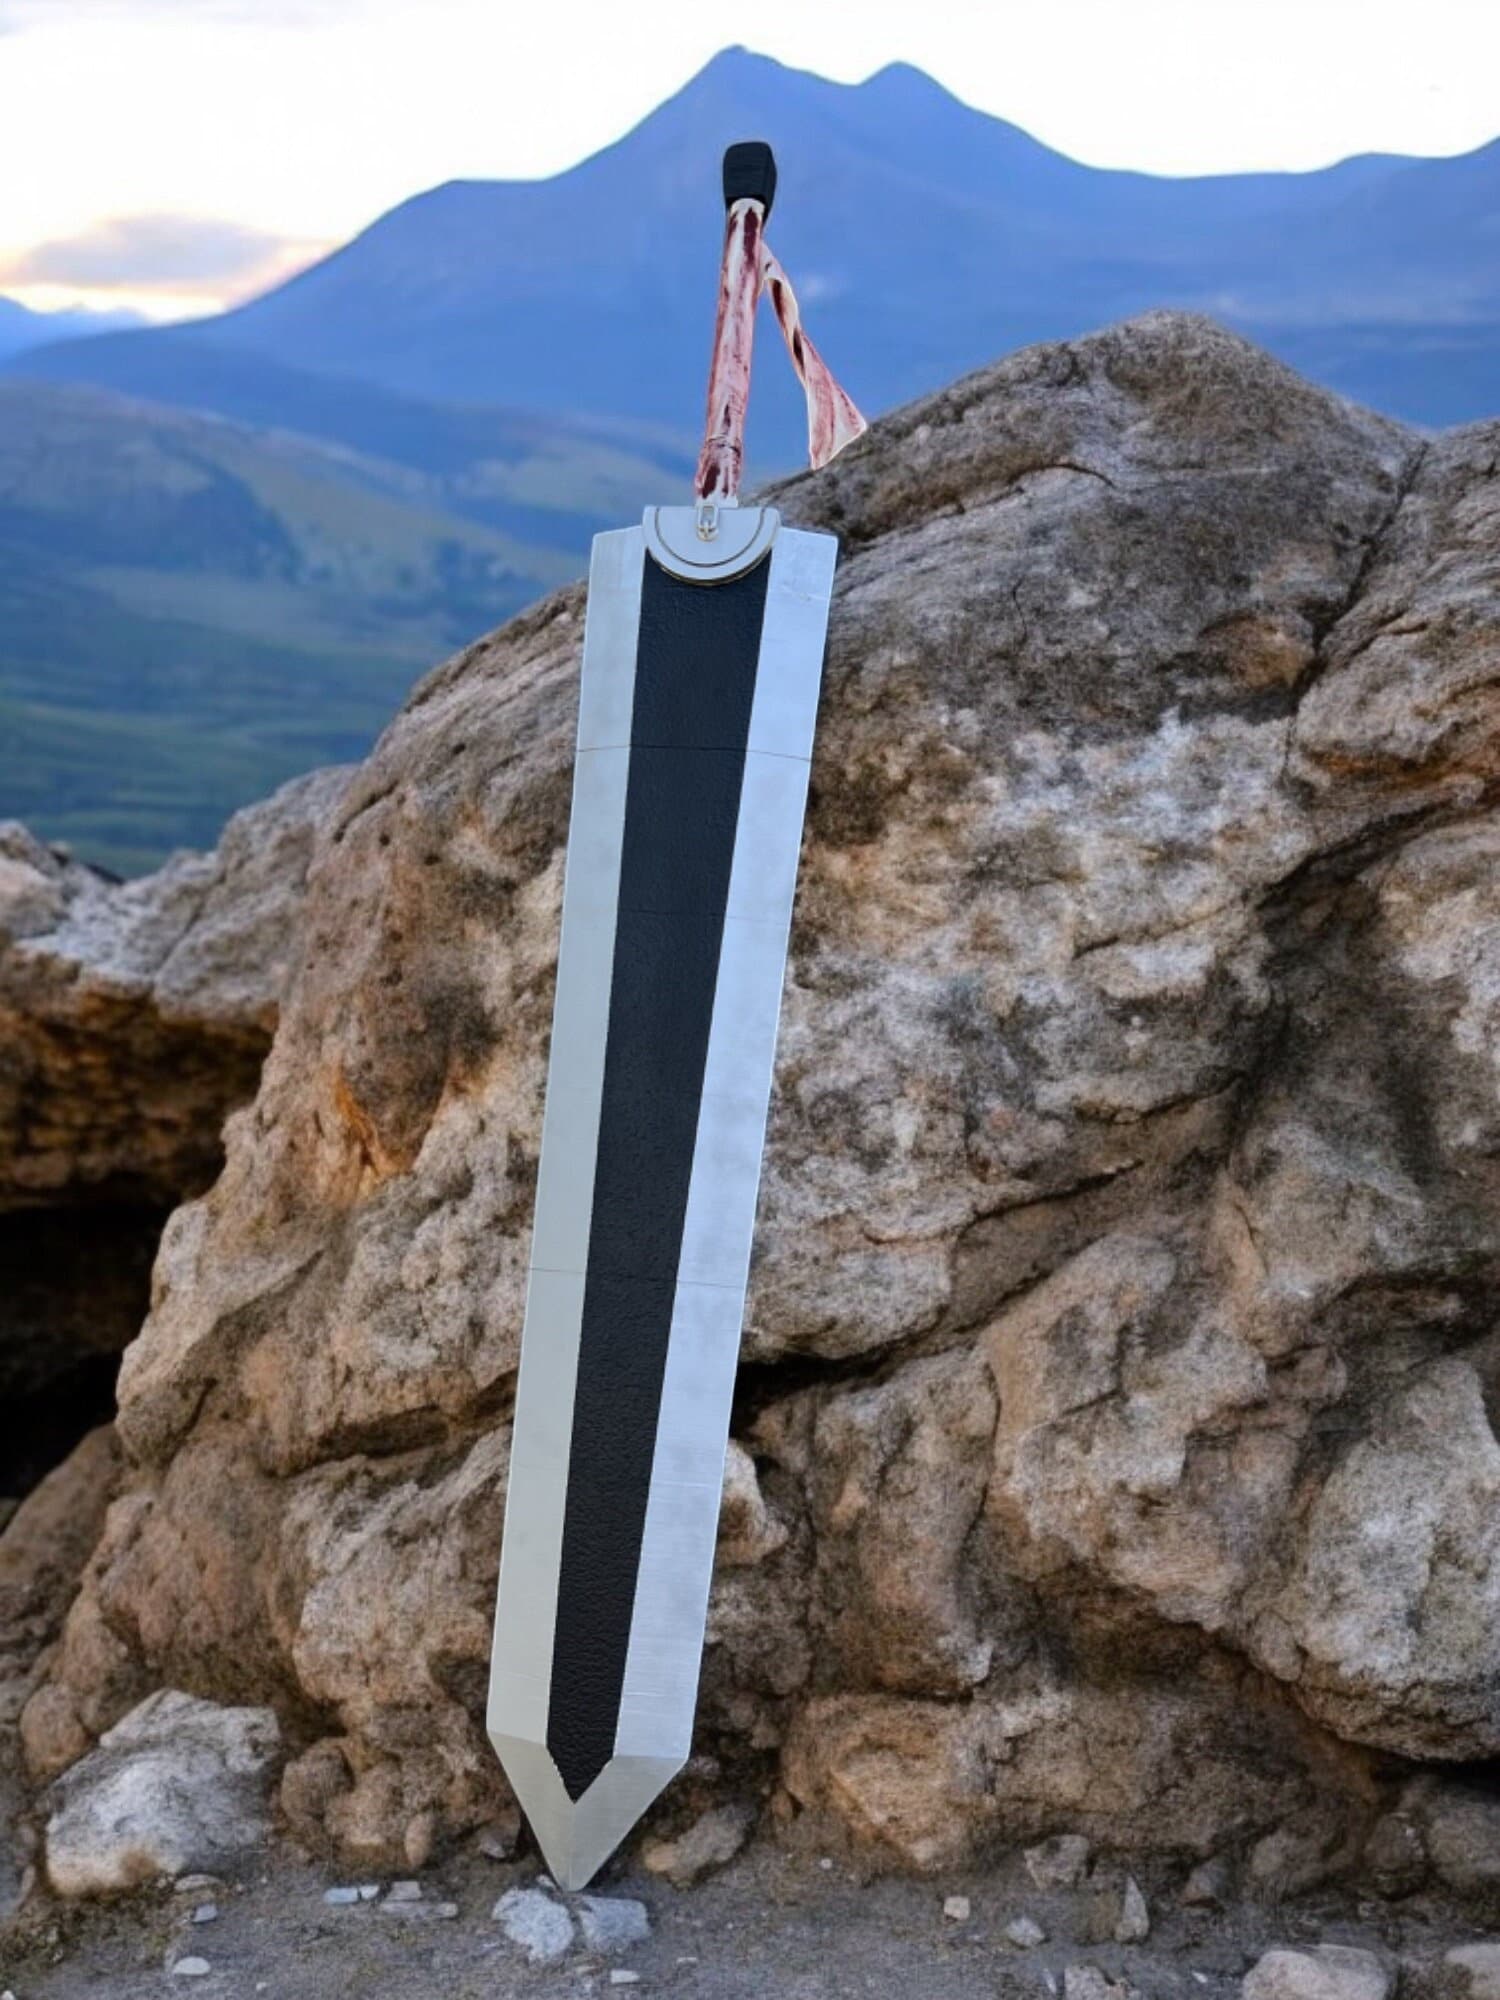
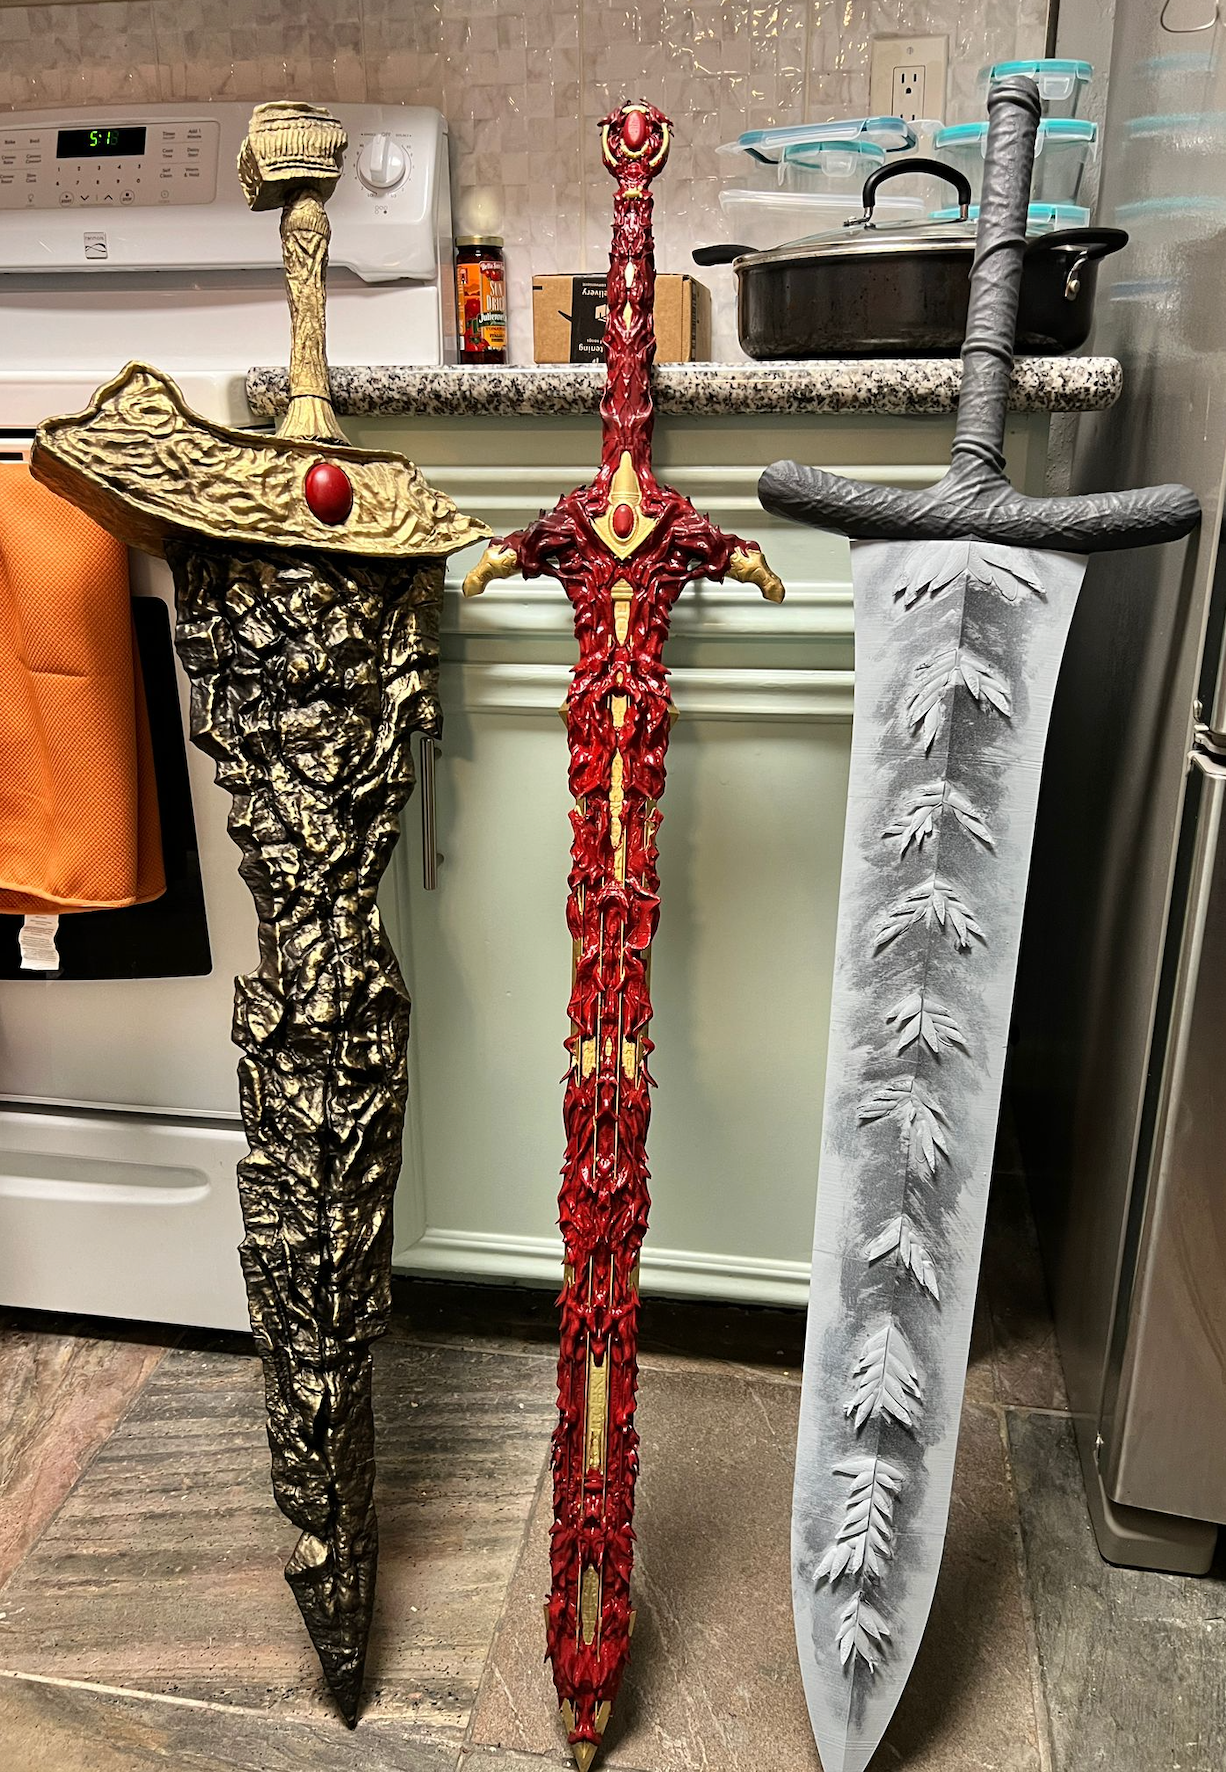
- Guts' Sword — unpainted is a strong choice. The Berserk aesthetic rewards custom weathering and blood effects that you can apply more freely
- Iron Helmet — great for DIY kit if you're learning. The simple geometry is forgiving and the weathered metal finish is easy to practice
- Baelor Targaryen Helmet — painted recommended. The dragon detailing is hard to replicate without serious painting experience
Mixing Approaches
If you're ordering multiple props for a build, you don't have to choose the same option for all of them. Many cosplayers order their helmet painted (for visual fidelity) and their weapon unpainted (so they can do dramatic weathering).
The Bottom Line
If you can afford painted and don't enjoy painting, get painted. If you enjoy painting, get unpainted — you save money and have full creative control on color and weathering. If you love the entire build process and have time, get the DIY kit.
For more on the painted vs unpainted choice specifically, see our deeper comparison. For painting techniques, the at-home painting guide covers the process step by step.
One Last Thought
The right option is the one that gets you to the convention with a prop you're proud of. If painting stresses you out and you'll skip wearing the cosplay, get painted. If you'll regret not doing the painting yourself, get unpainted. There's no wrong answer — just the right one for you.