


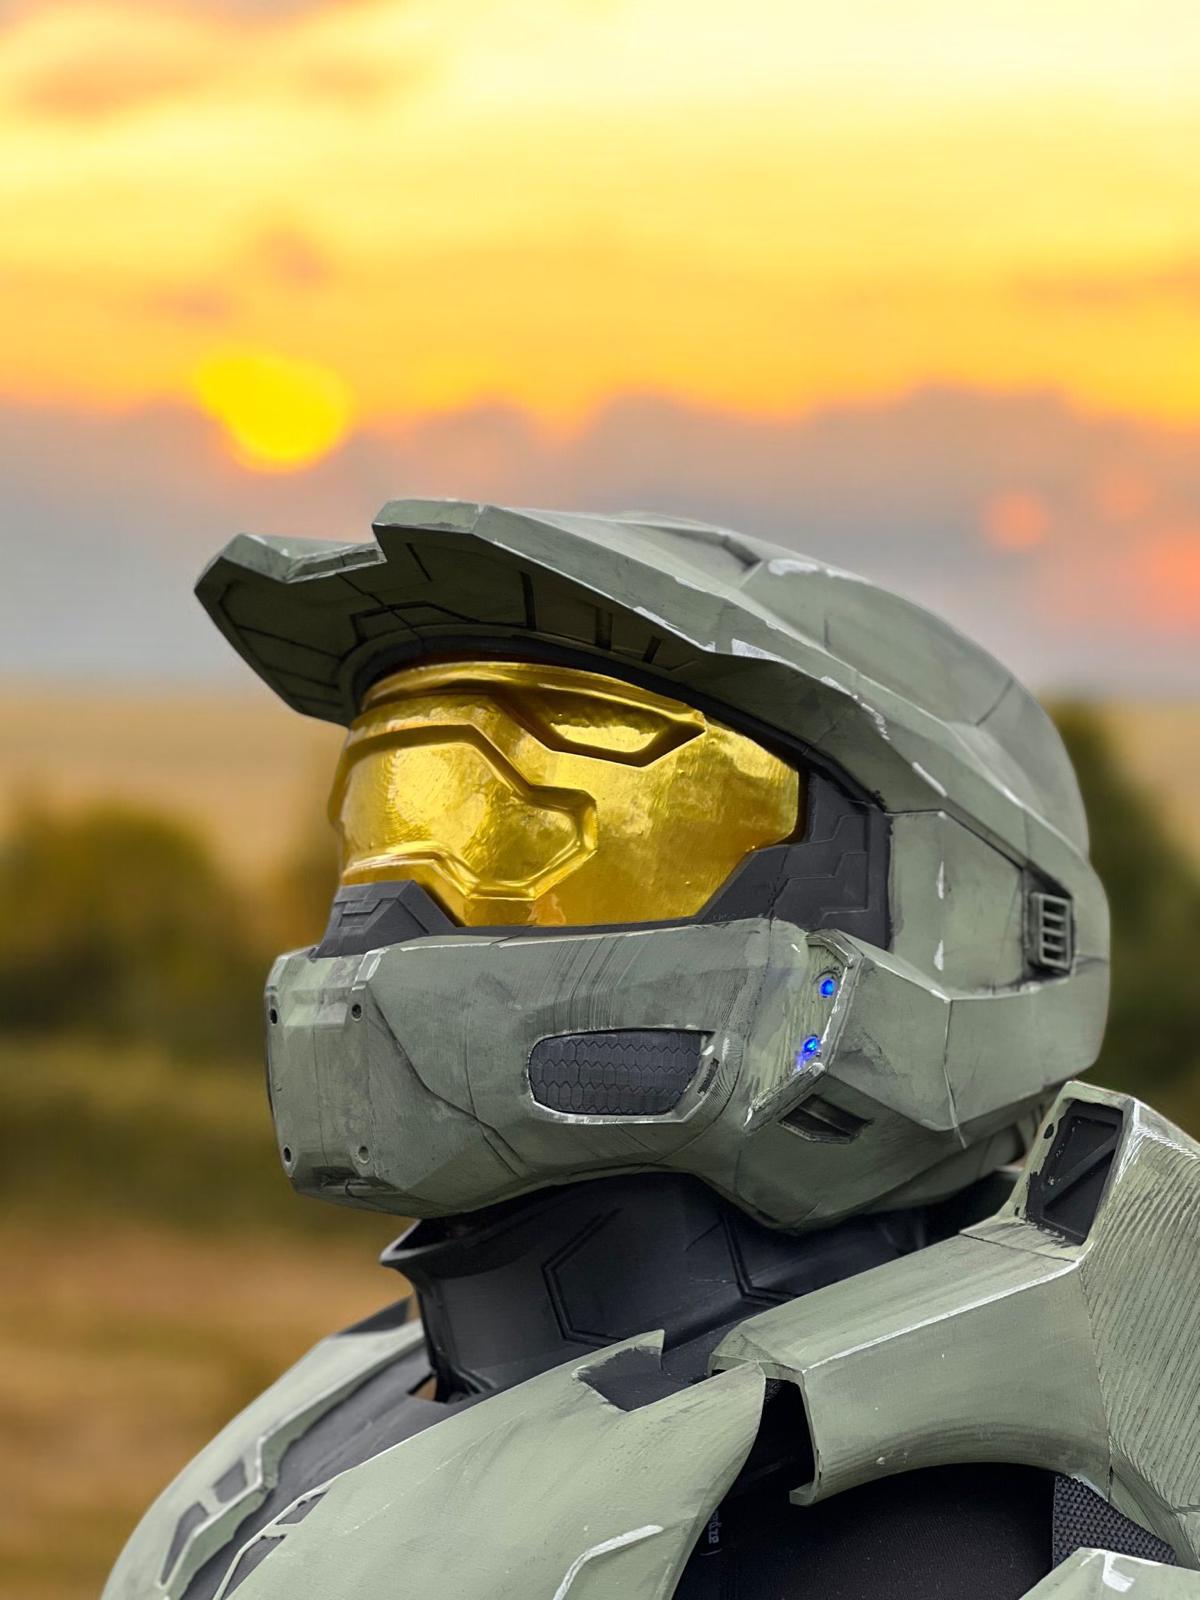
One of the most common questions we get at Lone Star Cosplay is: "How do I know what size helmet to order?" Getting the fit right is everything — a helmet that's too tight is uncomfortable to wear for hours at a convention, and one that's too loose looks off and won't stay in place for photos. This guide will walk you through exactly how to measure your head so you can order with confidence.
What You'll Need
- A soft measuring tape (the kind used for sewing)
- A mirror
- A pen and paper to write down your measurements
- A friend to help (optional but makes it easier)
If you don't have a soft measuring tape, a piece of string and a ruler work just as well — wrap the string around your head, mark where it meets, then measure the string against a ruler.
Step 1: Find Your Head Circumference
This is the most important measurement. Place the measuring tape about one inch above your eyebrows, keep it level all the way around your head, and bring it back to the front. Make sure the tape is snug but not tight — you should be able to slip one finger underneath it comfortably. Write down this number in centimeters.
Most adults measure somewhere between 53cm and 62cm. Here's how that maps to our helmet sizes:
- XXSmall: Under 53cm
- XSmall: 53–55cm
- Small: 55–57cm
- Medium: 57–58cm
- Large: 58–60cm
- XLarge: 60–61cm
- XXLarge: 61–62cm
- XXXLarge: 62cm and above
Step 2: Measure Front to Back
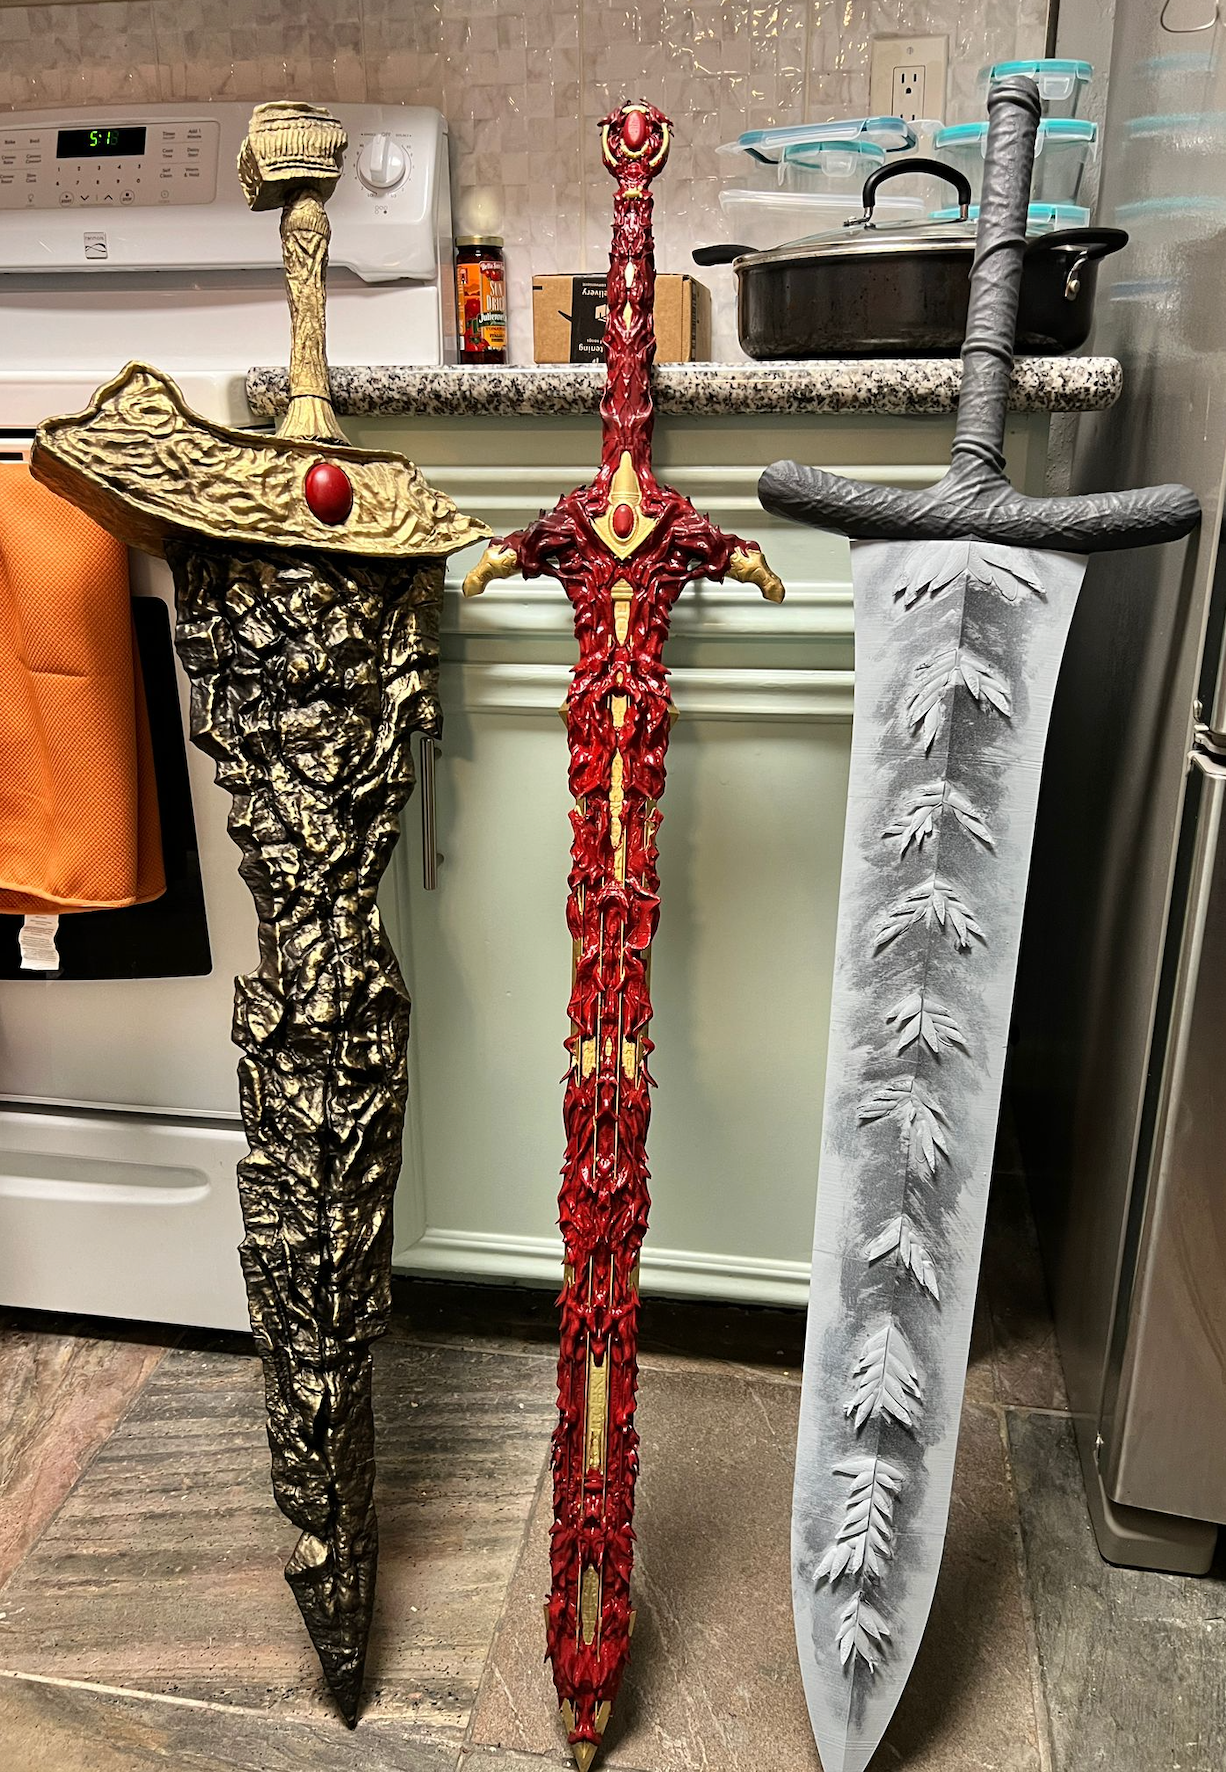
Some helmets — especially those with angular designs like the Malenia Helmet from Elden Ring or the Daedric Helmet from Skyrim — fit differently depending on how your head is shaped. Measure from the center of your forehead, over the top of your head, down to the base of your skull at the back. This front-to-back measurement lets us adjust the internal padding if needed.
Step 3: Measure Temple to Temple
Place the tape at one temple (the flat area just beside your eye), go straight over the top of your head, and down to the other temple. This side-to-side measurement tells us if your head is rounder or more elongated — which matters a lot for how a helmet sits and seals at the sides.
Step 4: Note Any Special Considerations
Do you wear glasses? Do you have dreadlocks, thick braids, or a very voluminous hairstyle? Let us know when you order. We can adjust padding placement and vent positioning to accommodate almost any head shape or hair situation. Our helmets already have ventilation built in, but if you run warm we can suggest which designs have the best airflow.
What If I'm Between Sizes?
Order the larger size. It's much easier to add padding to snug a helmet up than to stretch one out. We include instructions with every helmet on how to add foam padding, and most craft stores sell adhesive foam strips that work perfectly. If you're concerned, just message us before ordering — we're happy to talk through your measurements personally.
One More Tip: How to Put It On
When your helmet arrives, put it on slowly. Most of our helmets are rigid and don't flex, so the entry angle matters. Tilt it slightly forward, let the back clear first, then rock it into place. The first time always feels the tightest — after a few wears the foam lining compresses slightly and it gets more comfortable. If it feels genuinely painful (not just snug) after 10 minutes, reach out and we'll help you troubleshoot.
Still unsure? Drop us a message through our contact page and we'll walk you through it. We want every customer to get a helmet they love wearing.