


Every Prop Starts With a File
The first step in making any cosplay prop is getting the design right. For most of our products, this means sourcing or building a 3D model that accurately matches the in-game or on-screen reference. We cross-reference screenshots, artwork, official model renders, and sometimes even game files to make sure proportions, surface details, and overall shape are as accurate as possible.
For some props, we design from scratch. For others, we work from community-shared files that we then modify and optimize for printing. Either way, before a single gram of filament is used, the file gets reviewed, scaled, and test-sliced to make sure it'll print correctly.
3D Printing
Once the file is ready, it goes to the printer. We use FDM (fused deposition modeling) printing for the majority of our props — this is the same technology used by most desktop 3D printers, scaled up and optimized for prop-grade output.
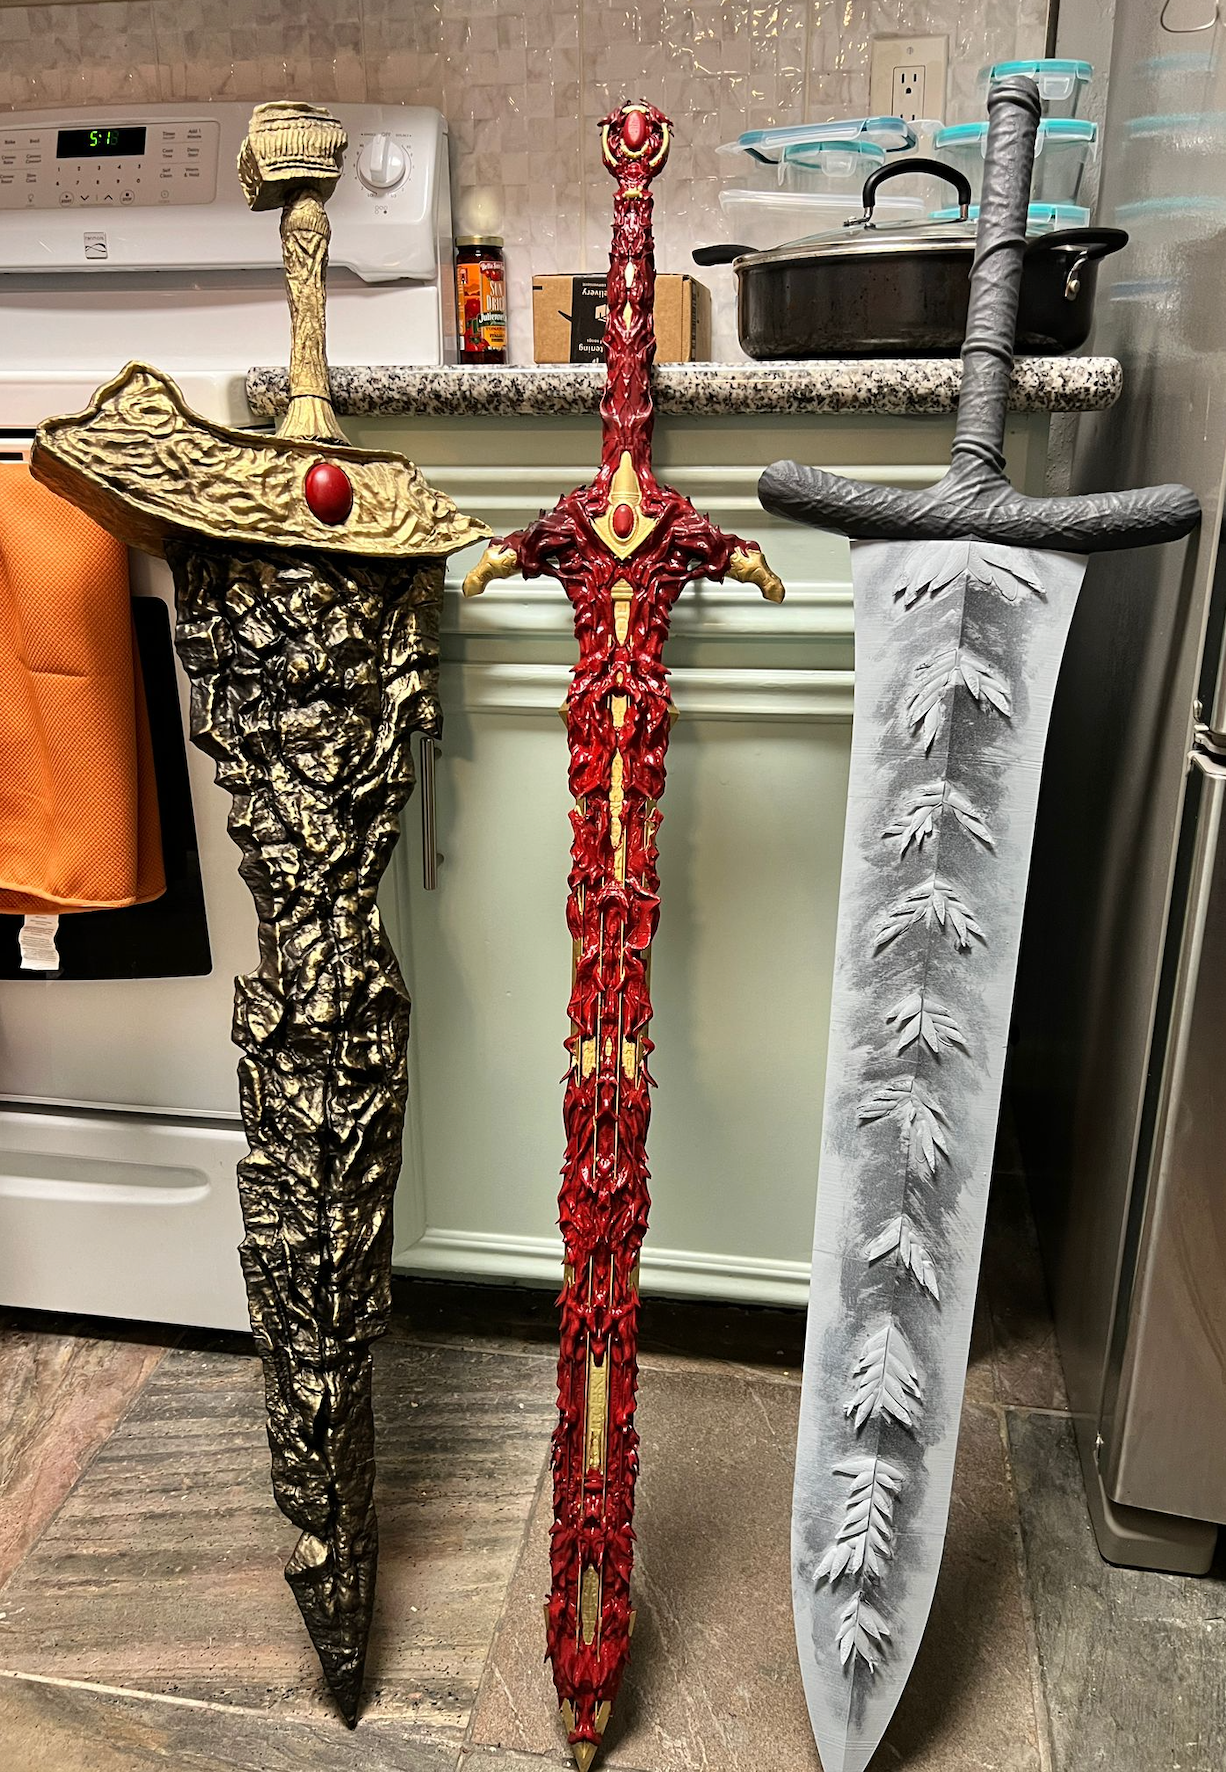
Depending on the size and complexity of the piece, printing can take anywhere from a few hours to several days of continuous print time. Larger items like full swords, armor panels, and helmets are printed in sections and then joined during assembly. We use a variety of filament types depending on the prop's needs — standard PLA for most pieces, PETG for items that need more flexibility or heat resistance.
Cleaning and Assembly
Straight off the printer, a prop is rough. Print lines are visible, there are support structures to remove, and seams where pieces join need to be addressed. This is where a significant chunk of the work happens.
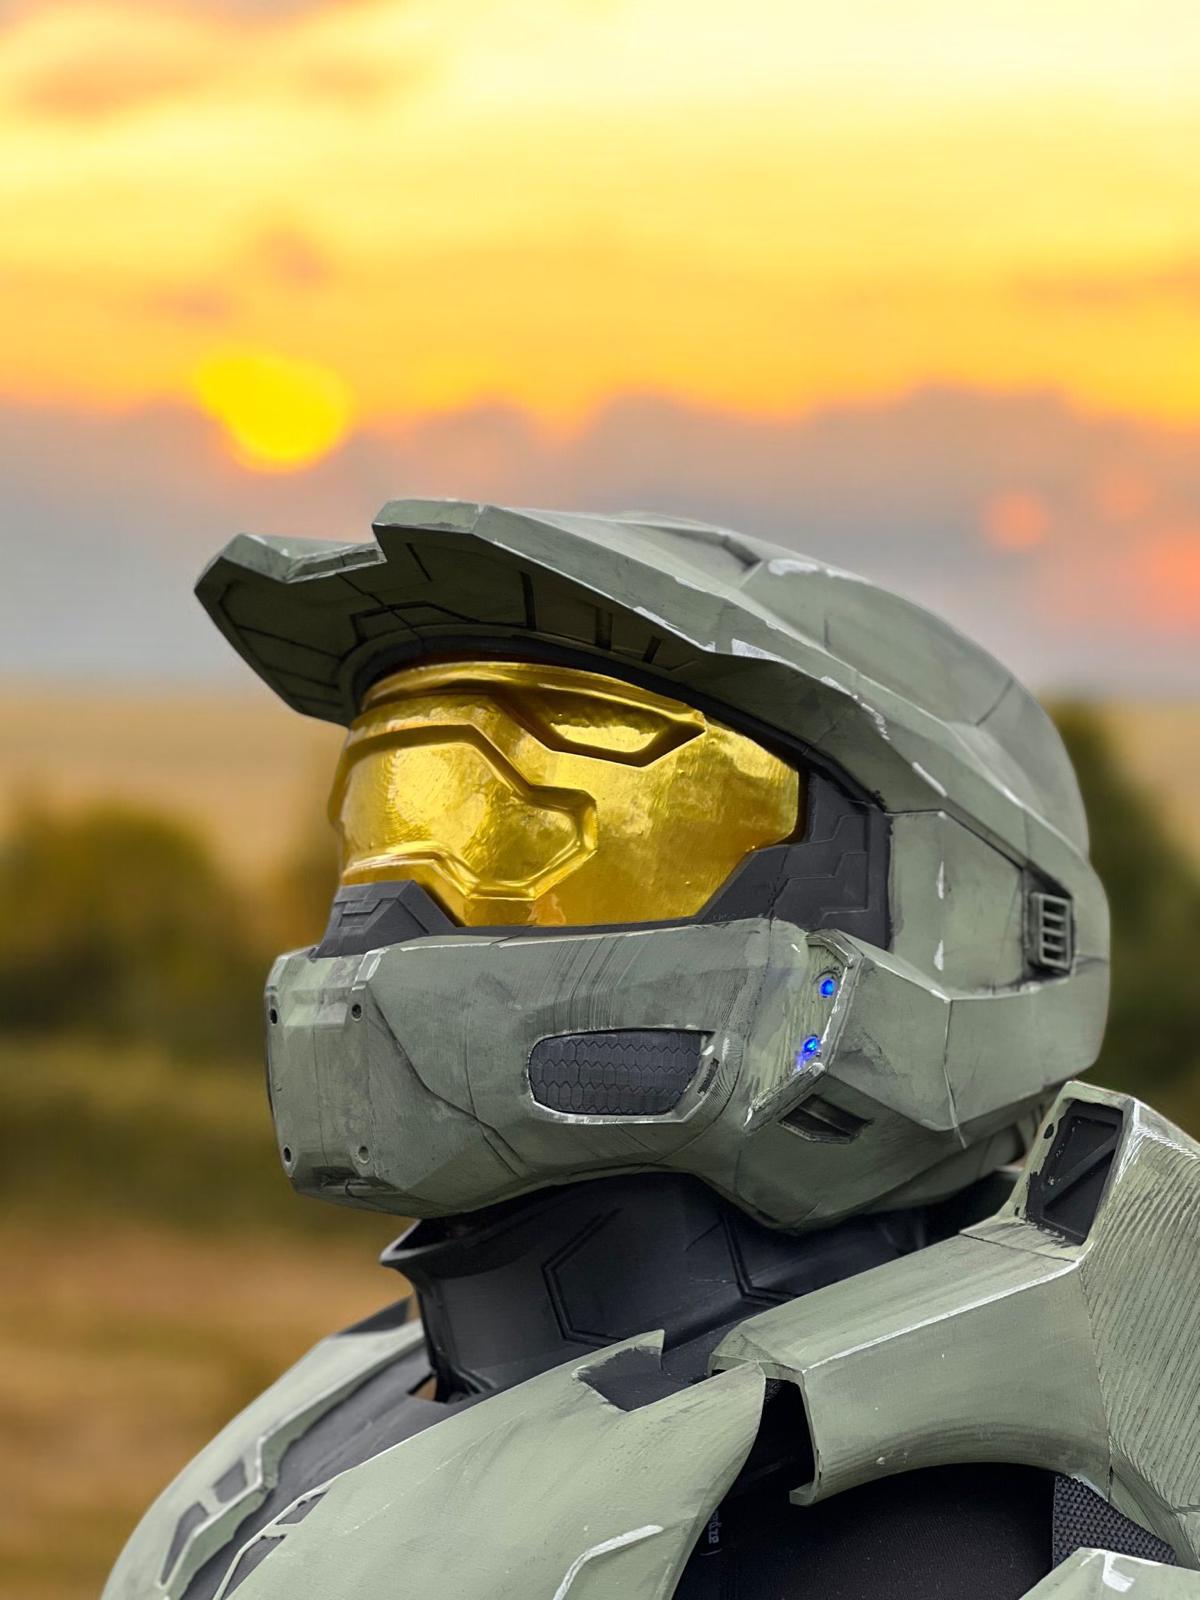
We remove all supports by hand, join sections with strong adhesive and reinforcing material, and then apply body filler to smooth seams and fill any surface imperfections. This gets sanded progressively — starting coarse, moving to fine — until the surface is smooth enough to take paint well. For helmets, we also fit and test the interior sizing at this stage.
Priming
Before any paint goes on, everything gets a coat of primer. Primer serves two purposes: it reveals any remaining surface flaws (which get fixed and re-sanded), and it gives the paint something to grip onto. We typically do two to three primer coats with sanding in between before we're happy with the surface.
Painting
This is the part that takes the longest and makes the biggest difference. Every prop we sell as "painted" is painted by hand — no decals, no vinyl wraps, no shortcuts.
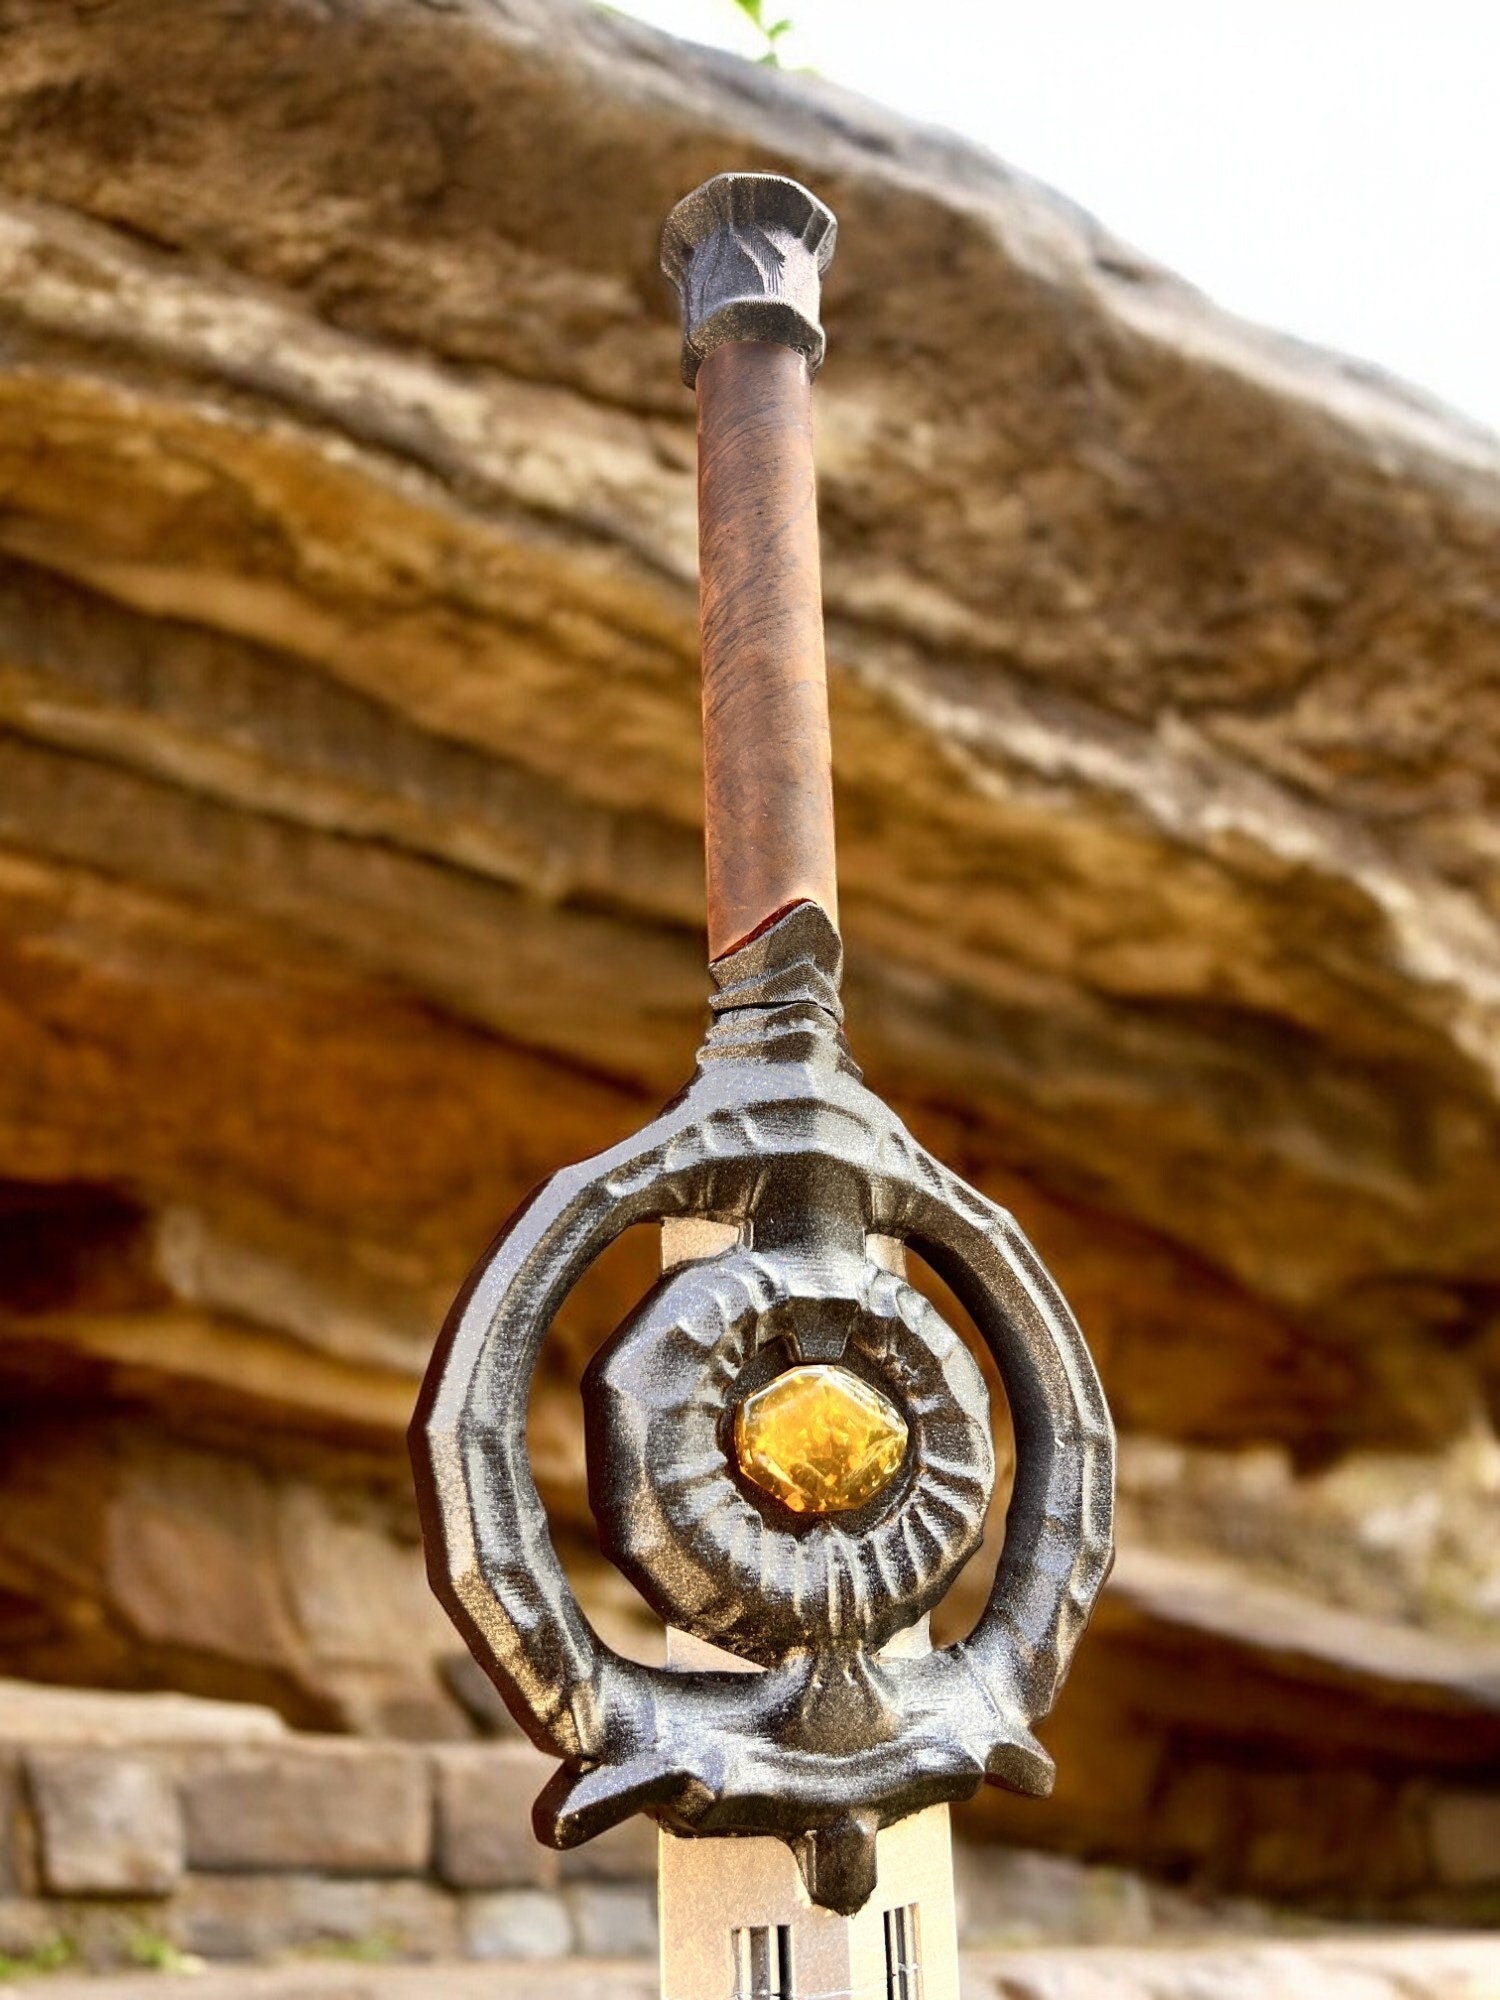
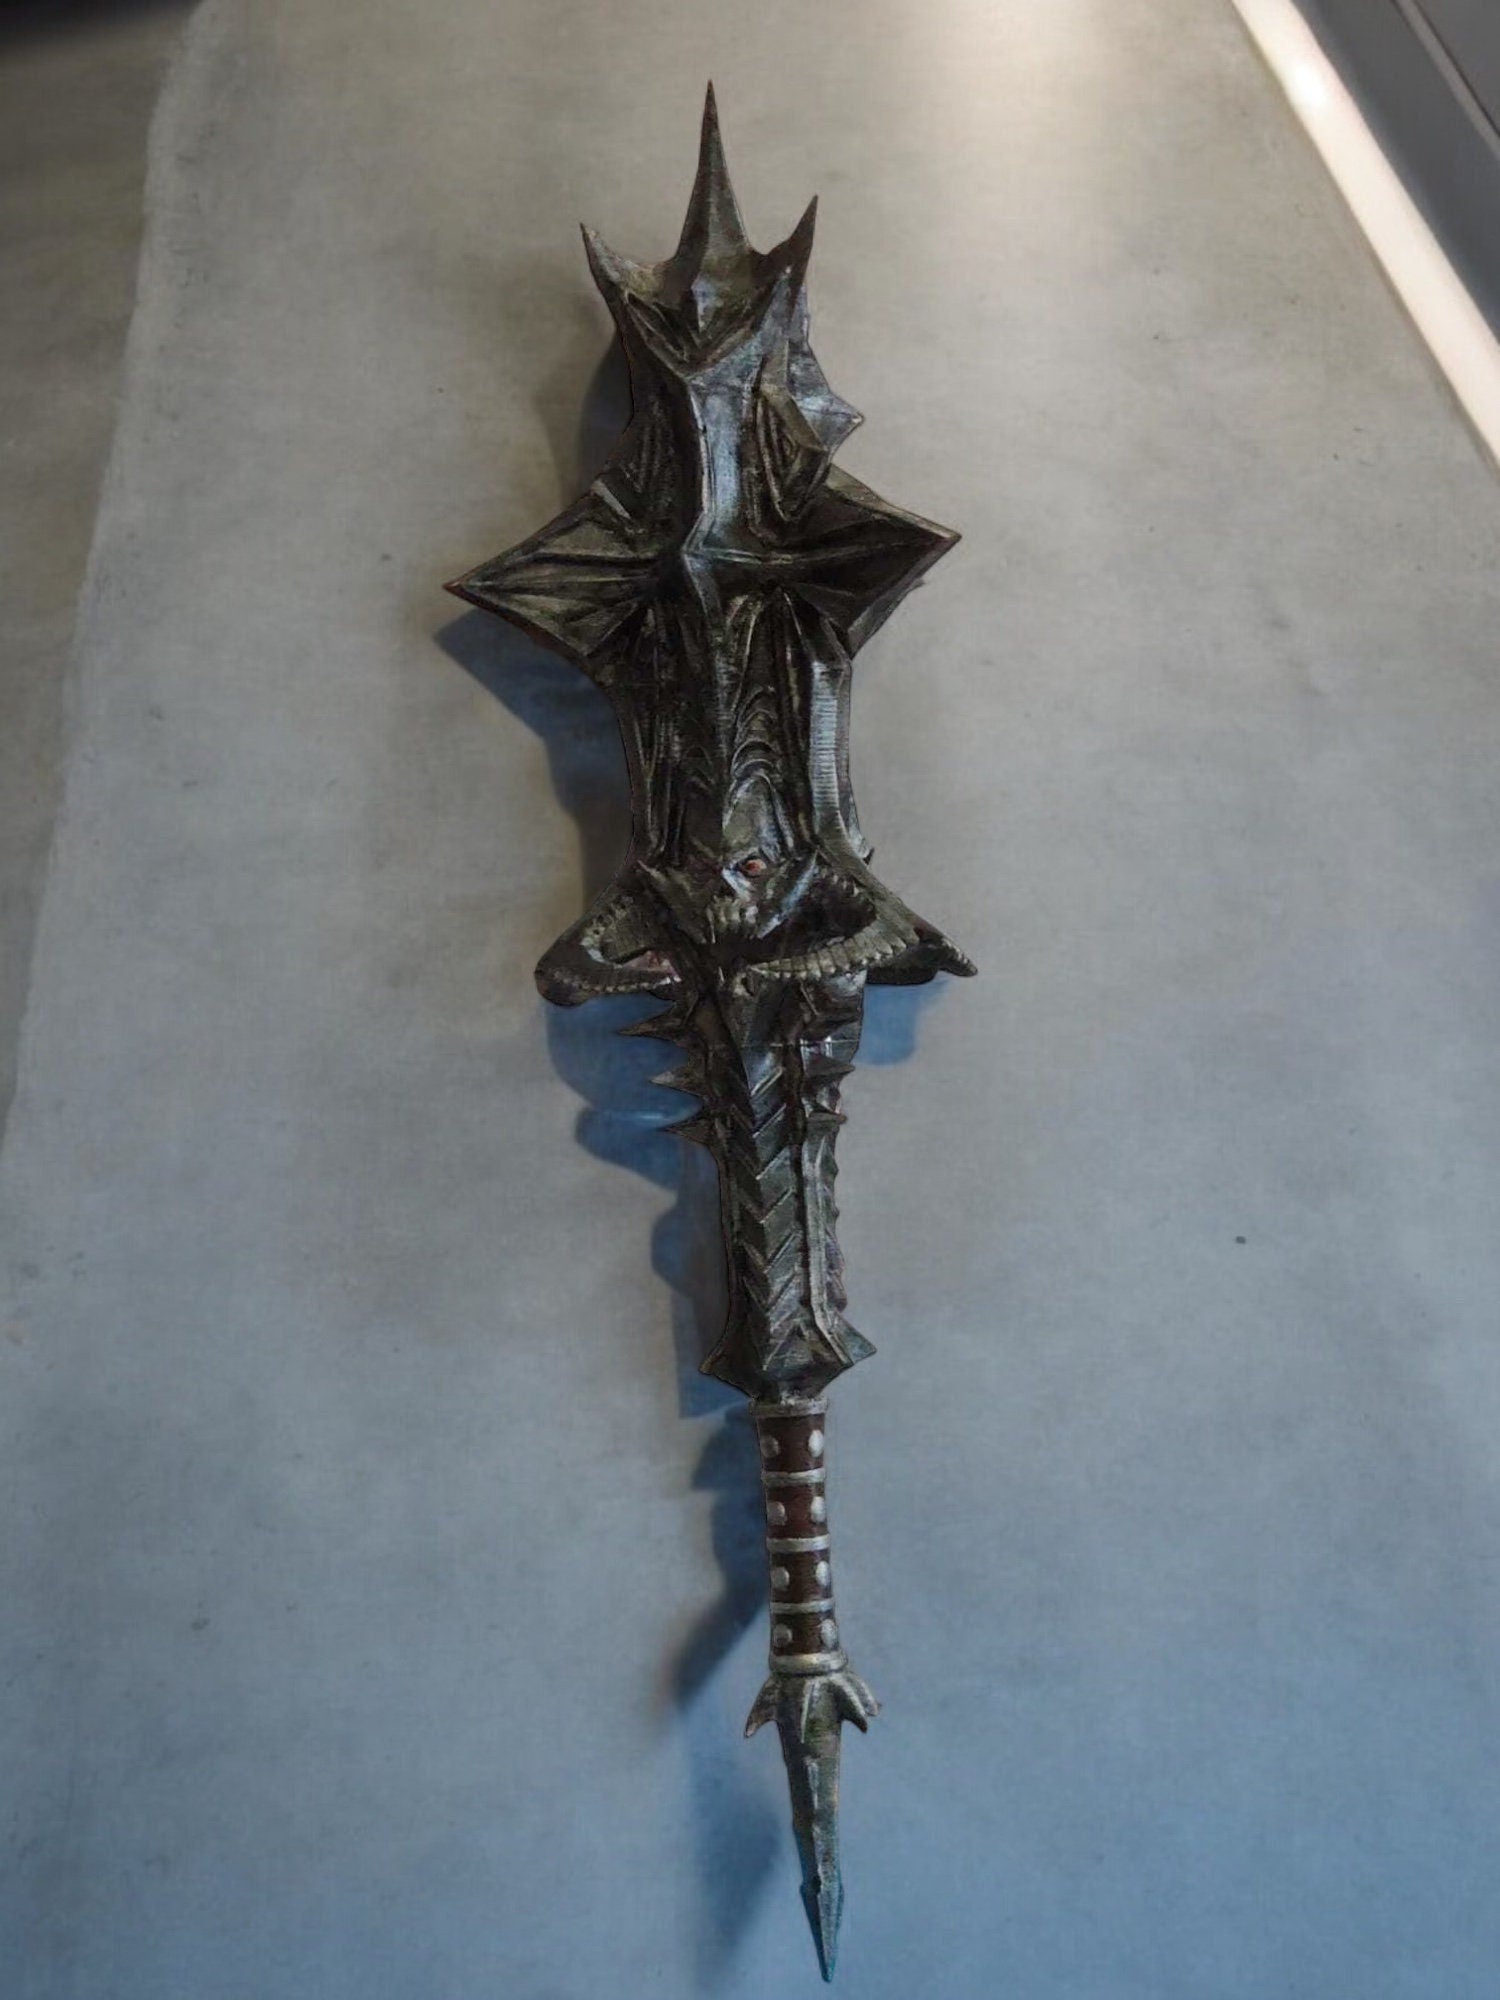
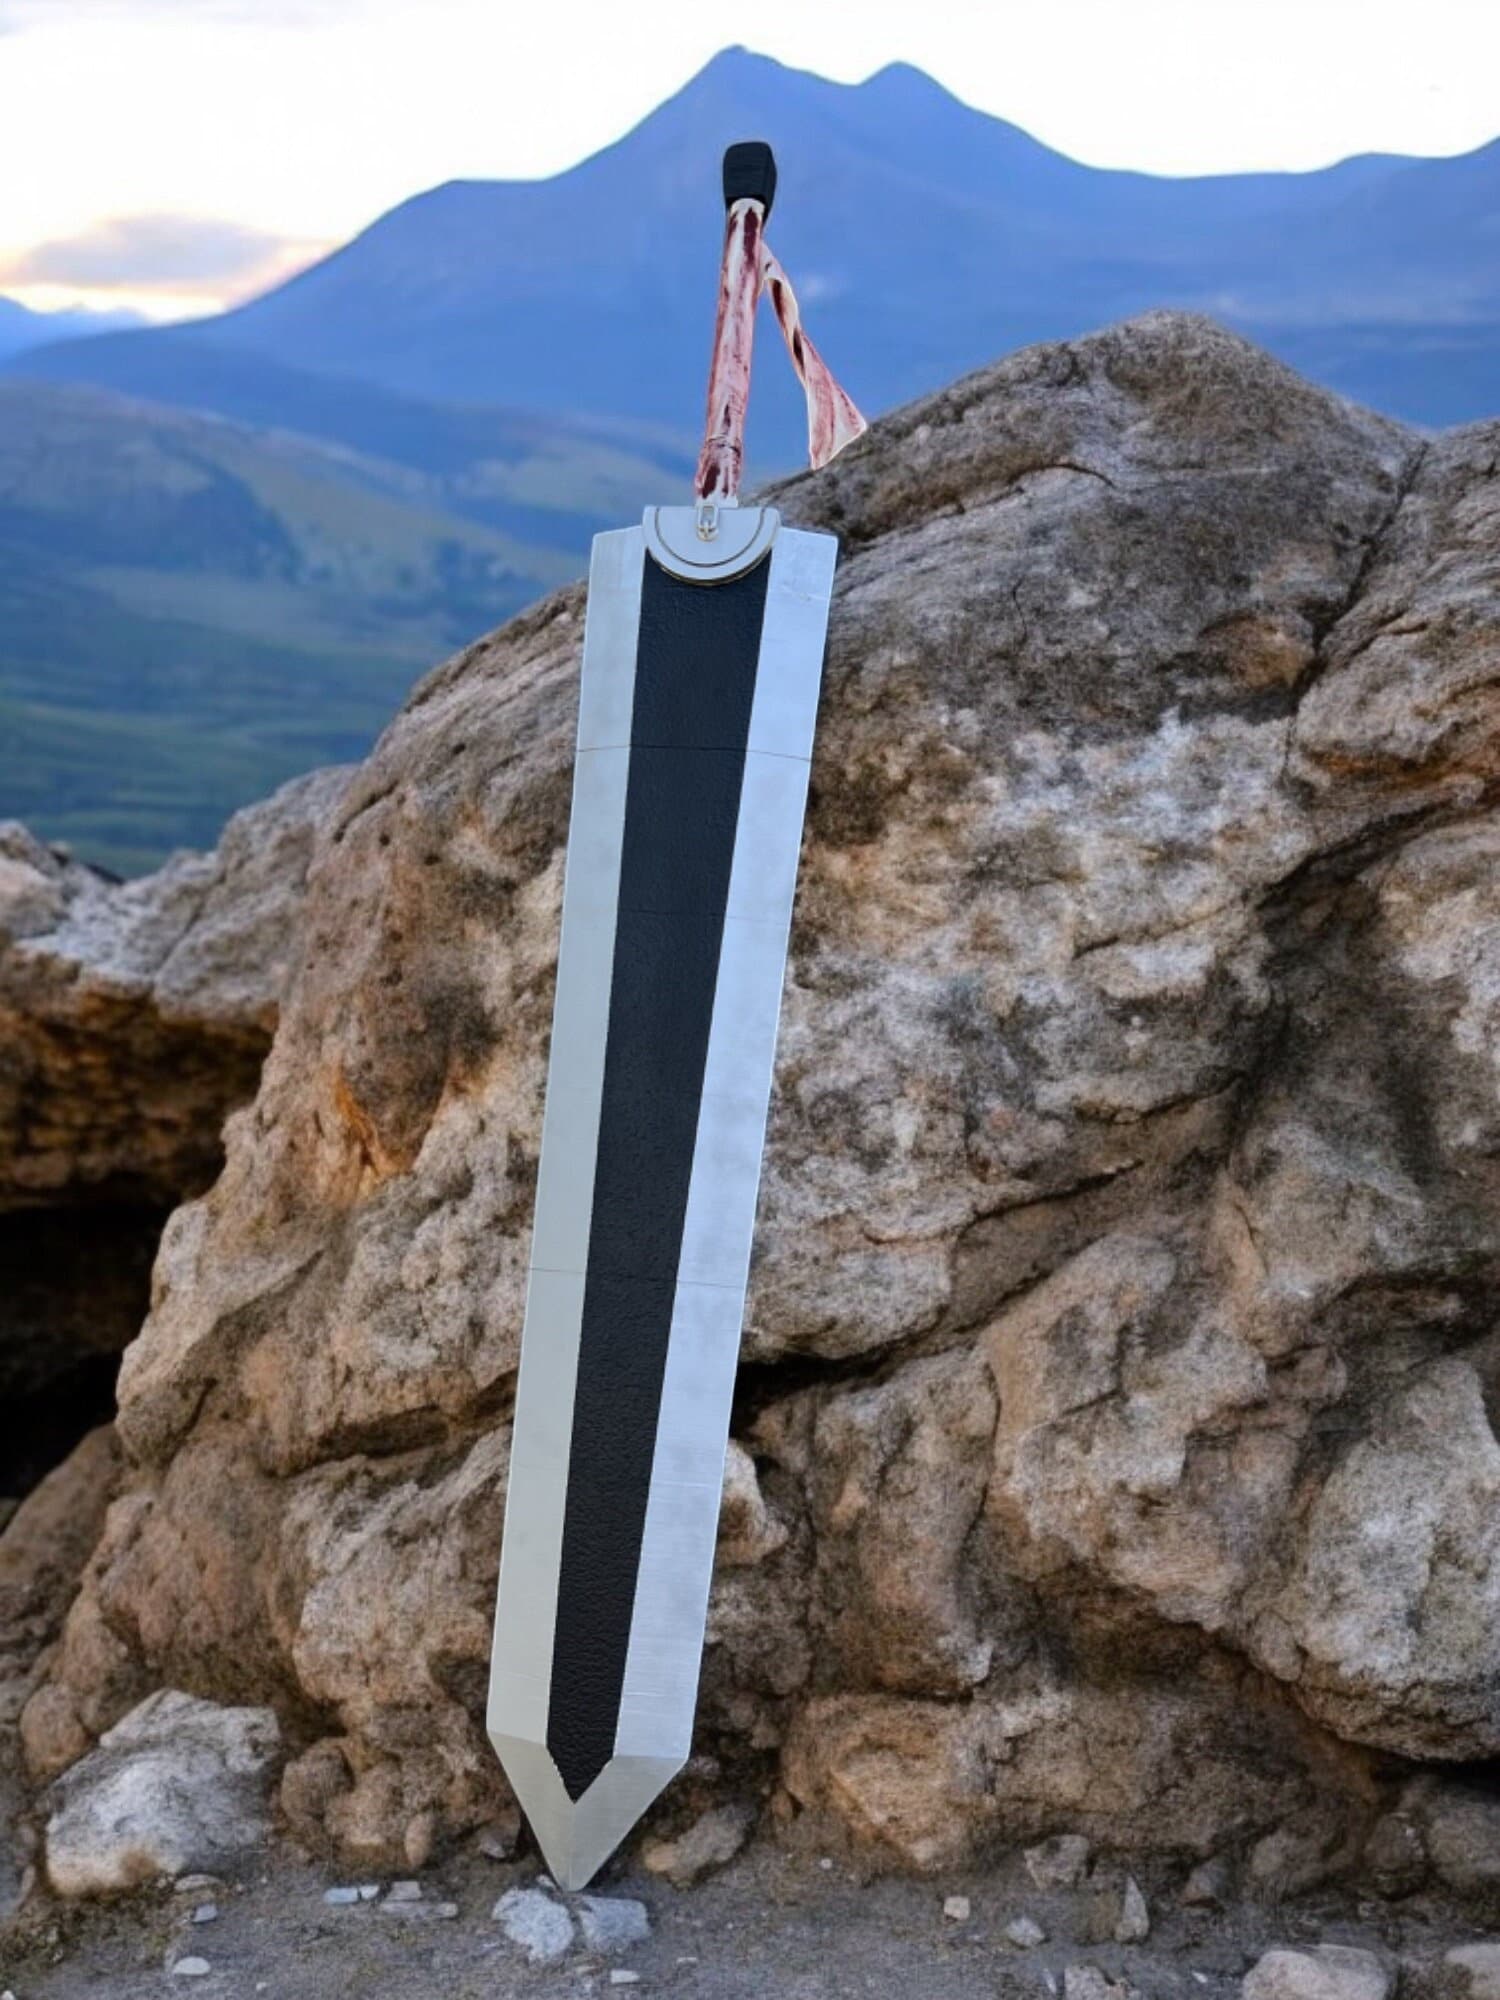
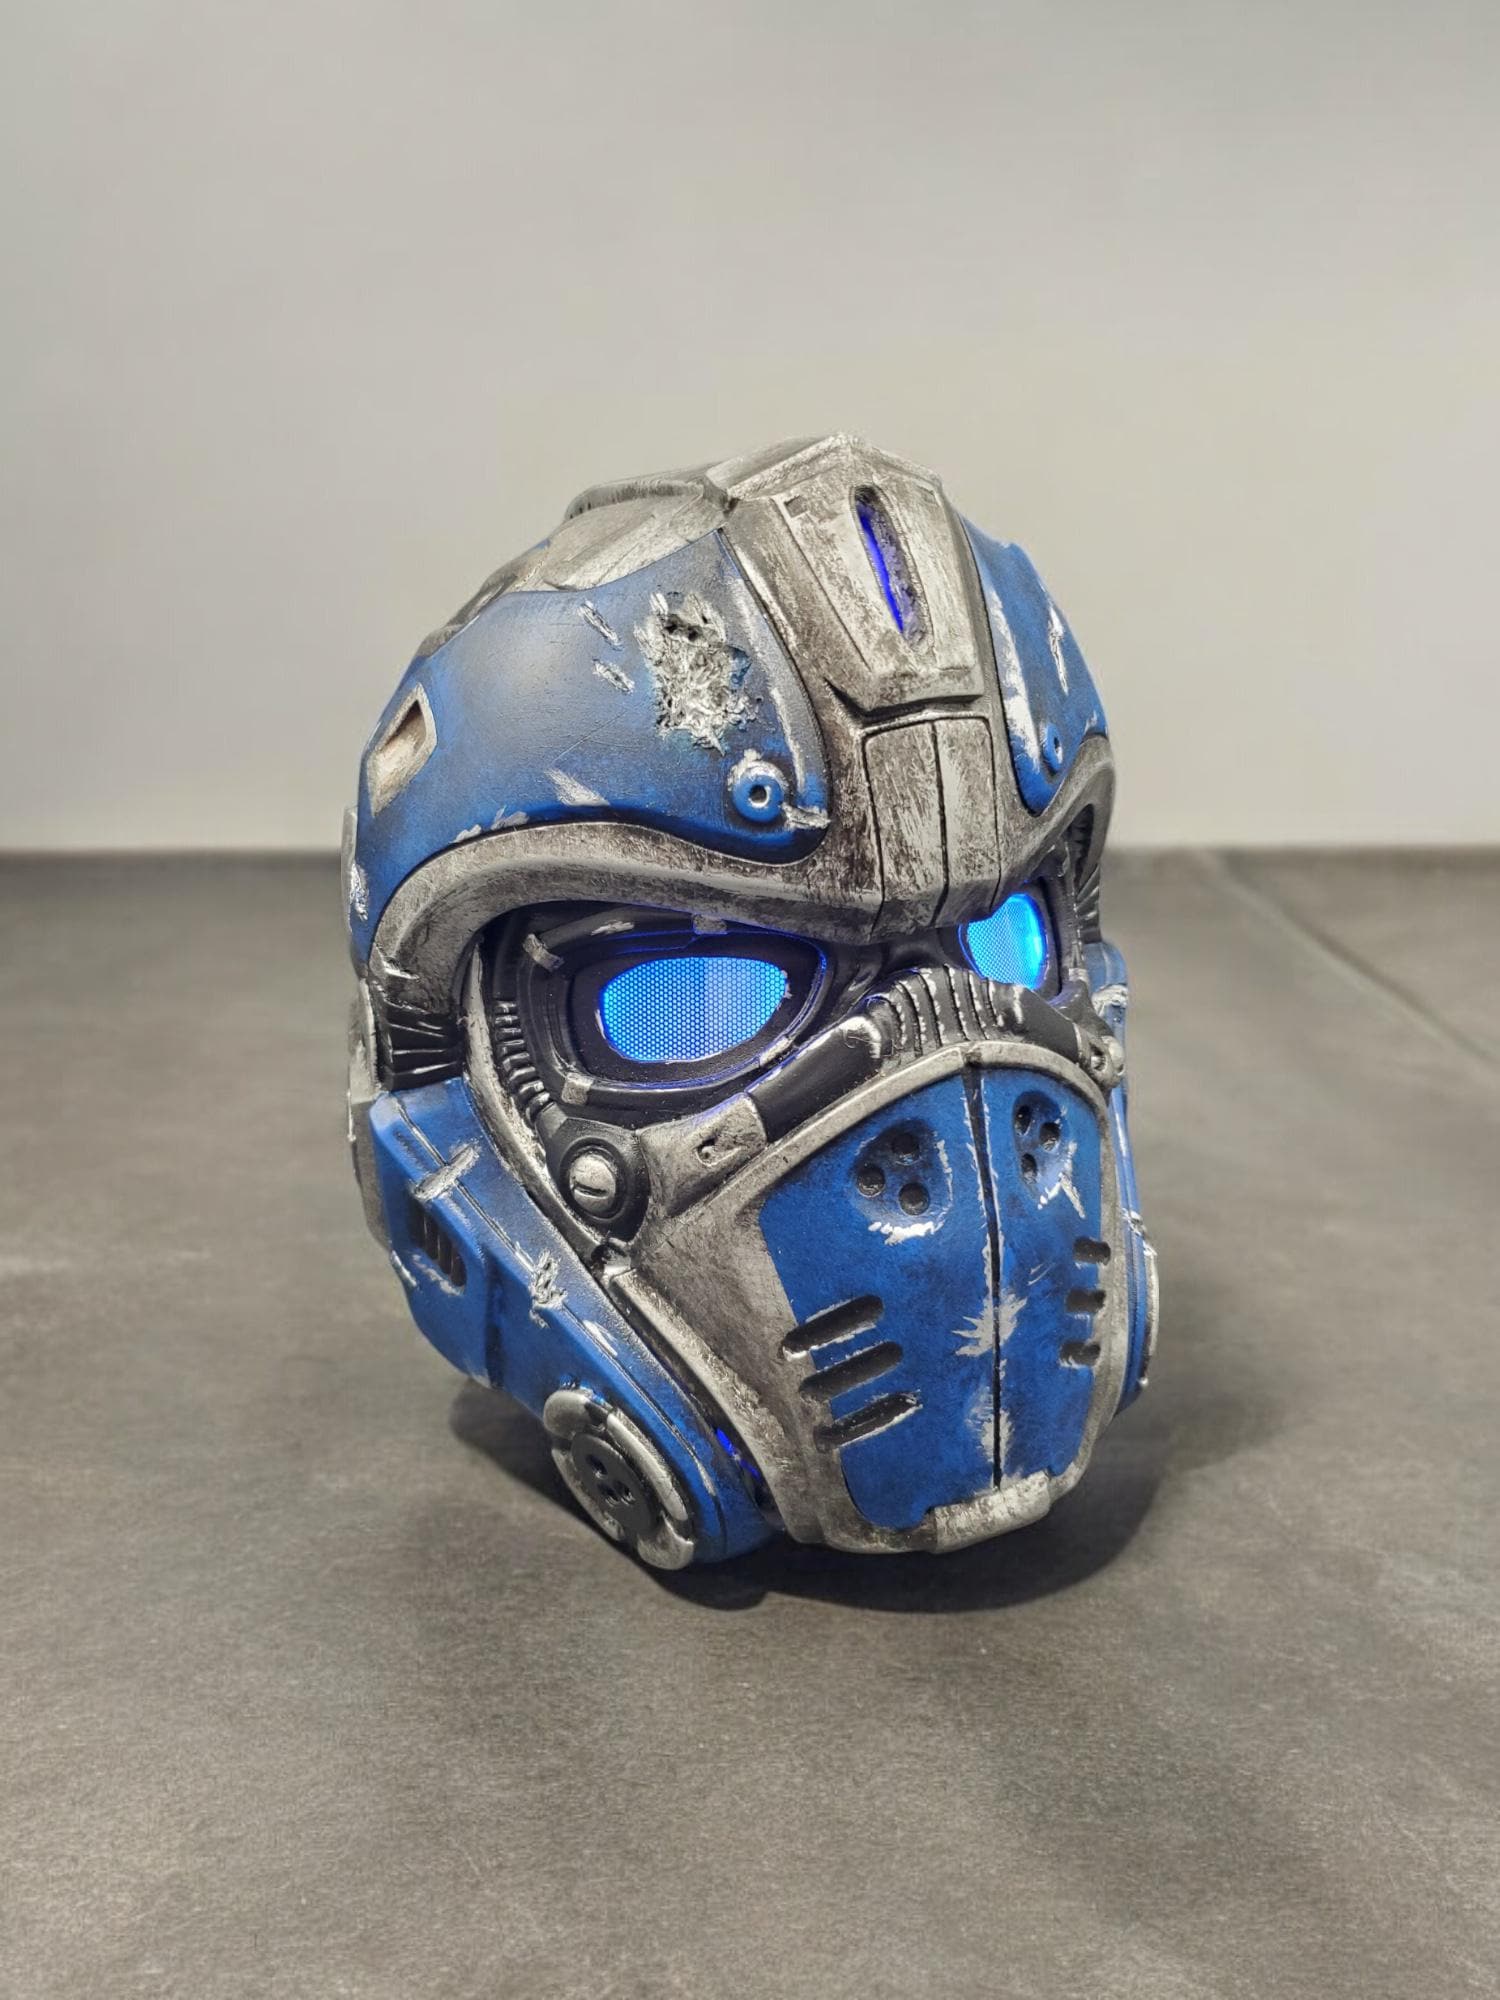
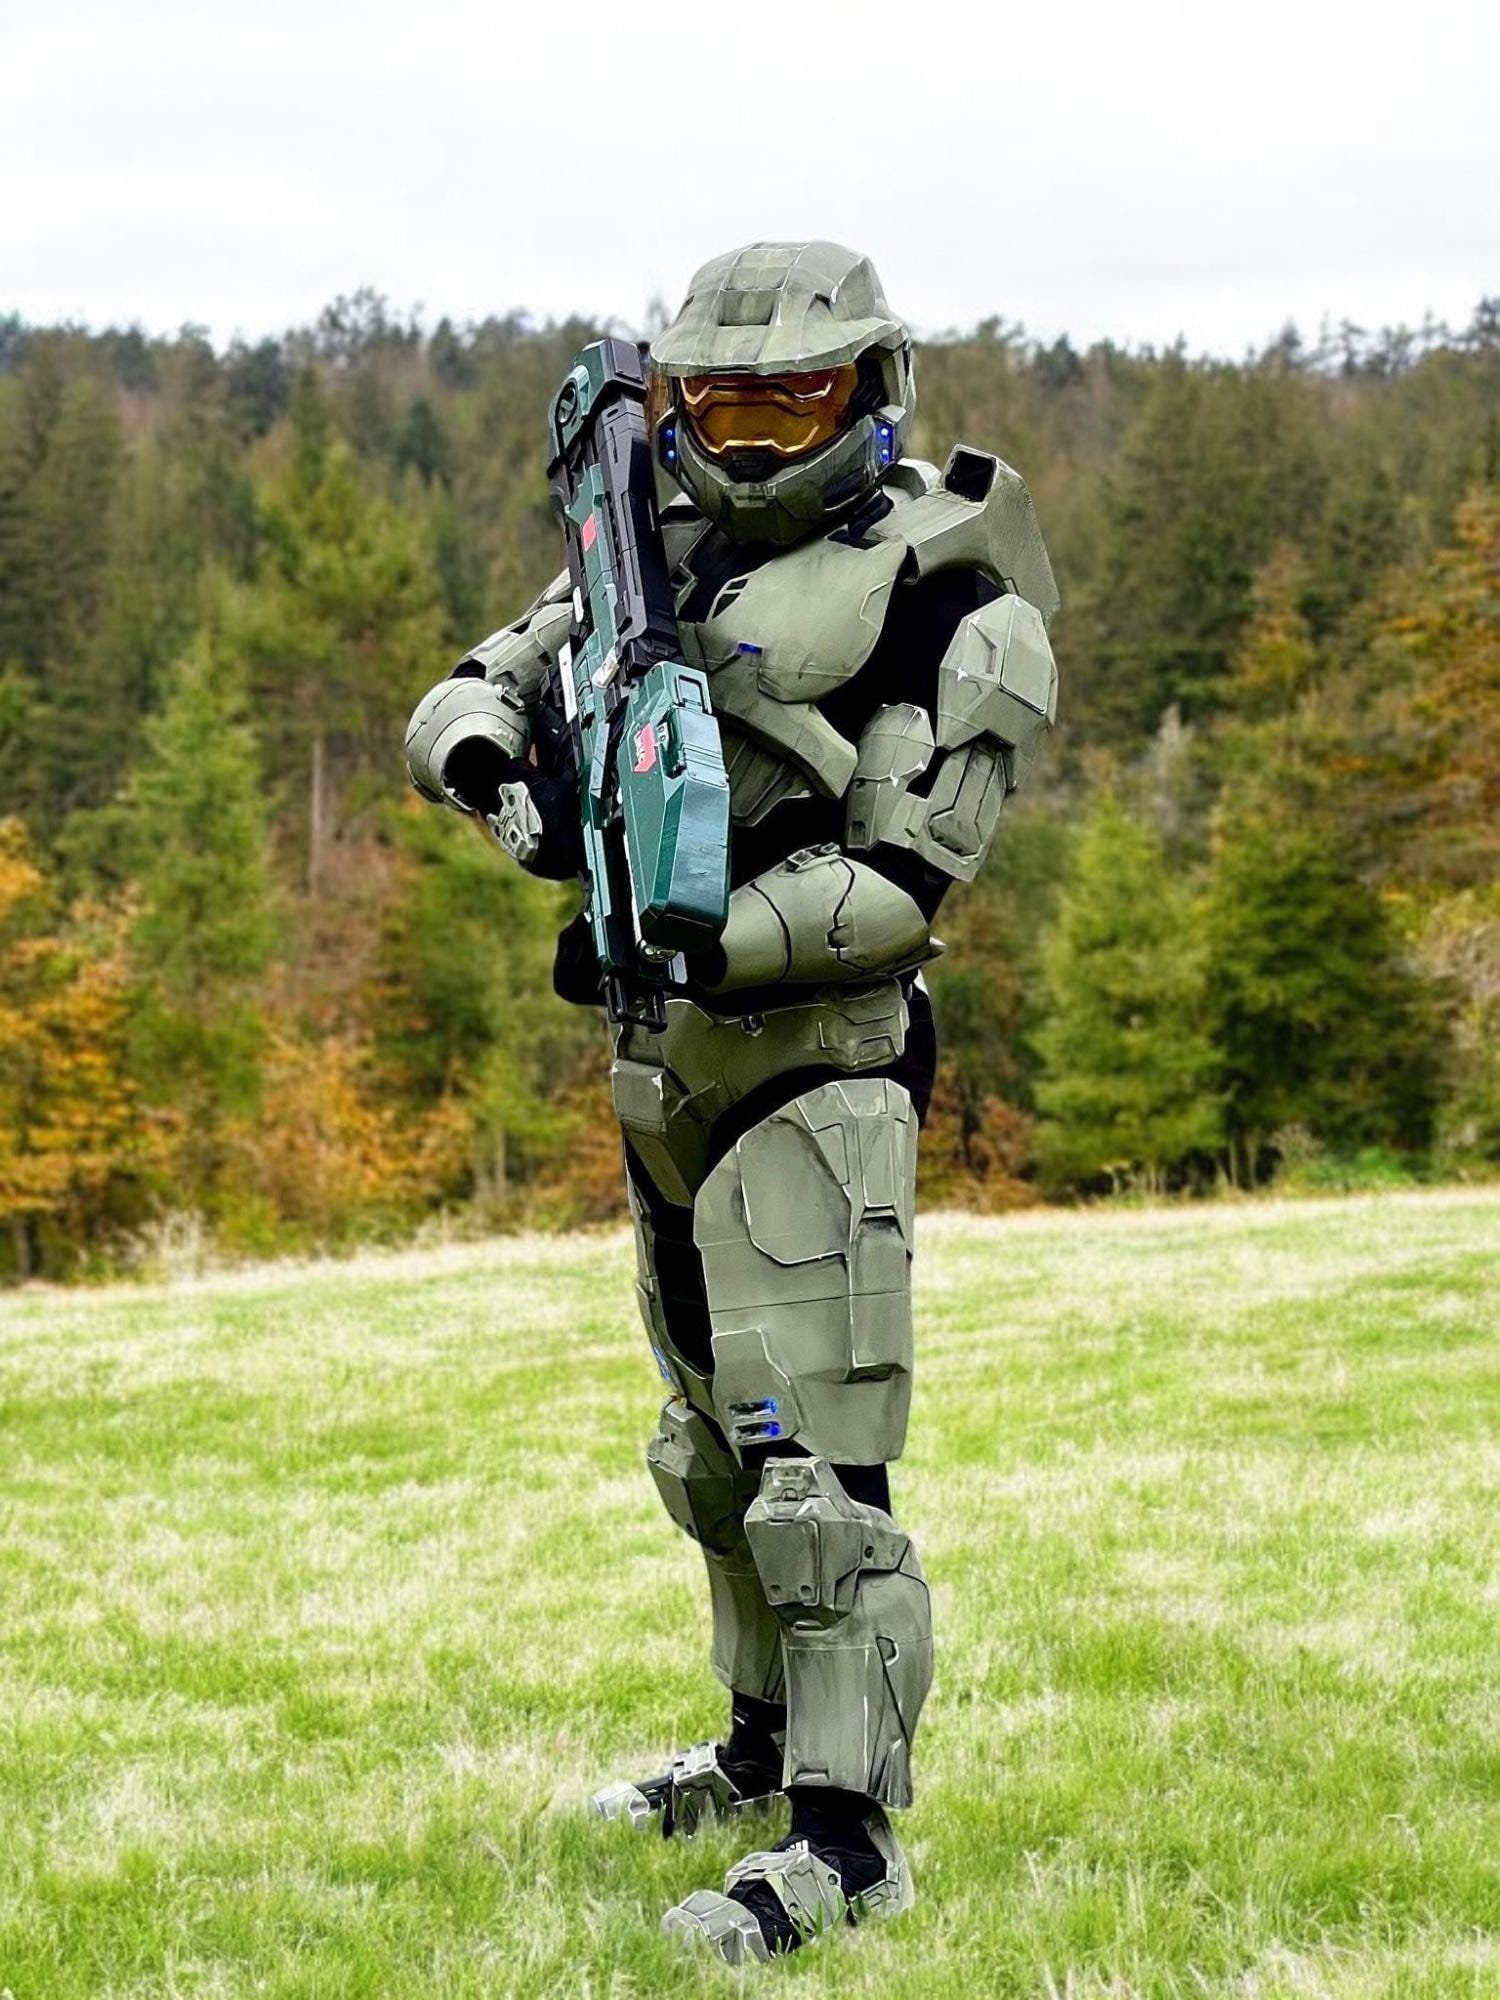
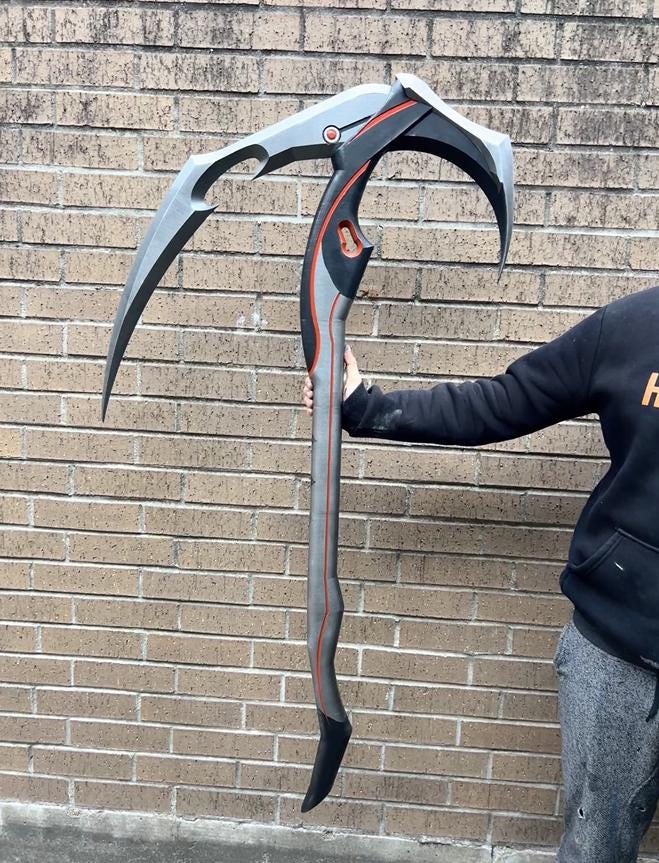
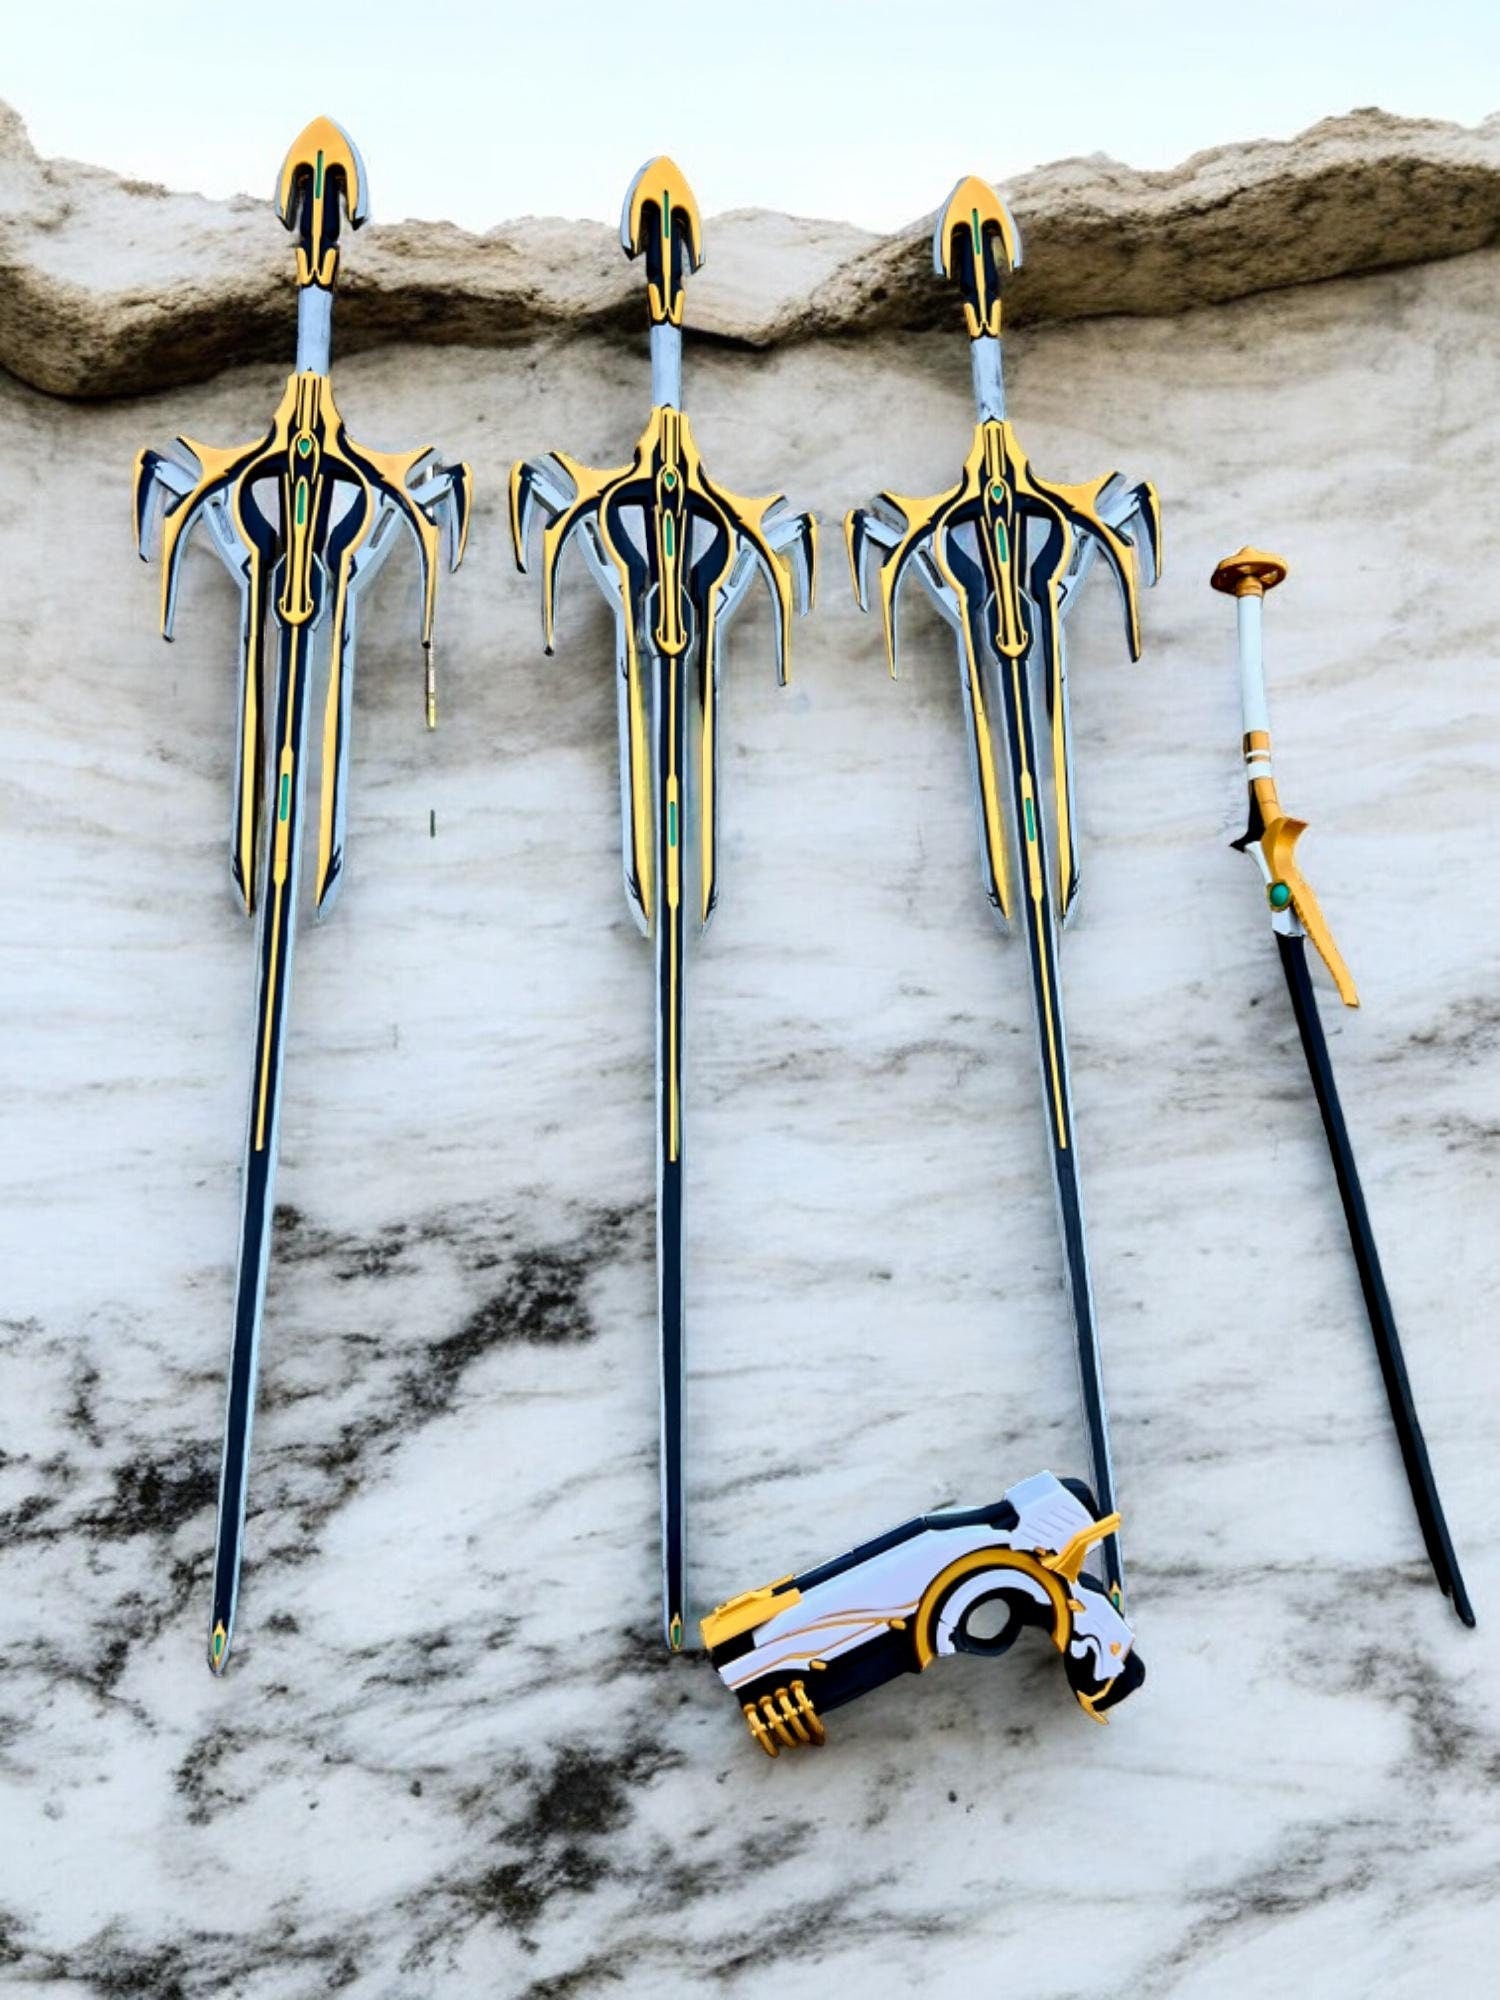
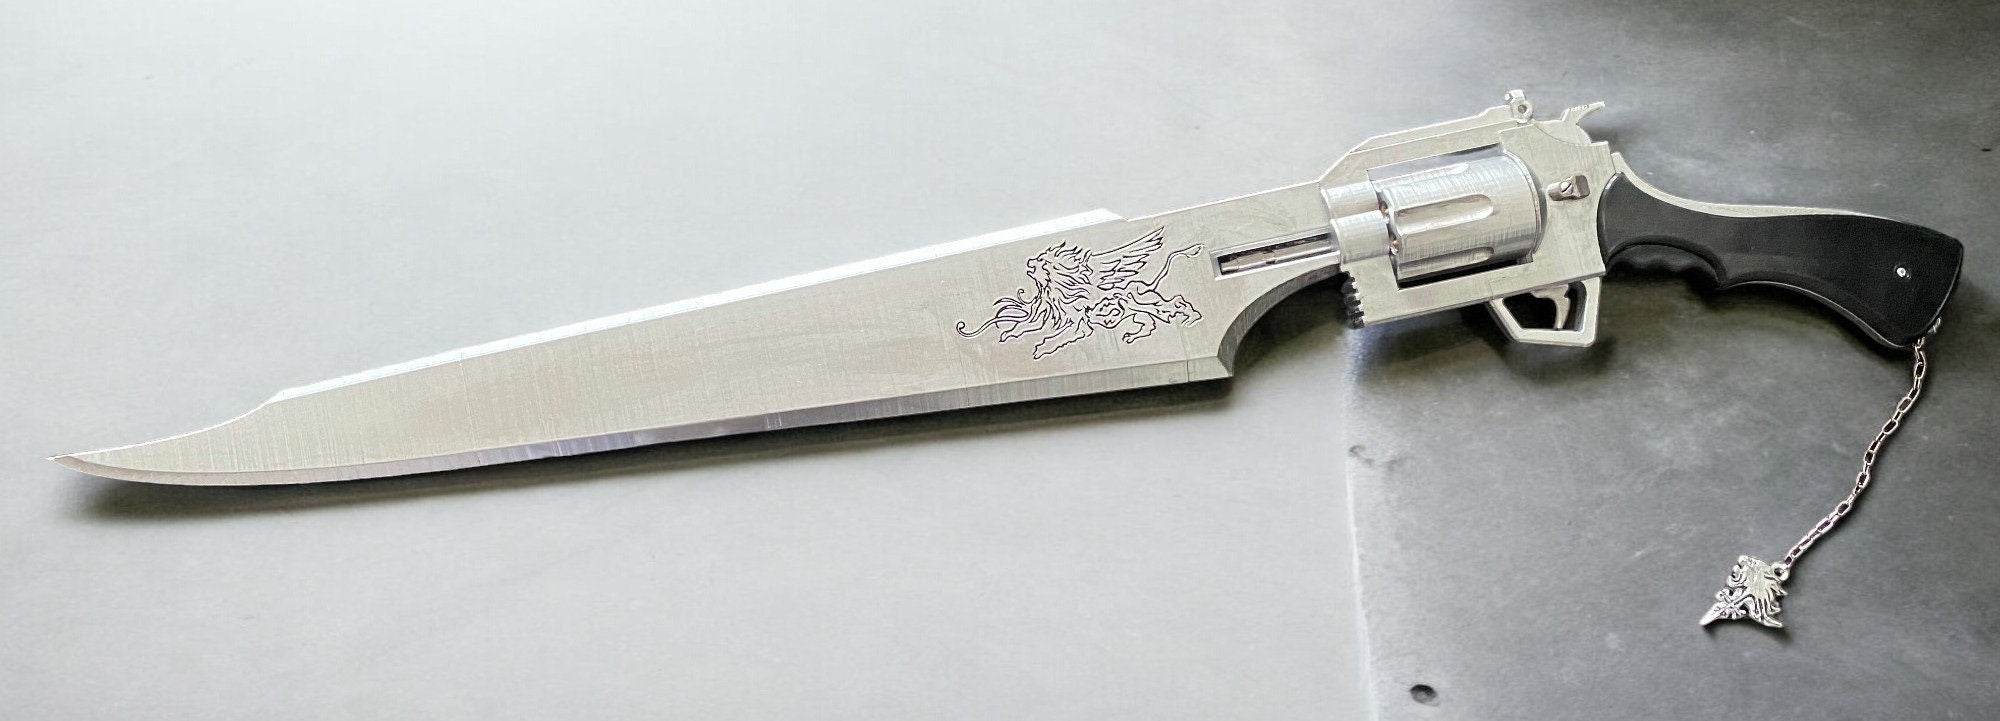
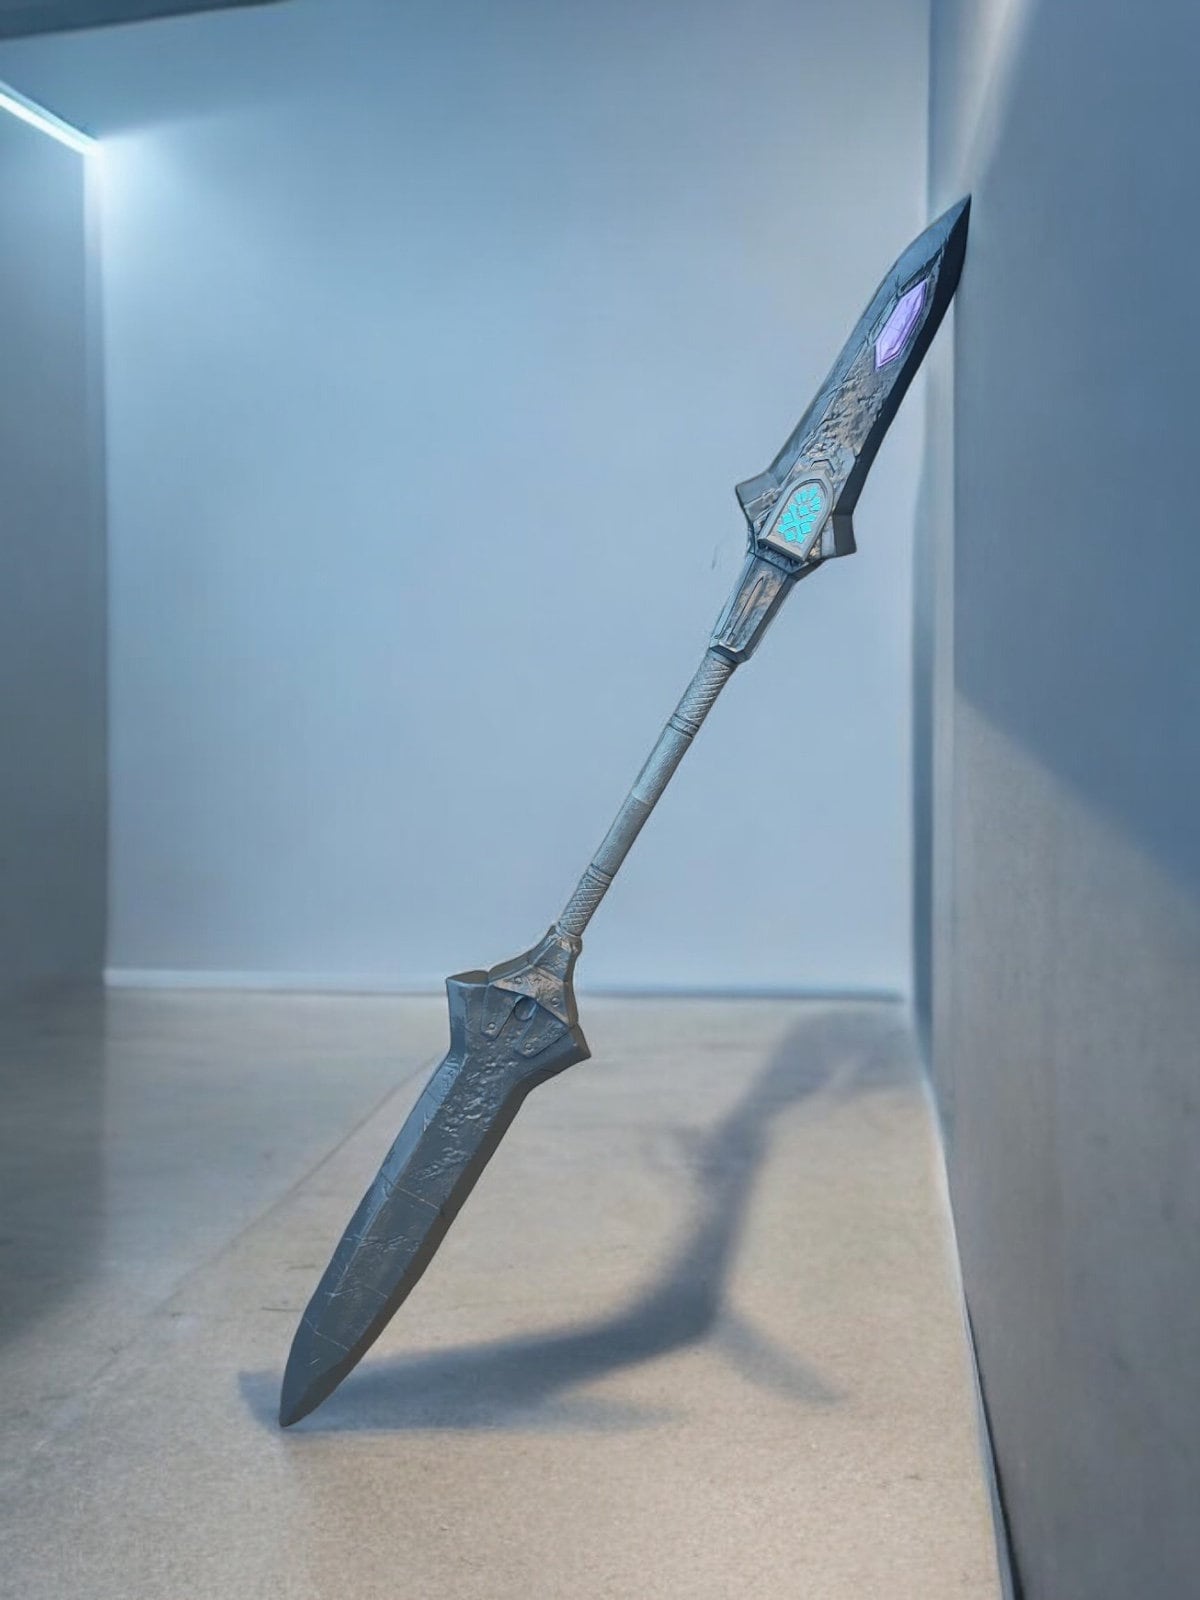
We start with a base coat, then layer in colors by hand — mixing, airbrushing, and brushing as needed to match the reference. After the base colors are down, we add detail work: scratches, rust, dirt, metallic sheen, Erdtree gold cracks, blood effects, glow effects — whatever the prop calls for. This weathering is what takes a prop from "painted plastic" to something that looks genuinely real in photos.
Finally, everything gets sealed with a clear coat — matte, satin, or gloss depending on the piece — to protect the paint and give it the right finish.
LED Installation (Where Applicable)
For props and helmets with LED options, the electronics go in after painting. We wire LED strips or individual LEDs inside the piece, route the wiring neatly, and install a switch and battery pack in an accessible location. Everything is tested before the prop ships.
Quality Check and Packaging
Before anything gets packed, we do a final review. We check the paint for any spots that need touching up, test any LEDs, verify that helmet sizes are correct, and make sure all pieces are present and accounted for.
Packing a large prop is its own art form. We use a combination of bubble wrap, foam, and reinforced boxes to make sure your prop survives the journey — whether it's going two states over or to the other side of the world. Every package ships with tracking, and we take photos before sealing in case anything is damaged in transit.
Made Just for You
Every prop we make is made to order. That means nothing sits in a warehouse waiting. When you place an order, we start building your piece from scratch — which is why production time matters and why getting your measurements right the first time is so important.
It also means that if you want a custom color, a slightly different size, or a specific modification, we can often accommodate it. Just reach out before or right after ordering and we'll let you know what's possible.